

This sweet pie crust is buttery, flaky, and crisp and is the perfect pie crust for sweet no-bake fillings. The sugar added to the butter pie dough helps to keep the crust crispy during refrigeration storage, rather than getting stale and chewy like a standard butter pie crust (which is better for baked fillings).
With just 4-ingredients, this single pie crust comes together quickly in just 5 minutes in a food processor, and will be your go-to crust for your favorite no-bake pie fillings!
This homemade sweet crust is quick to make using a food processor, but can also be easily made by hand (instructions below the step-by-step photo section). While buying a frozen pie crust may be easier, homemade pie crust tastes ten times better...and you really notice a difference.
Not only can you make multiple discs of dough to freeze and have on hand when you need them, you can also freeze the fully set pie crust while it's in the pan. The sugar in the baked pastry crust not only helps the crust get a deeper golden color, it also adds a crisp bite to the crust that lends perfectly to storage and refrigeration.
This sweet pie crust is less flaky than a classic butter pie crust, but more crisp than an enriched sweet tart dough (or chocolate tart dough) which both contain eggs.
Jump to:
Why You'll Love This Recipe
Quick to make - the main method to make this pie crust uses a food processor, which means the sweet pastry comes together in just five minutes. While it does need to chill in the fridge for a couple of hours, the creation process is a low lift.
The perfect texture - the addition of granulated sugar diminishes the gluten formation and allows the pastry to get crisp and nicely browned and stays that way for days. You'll love this no-fail pie crust recipe!
Great for no-bake pie fillings - sugar, once again, makes this the perfect, sturdy pie crust to hold sweet pudding fillings, curds, or other no-bake fillings. It holds its texture and flavor for days, whether at room temperature or in the fridge.
Ingredients
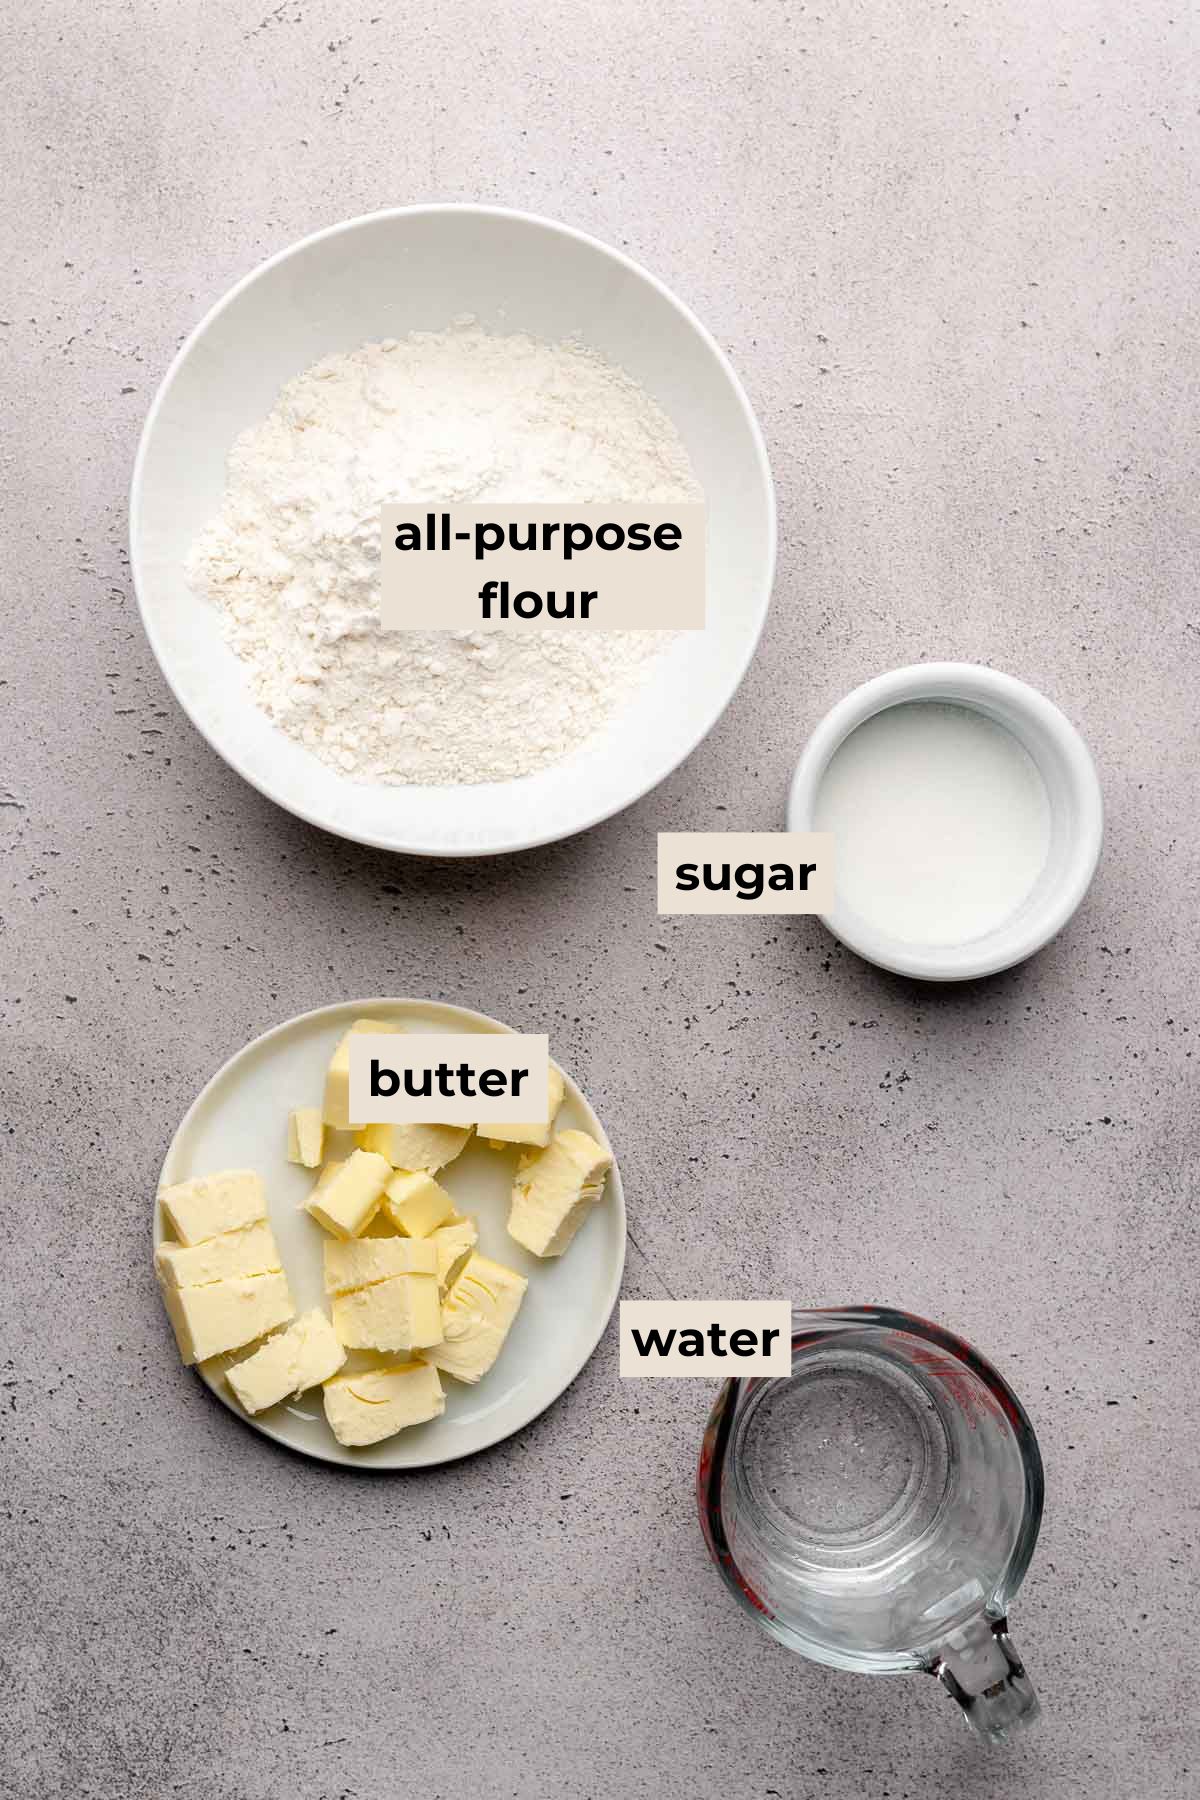
- All-purpose flour. This is the main ingredient of the pie crust. Any brand of all-purpose flour will work, though I find that King Arthur brand is great quality.
- Granulated sugar. This ingredient is what helps keep the pie crust crisp during the storing process. Without the sugar, it would be a standard butter pie crust which gets stale when refrigerated.
- Unsalted butter. This ingredient should be cut into ½" cubes and kept very cold. I like to cut the butter, then put it in the freezer while I get everything ready.
- Water. Throw an ice cube in the water to get it really cold, then remove the cube. Check the measurement after removing the ice to be sure you have the correct amount!
- Kosher salt (not pictured).
See recipe card for full ingredients list and quantities.
How to Make This Recipe
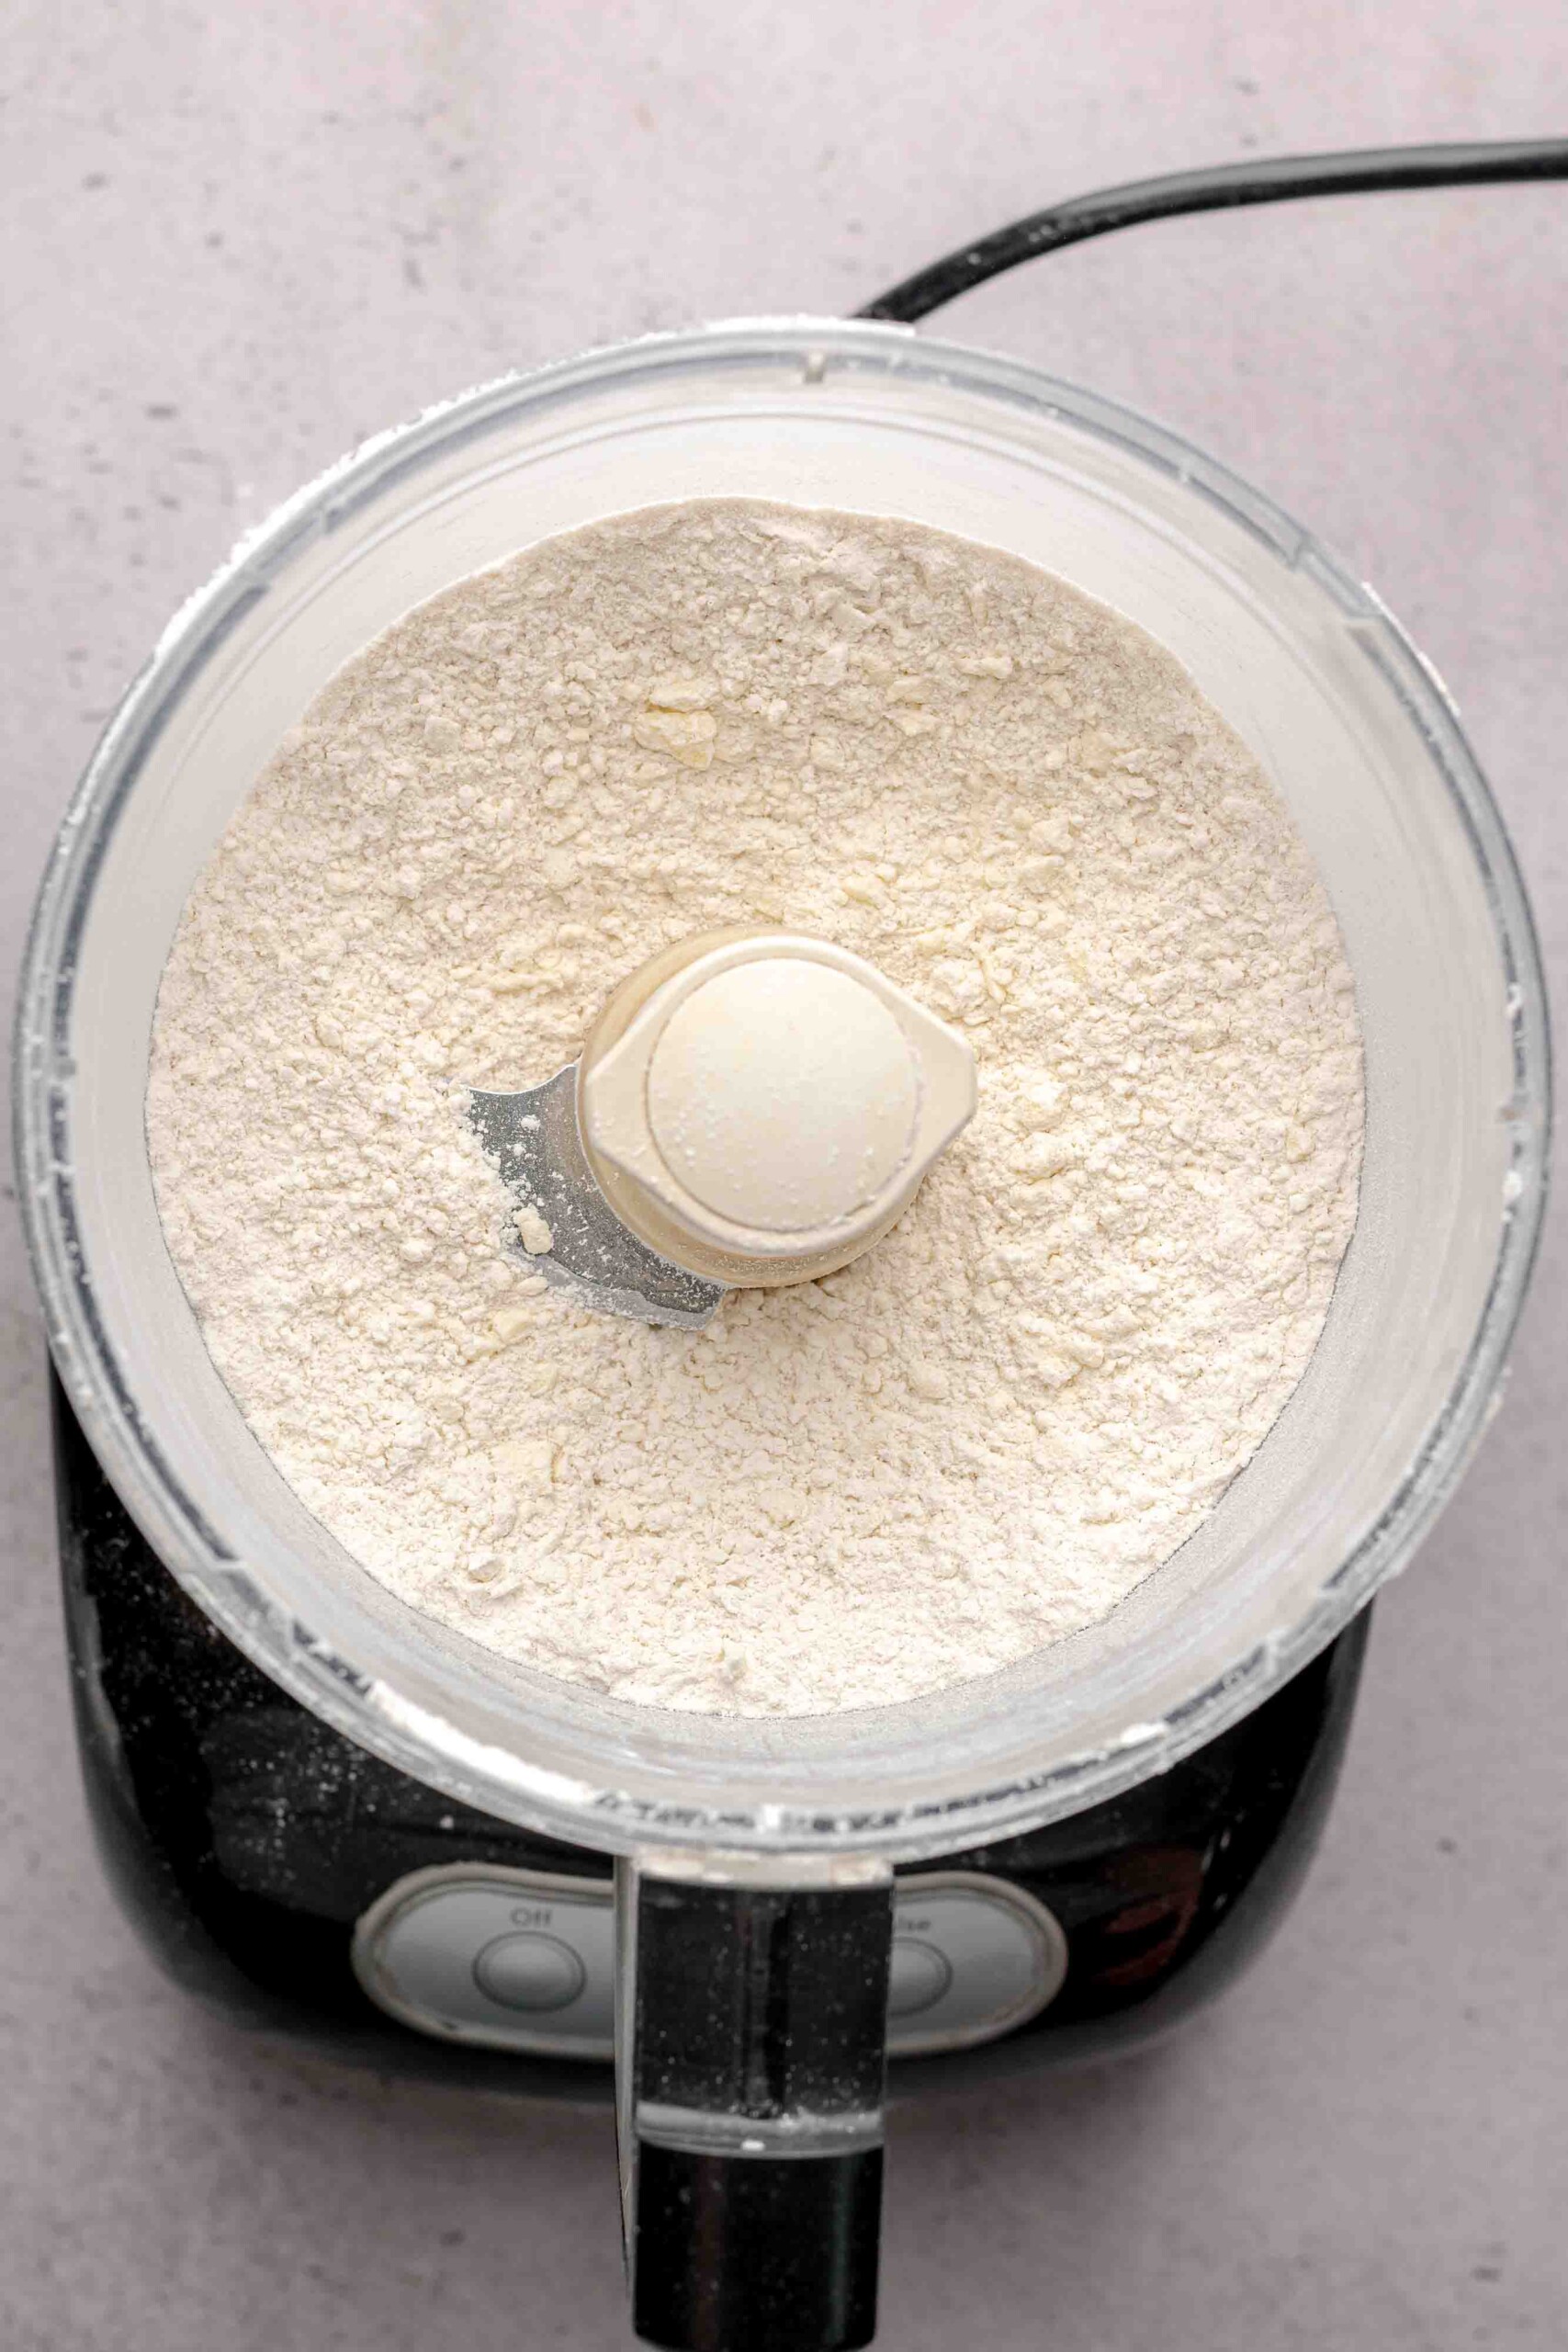
One: Add the flour, sugar, and salt to a food processor and pulse to combine. Add the butter and pulse until pea sized crumbles form.
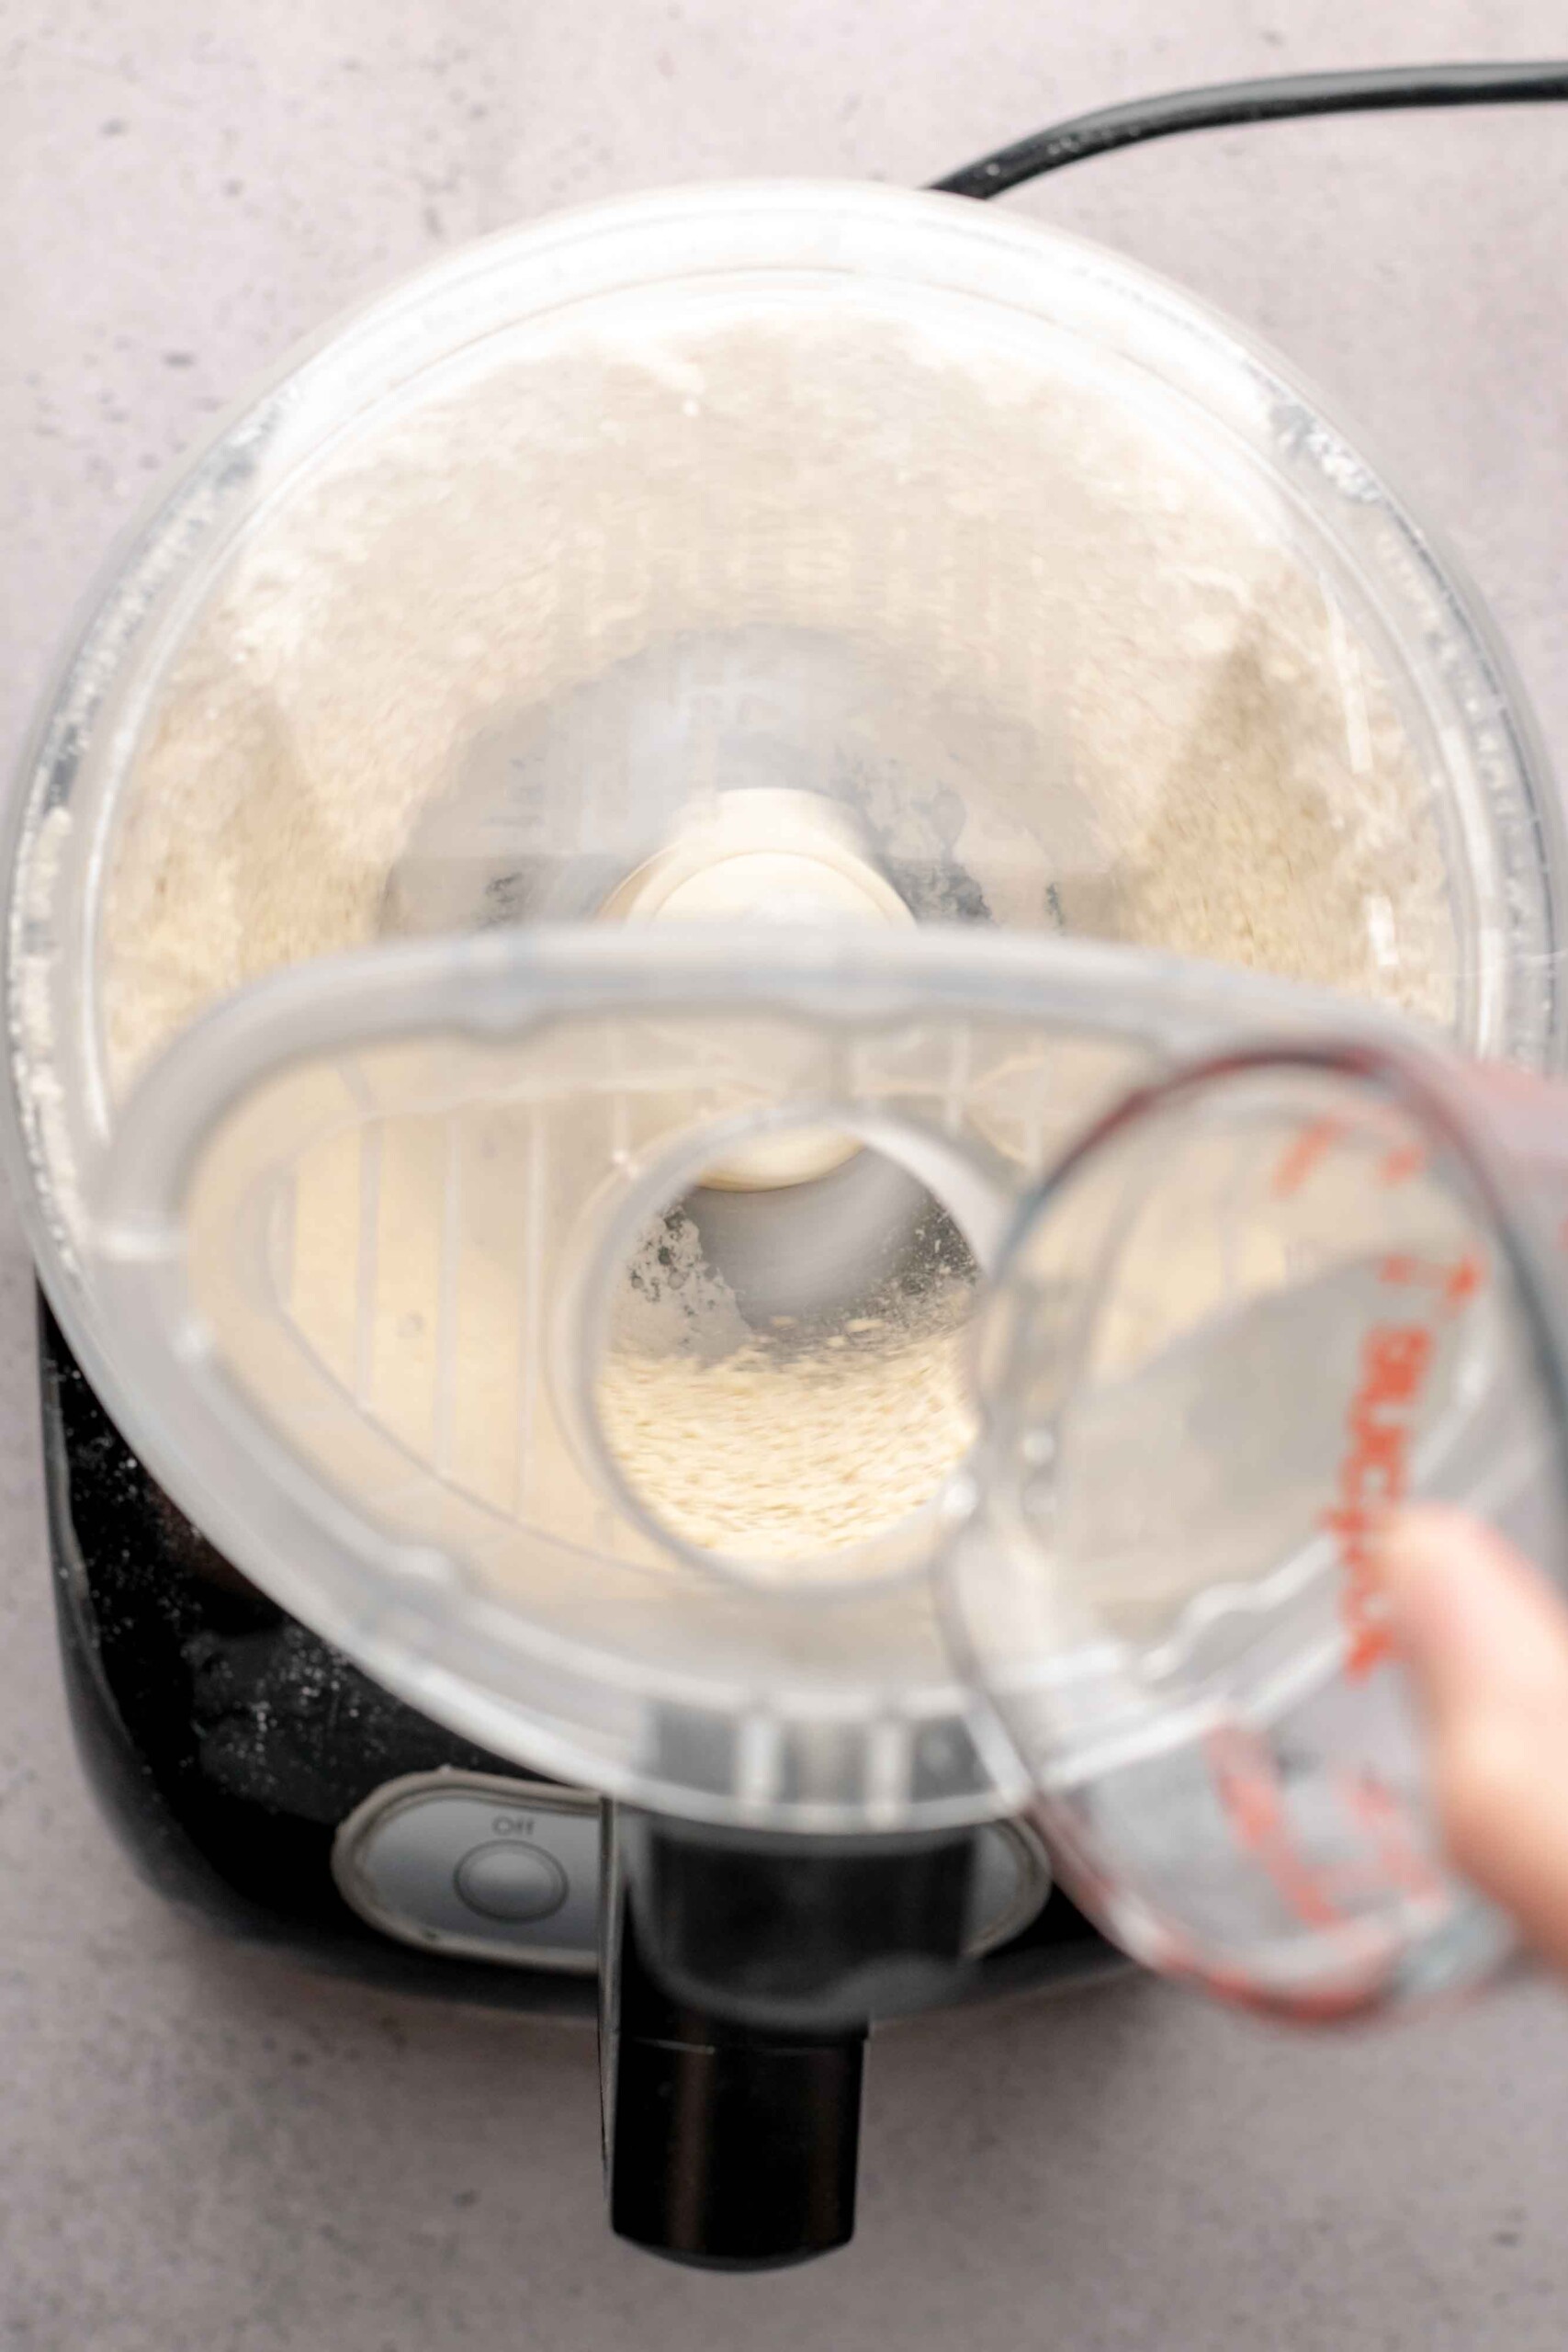
Two: With the mixer running, drizzle in the water. Check the mixture and pulse a few more times if there are still dry spots.
Hot tip! Don't over-blend the crust. It should stay in crumbles, not form into a single mass.

Three: Test the dough by pressing a piece together with your fingers. If it holds, it's ready!
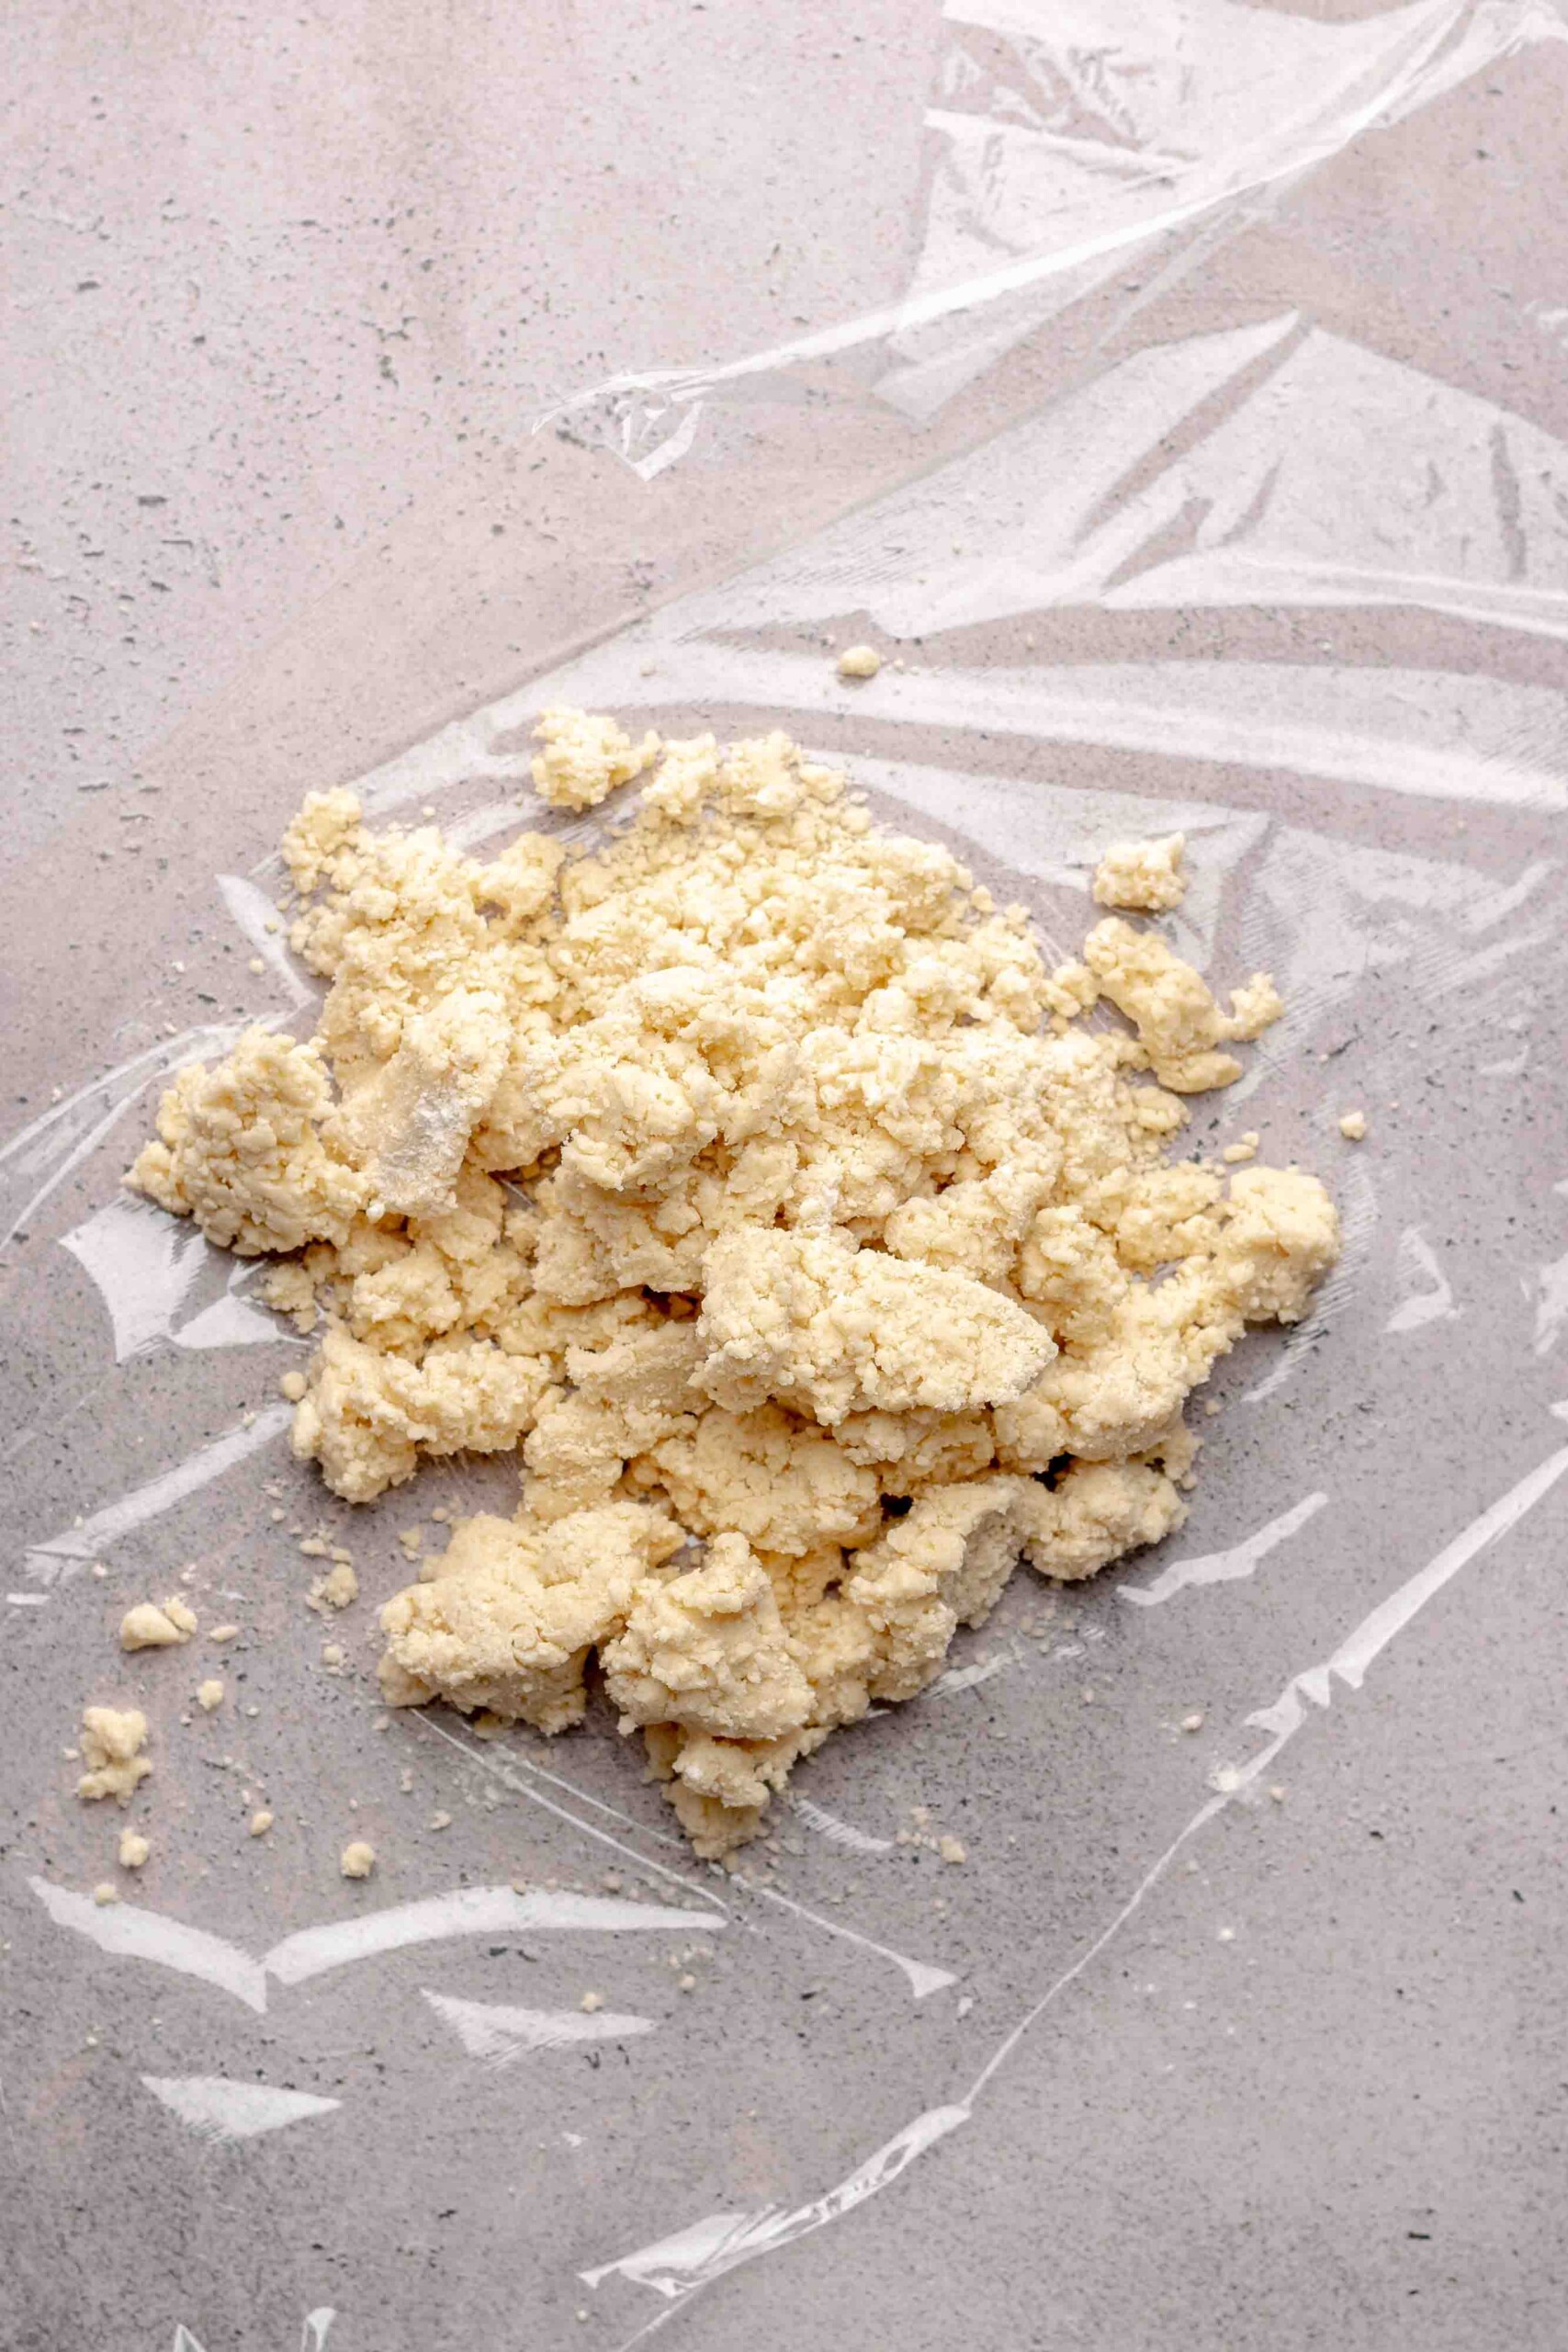
Four: Transfer the dough to a large piece of plastic wrap.
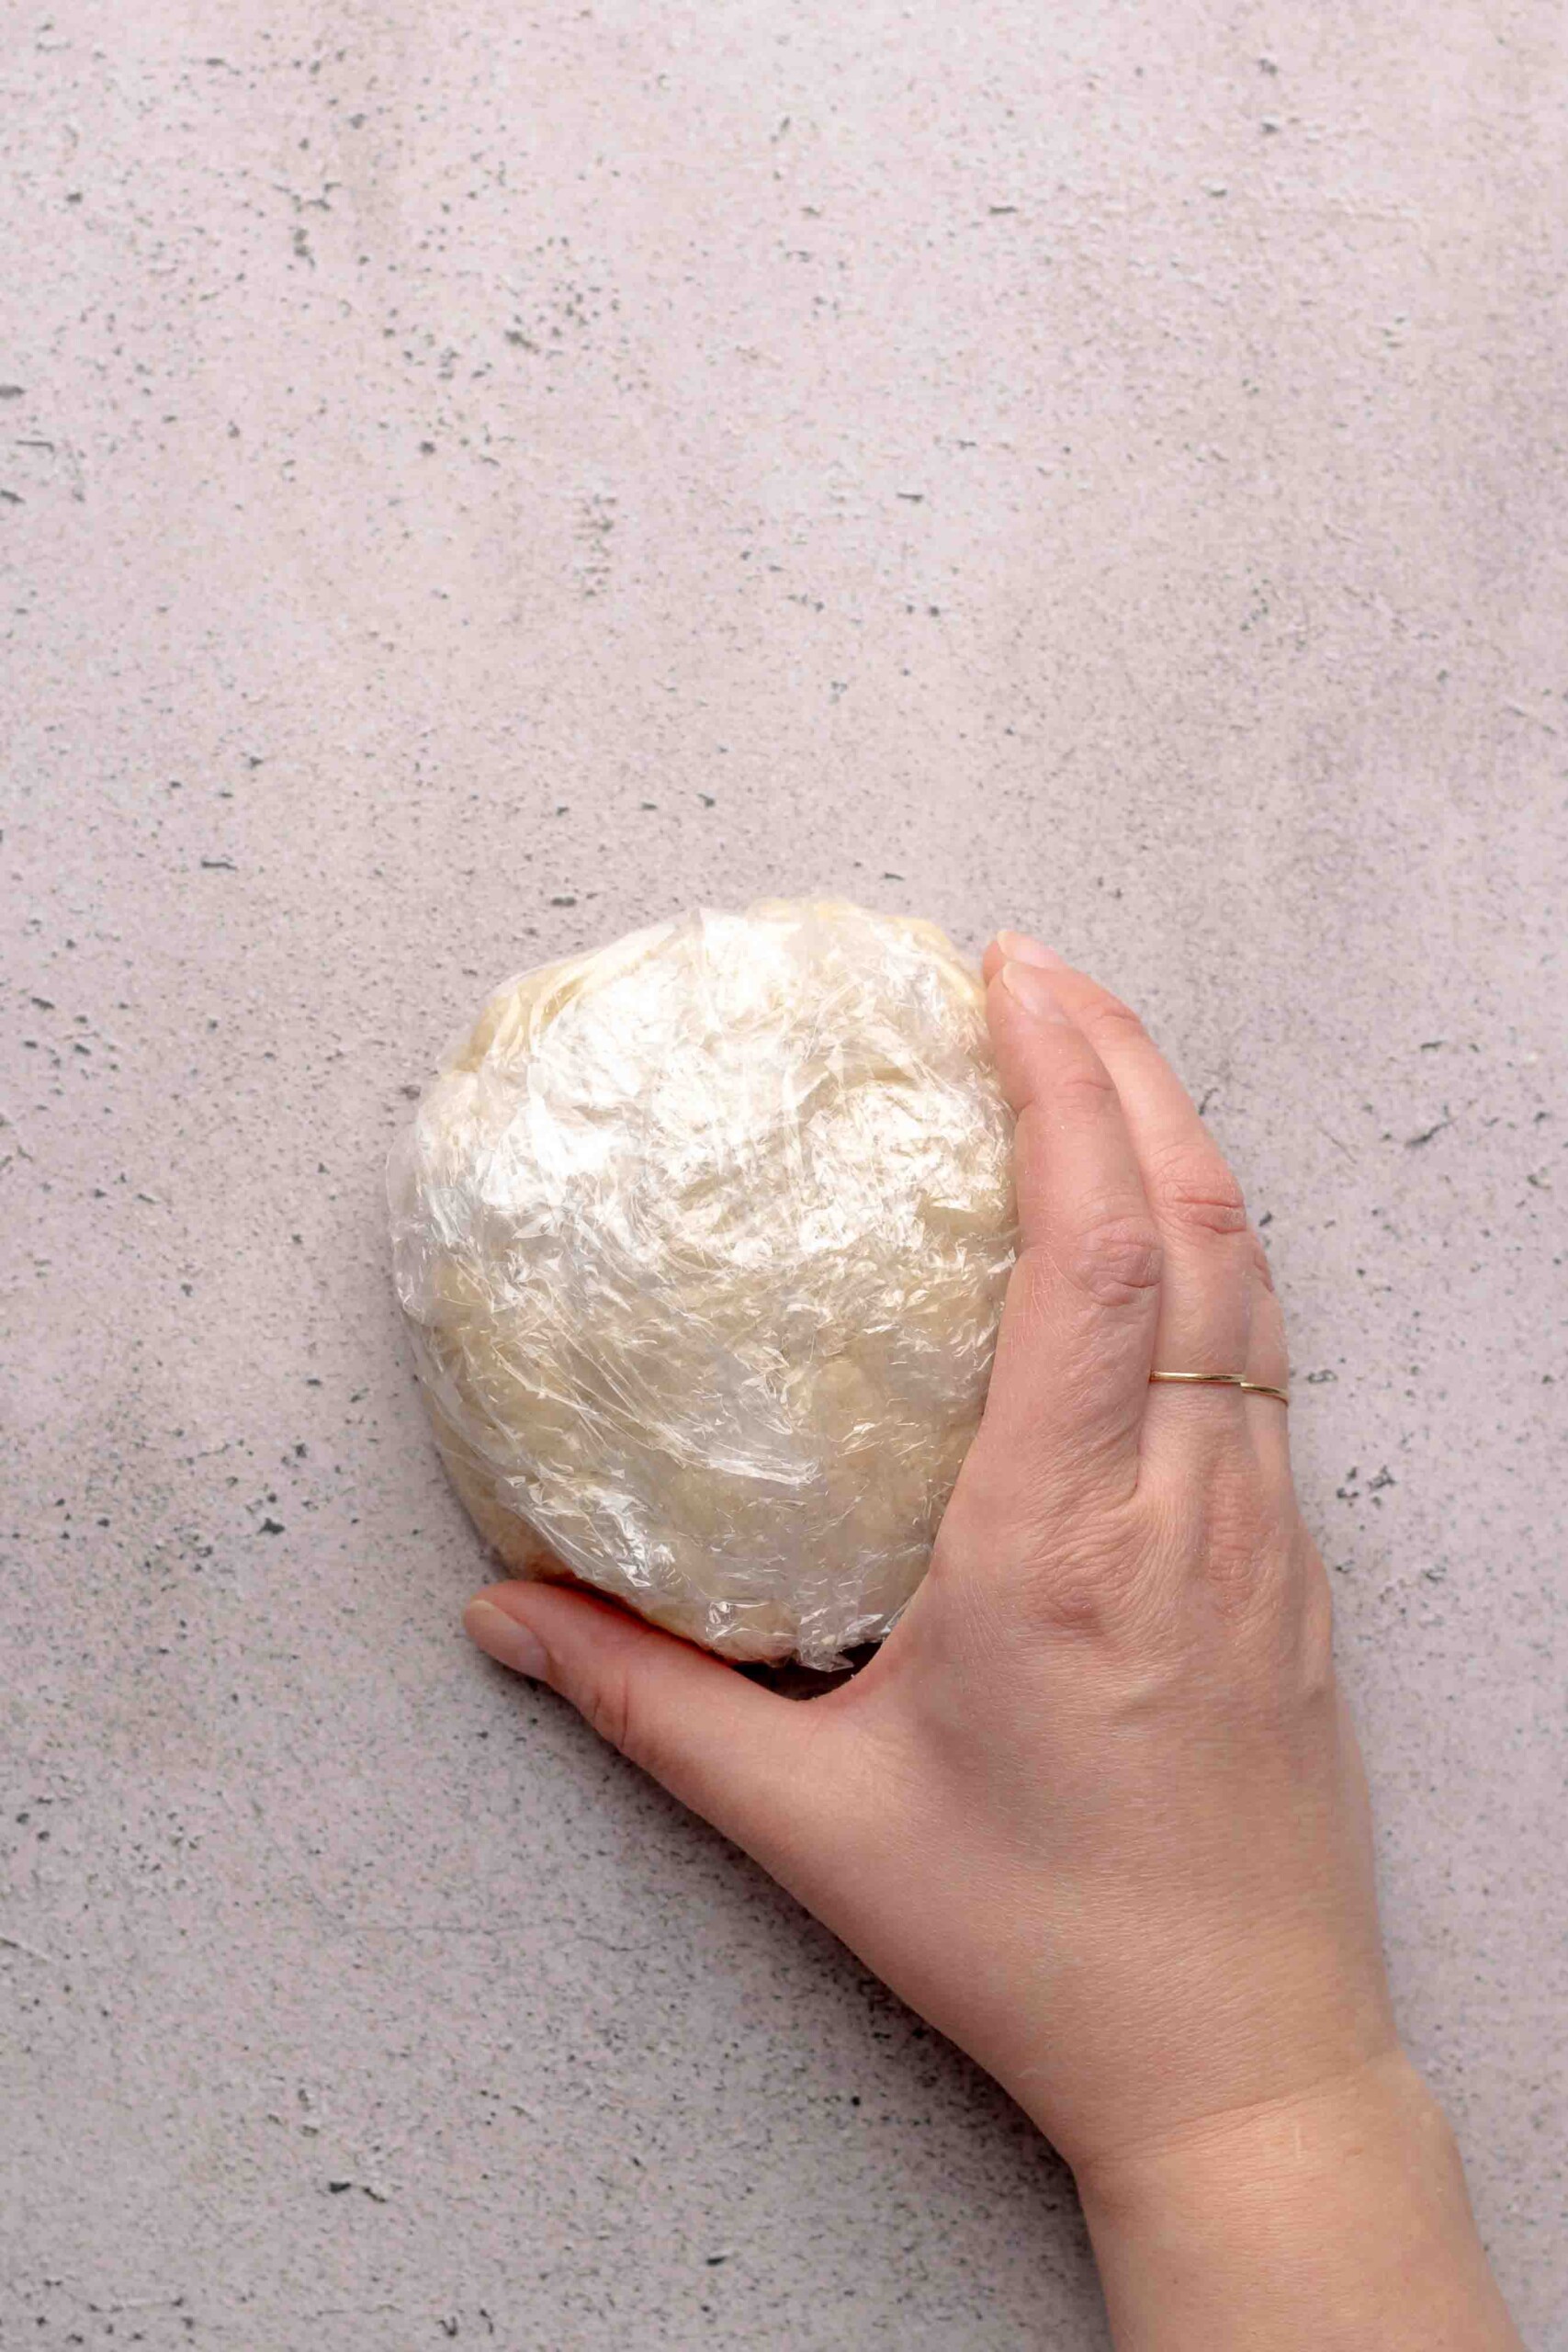
Five: Wrap up the dough, and use your hands to press it into a mound.
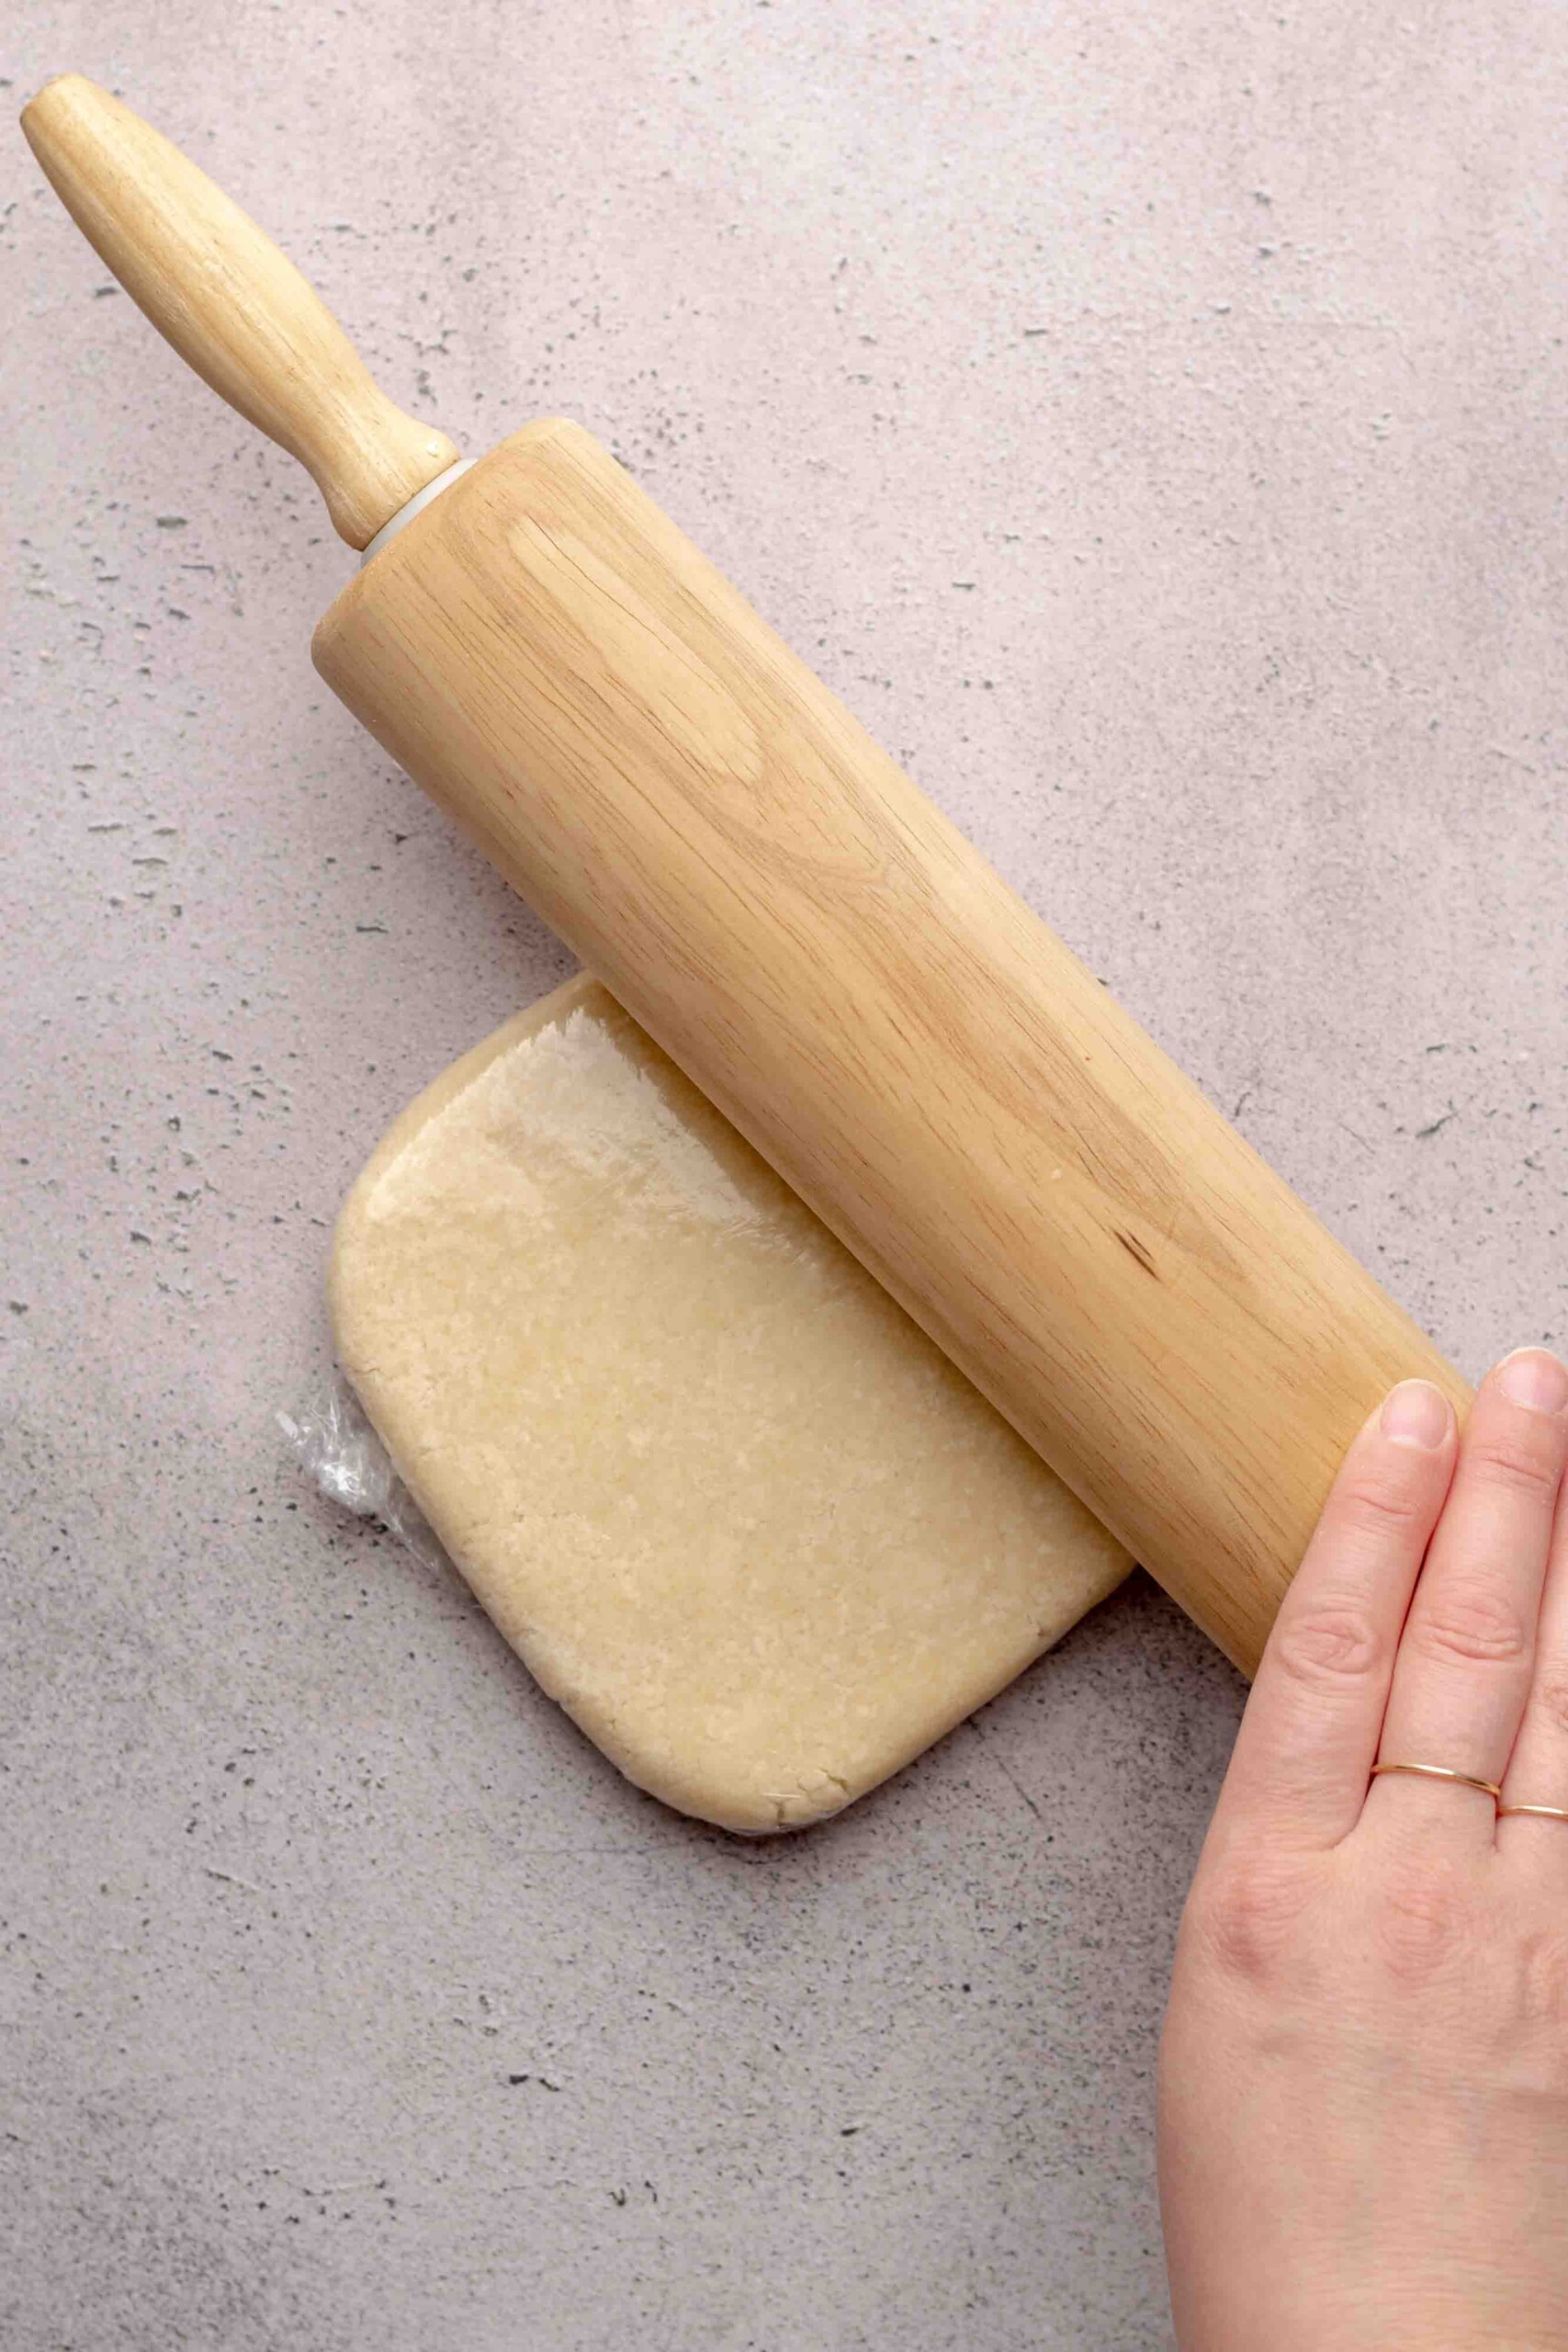
Six: Use a rolling pin to roll the dough into a disc, then refrigerate for at least 2 hours.
Hot tip! Don't skip the refrigeration process. This allows the dough to hydrate which produces a tender, smooth dough. An overnight rest is best, but it must be at least 2 hours.
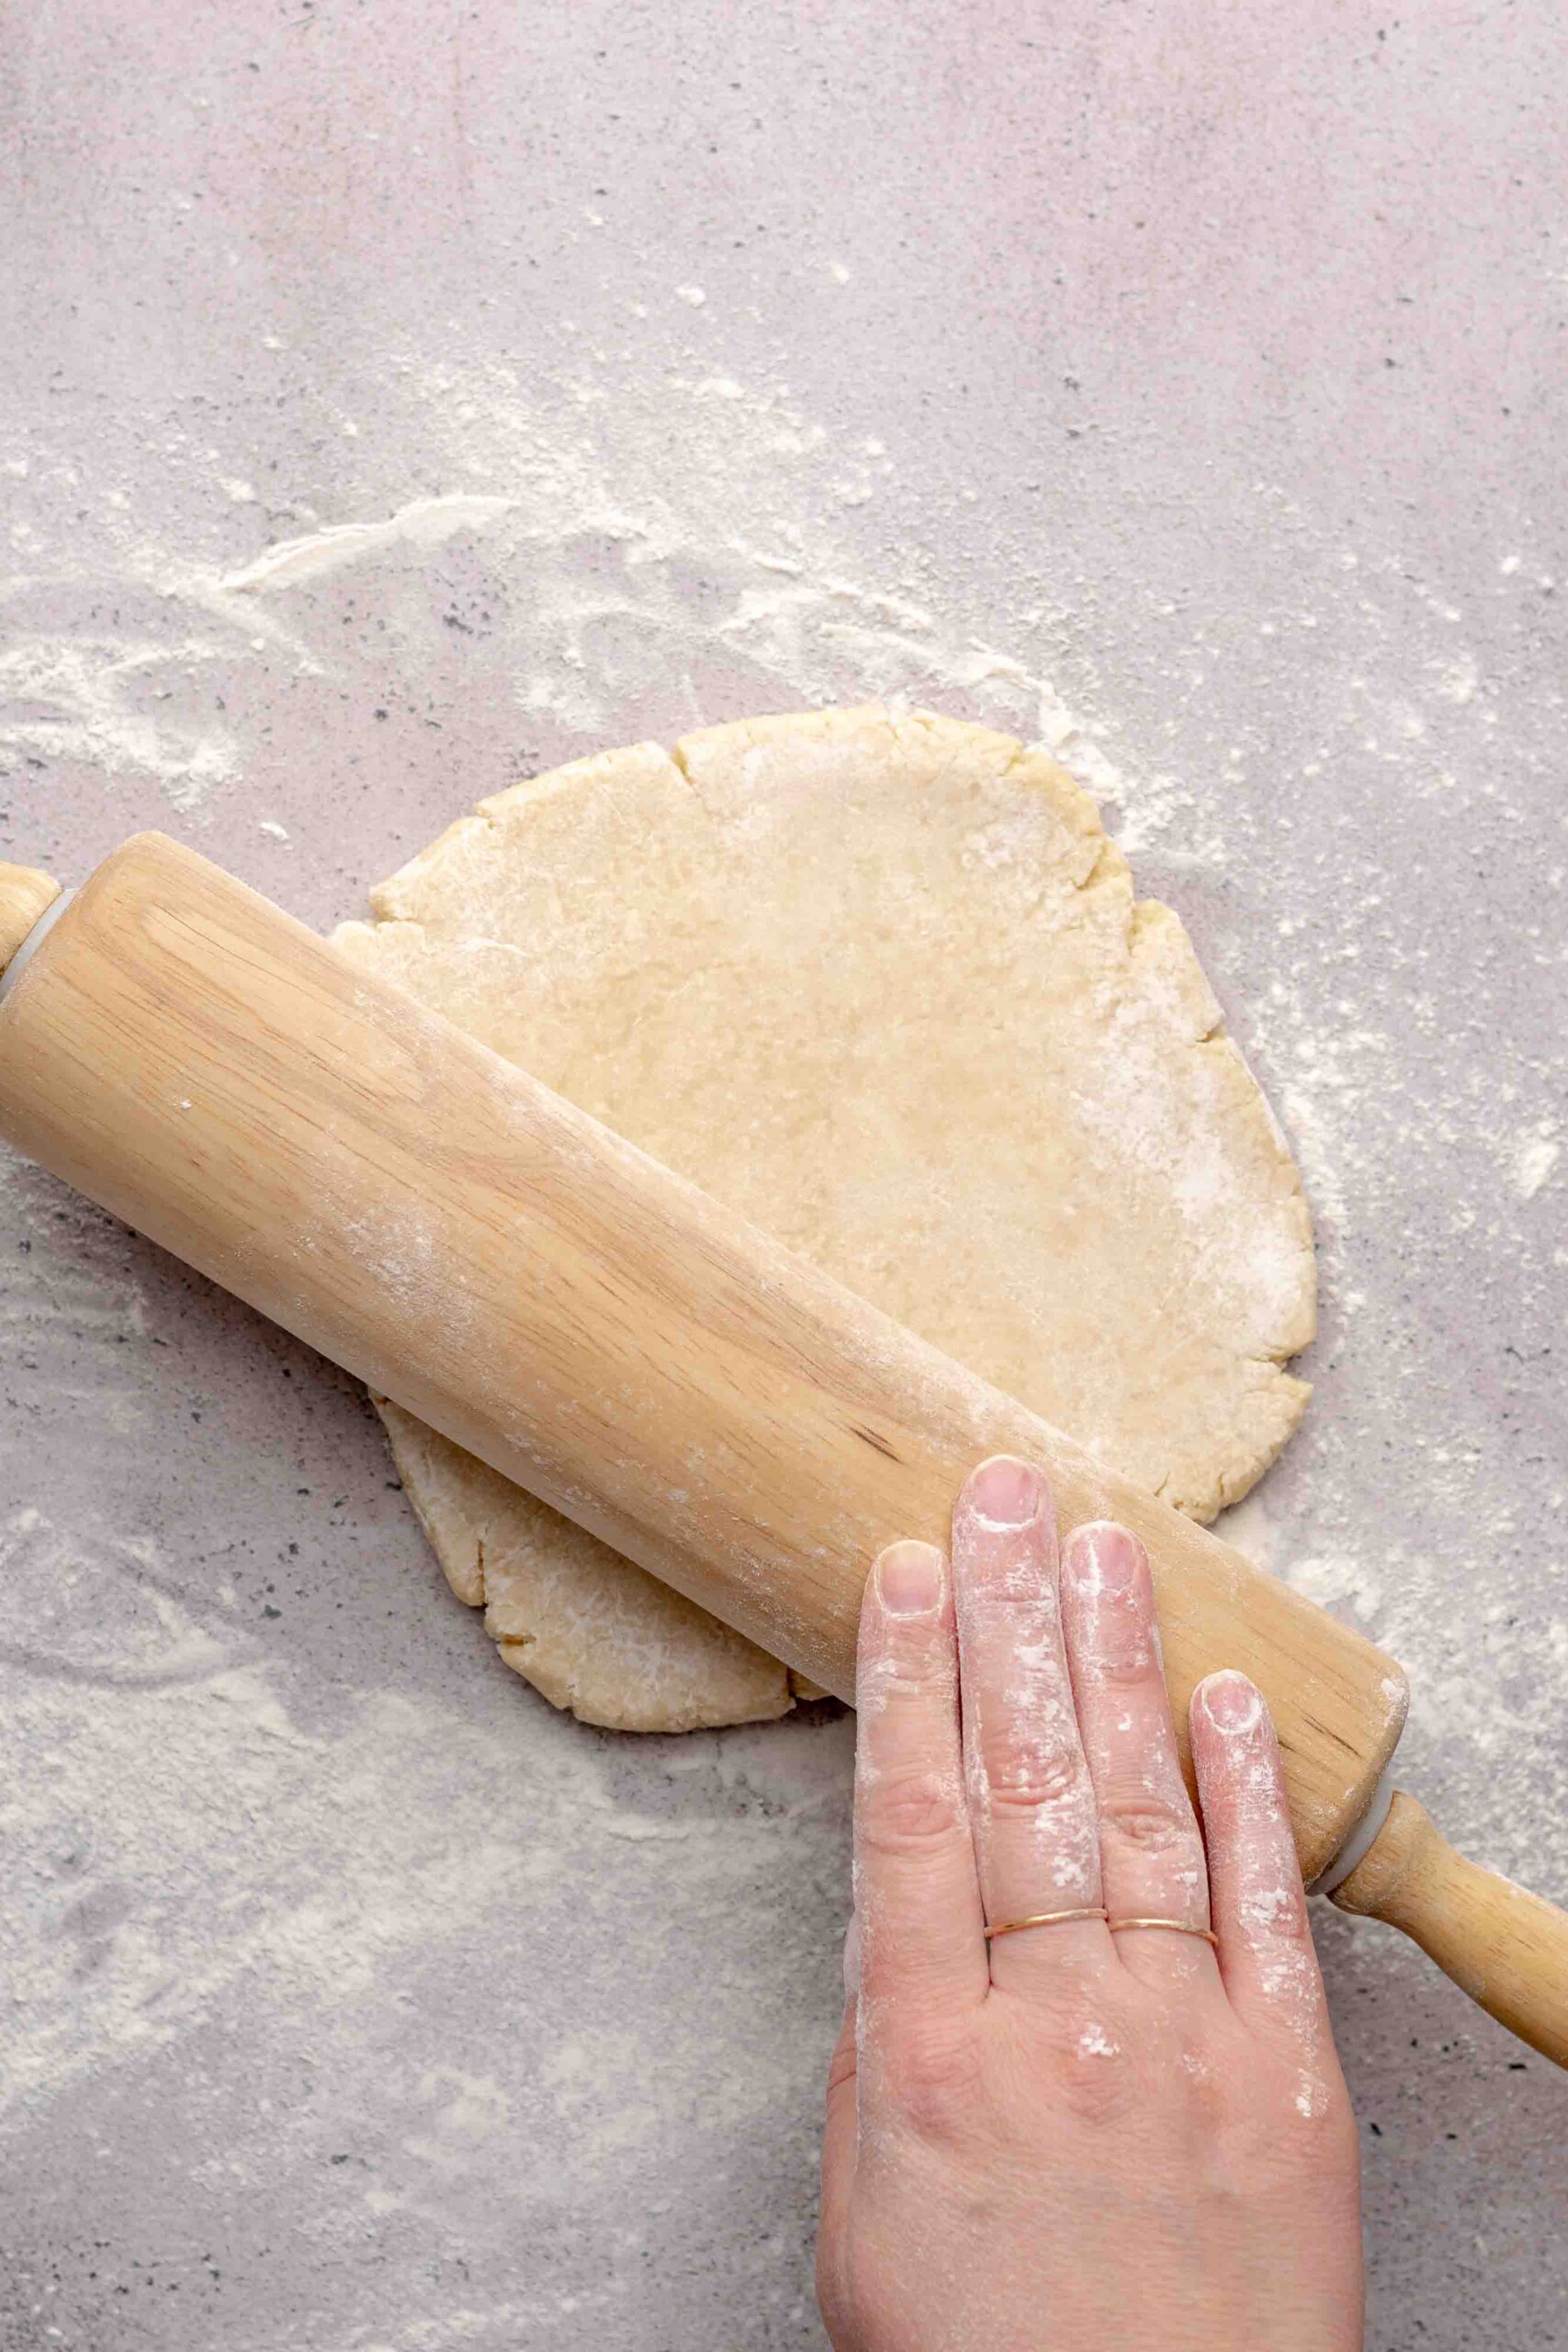
Seven: After refrigeration, flour a work surface and rolling pin and begin rolling out the dough.
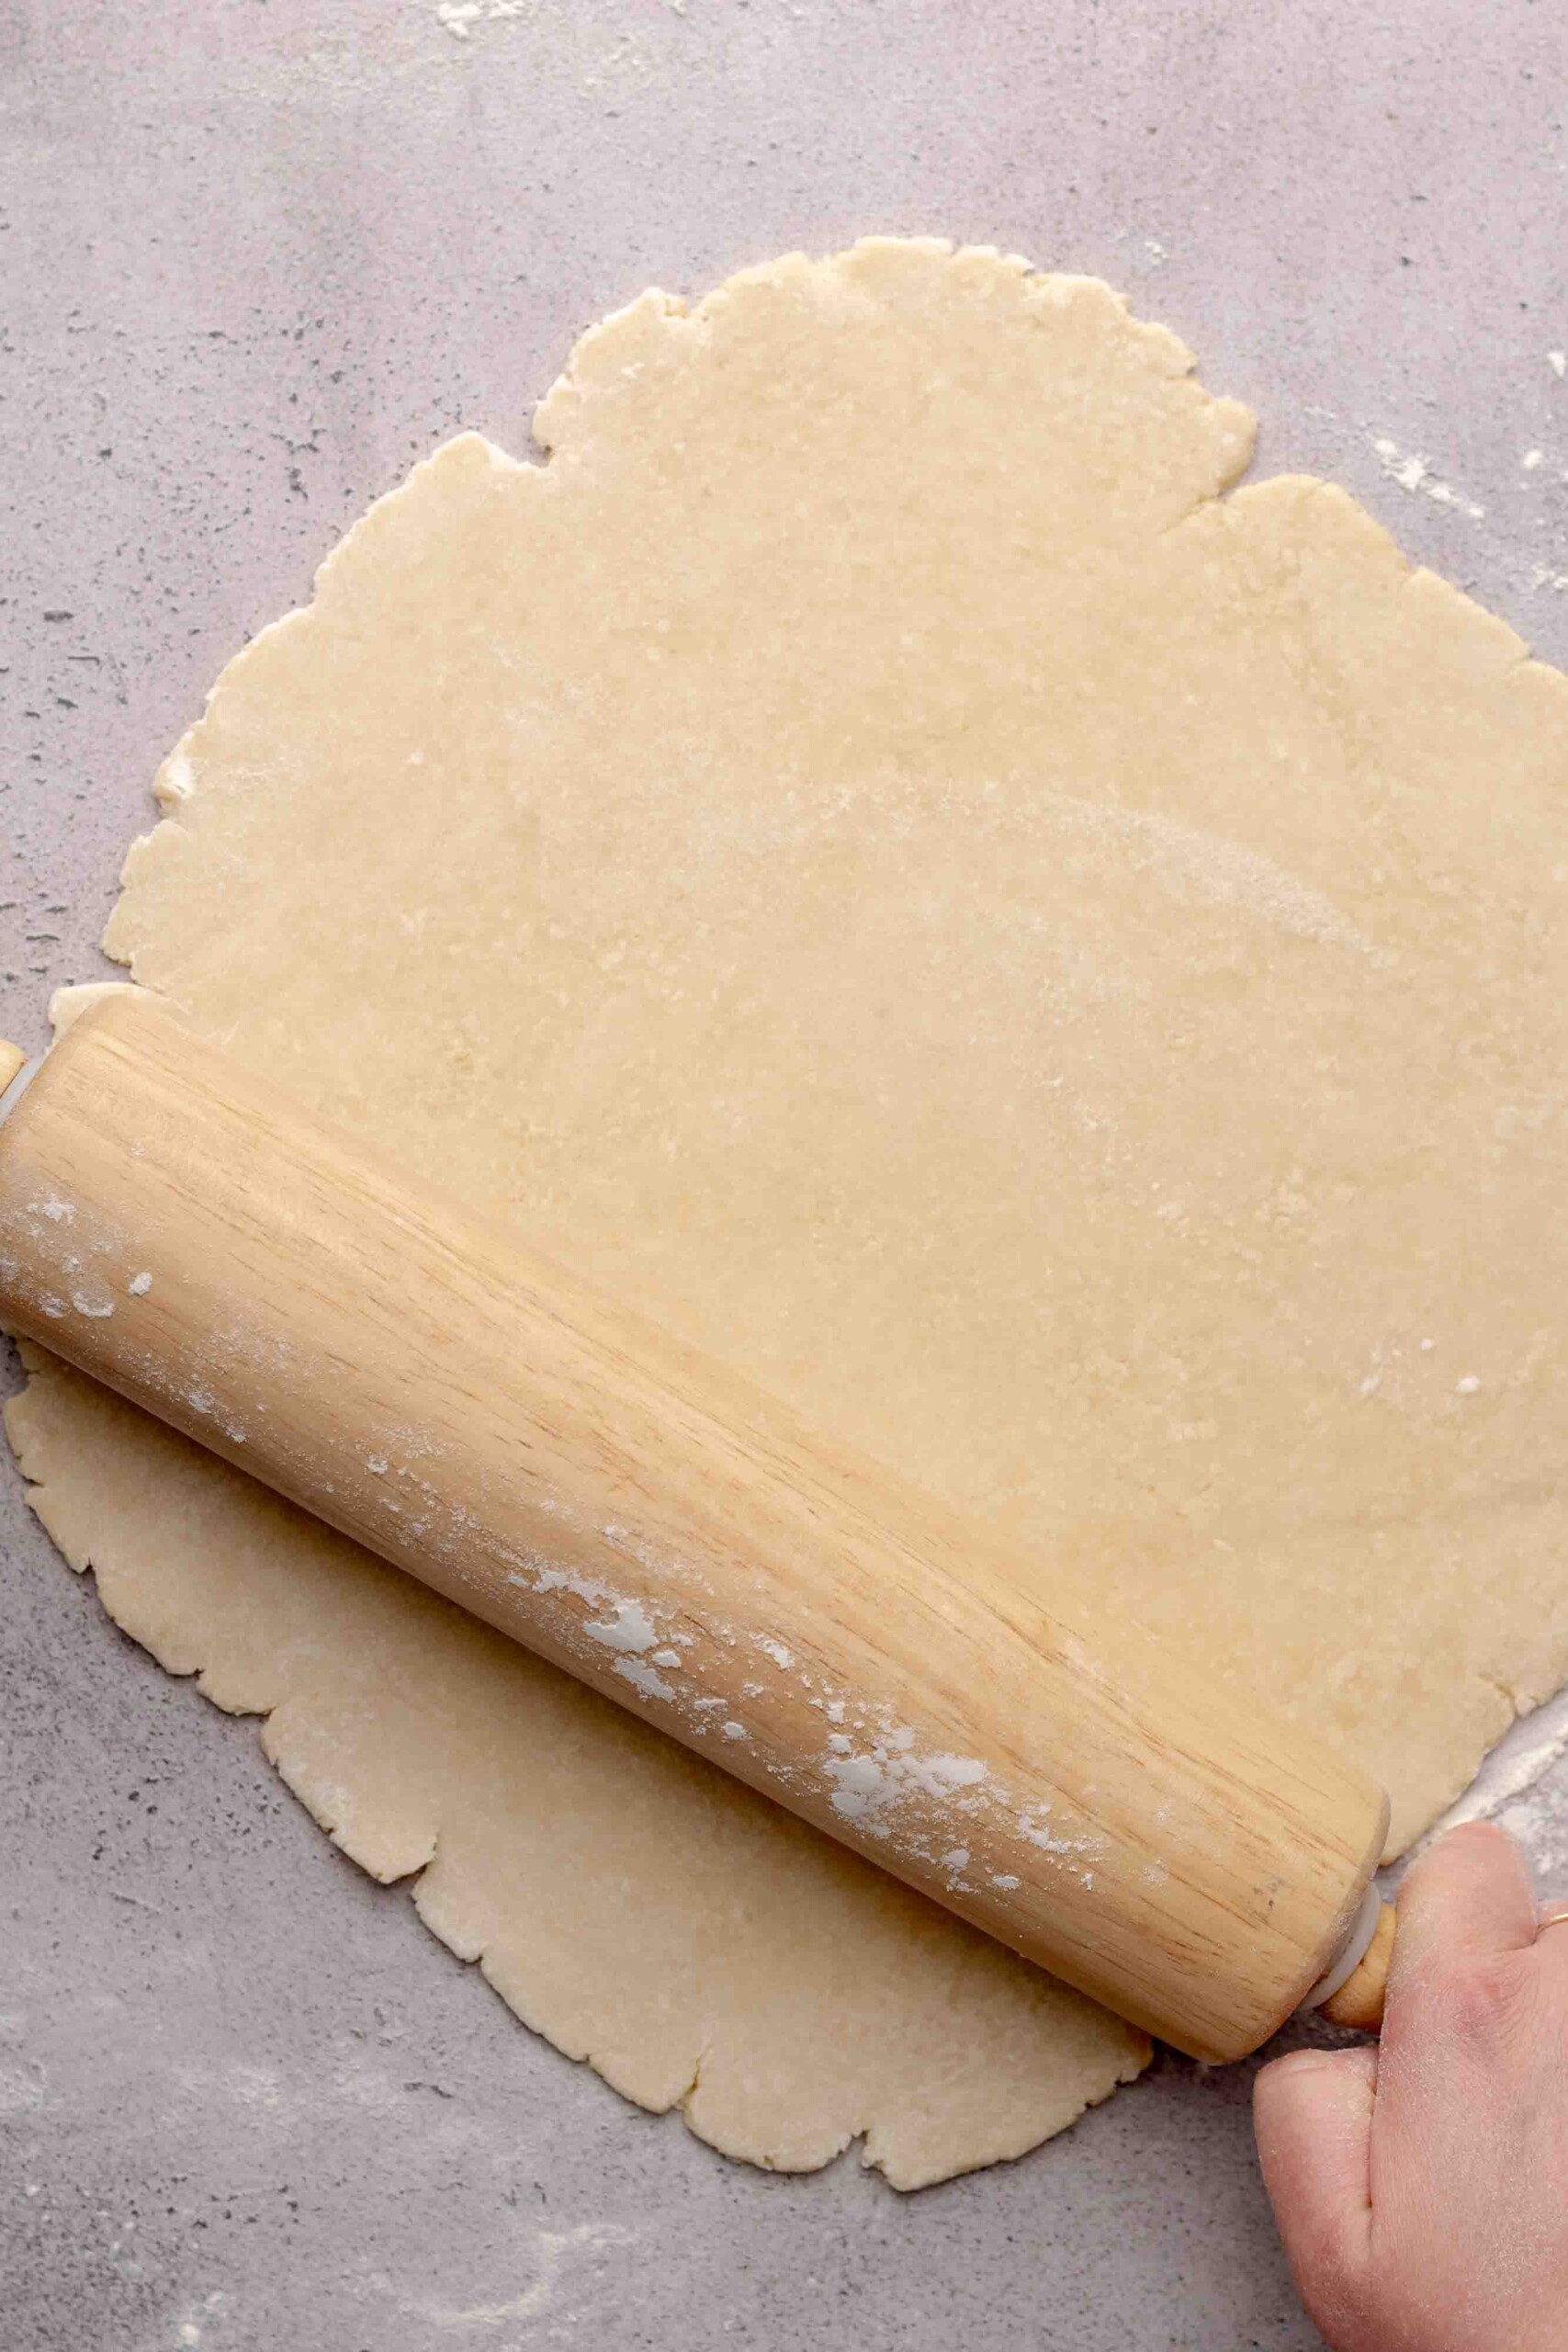
Eight: Continue rolling out the dough, turning quarter turns as you go, and re-flouring any areas that are sticking.
Watch the Video: How to roll out pie dough 🥧
Hot tip! If the dough is really cracking around the edges during the start of the rolling process, press the disc together with your hands, wait a few minutes then continue rolling.
Nine: Roll out the dough until it's about ⅛" thick and as round as possible.
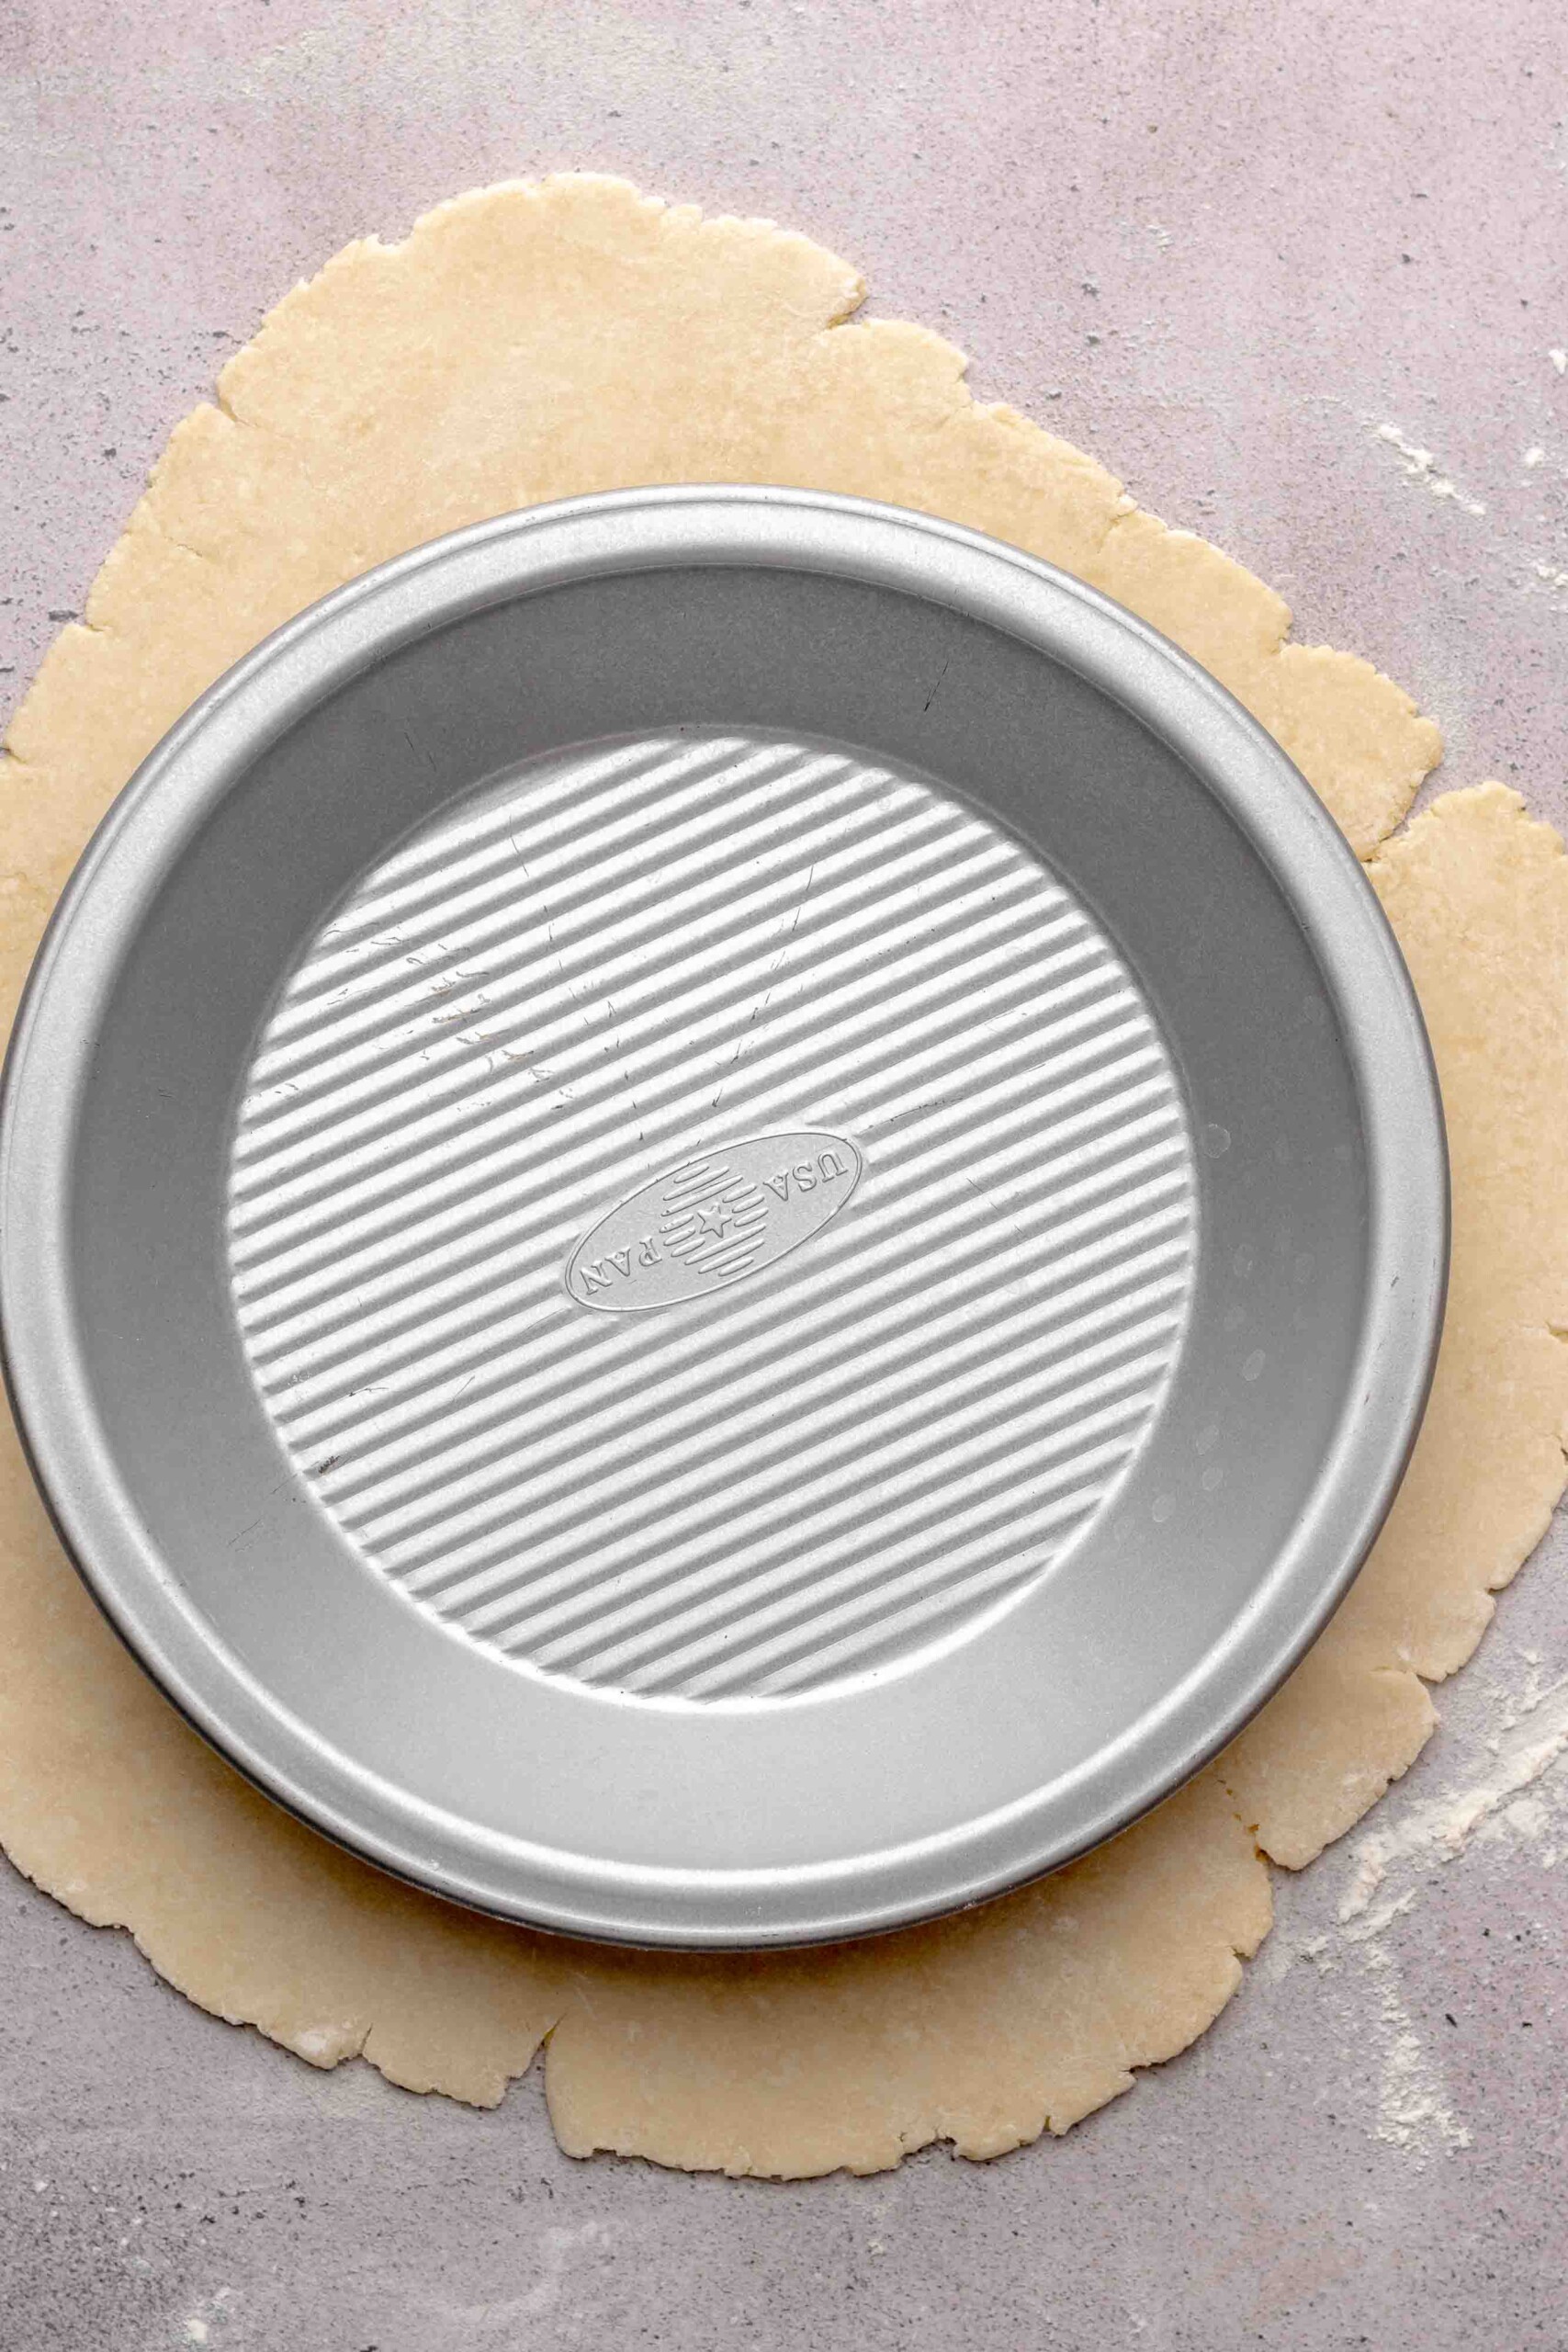
Ten: Add your pie in on top of the dough. The dough should be at least 1" wider than the dish all around.
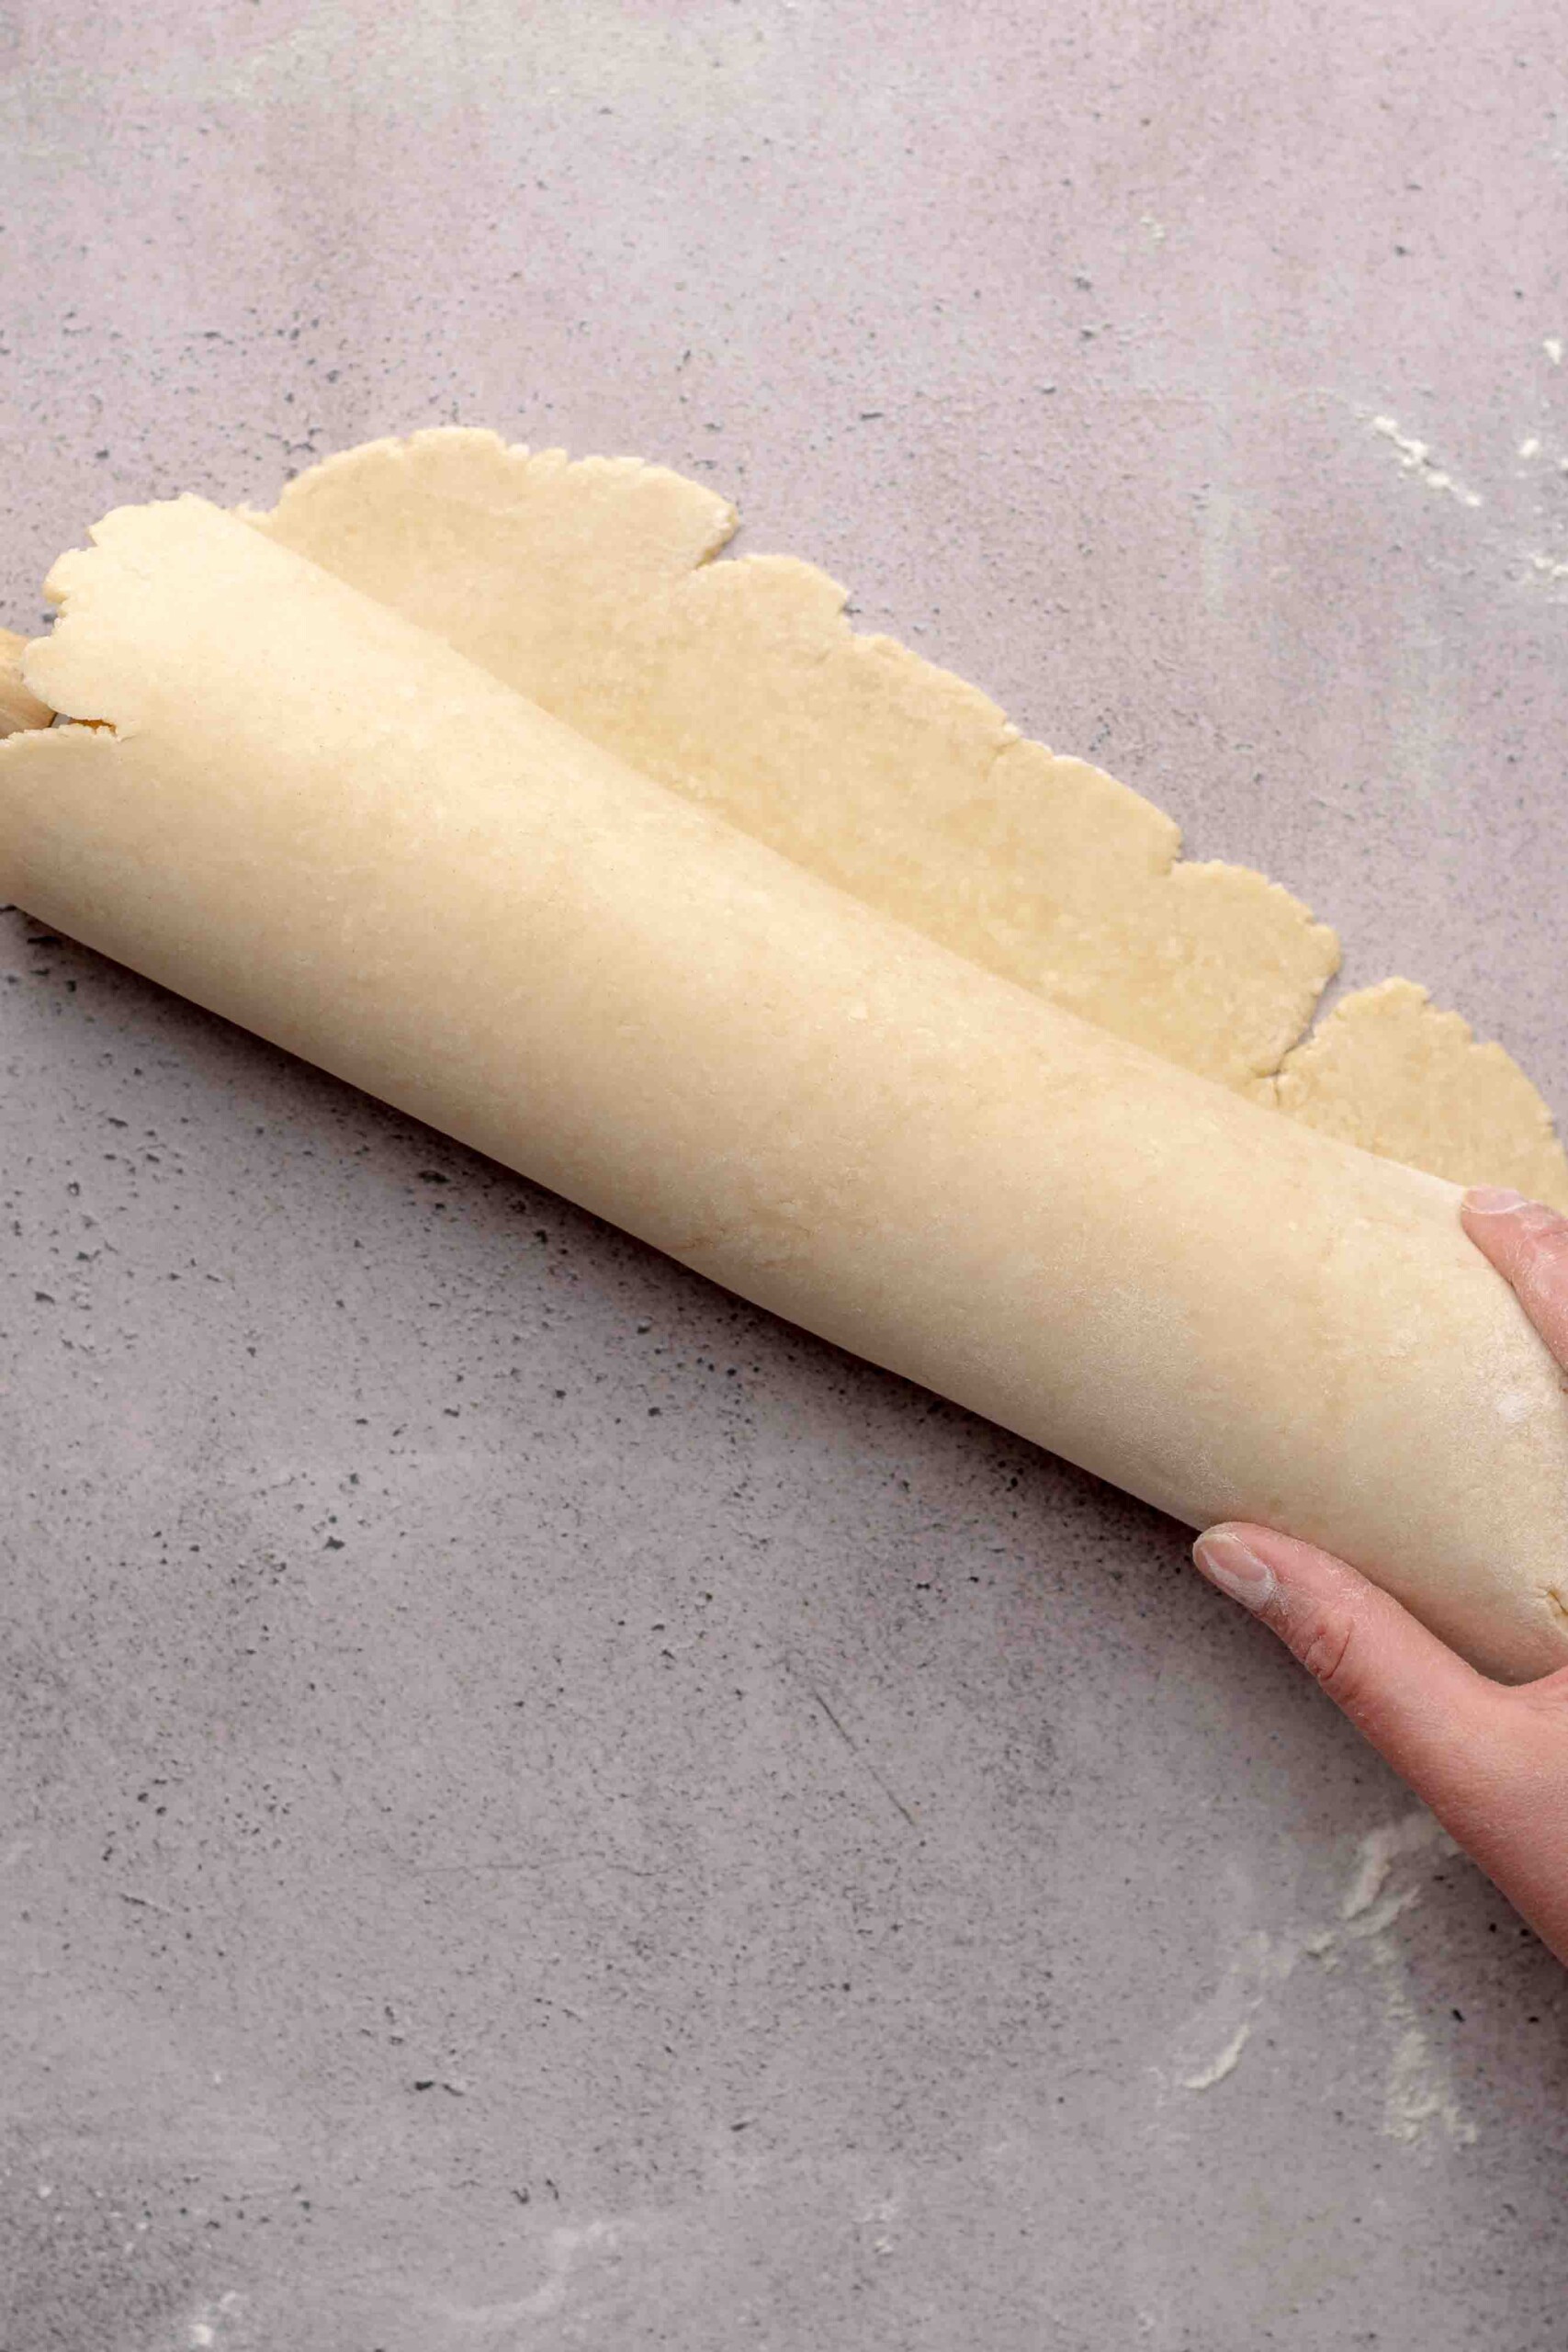
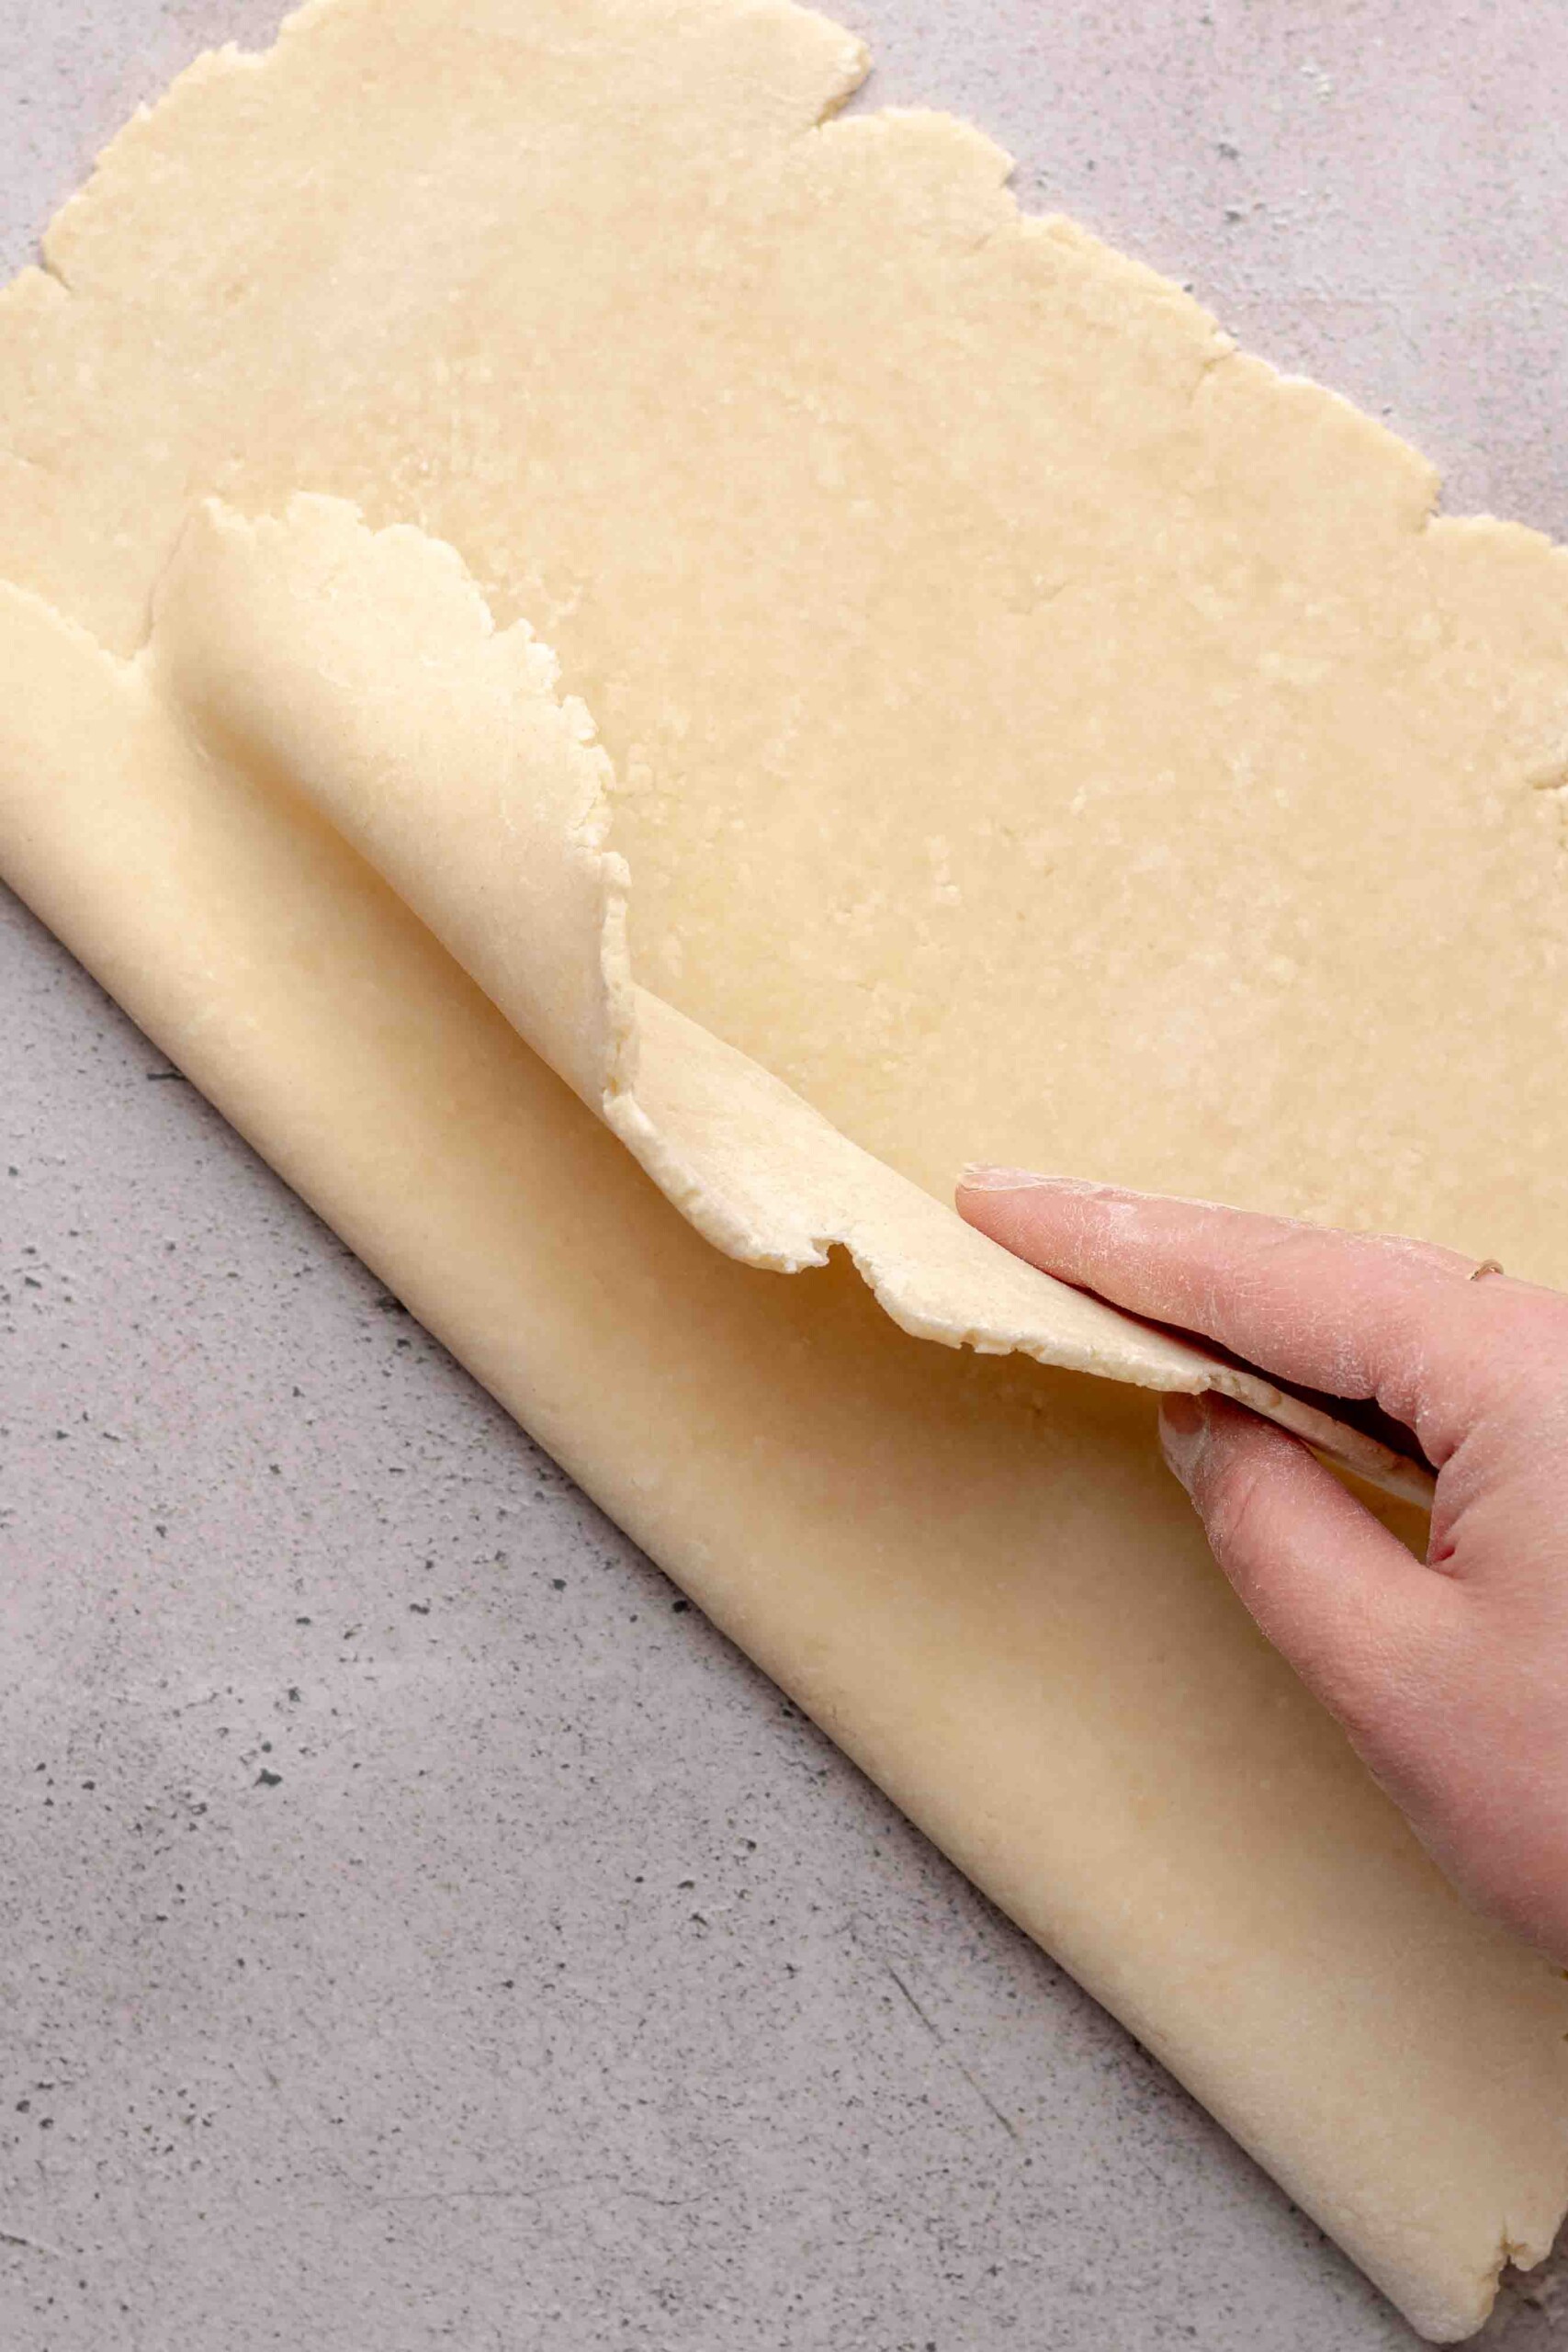
Eleven: Add the rolling pin to one side of the dough and roll it onto itself.
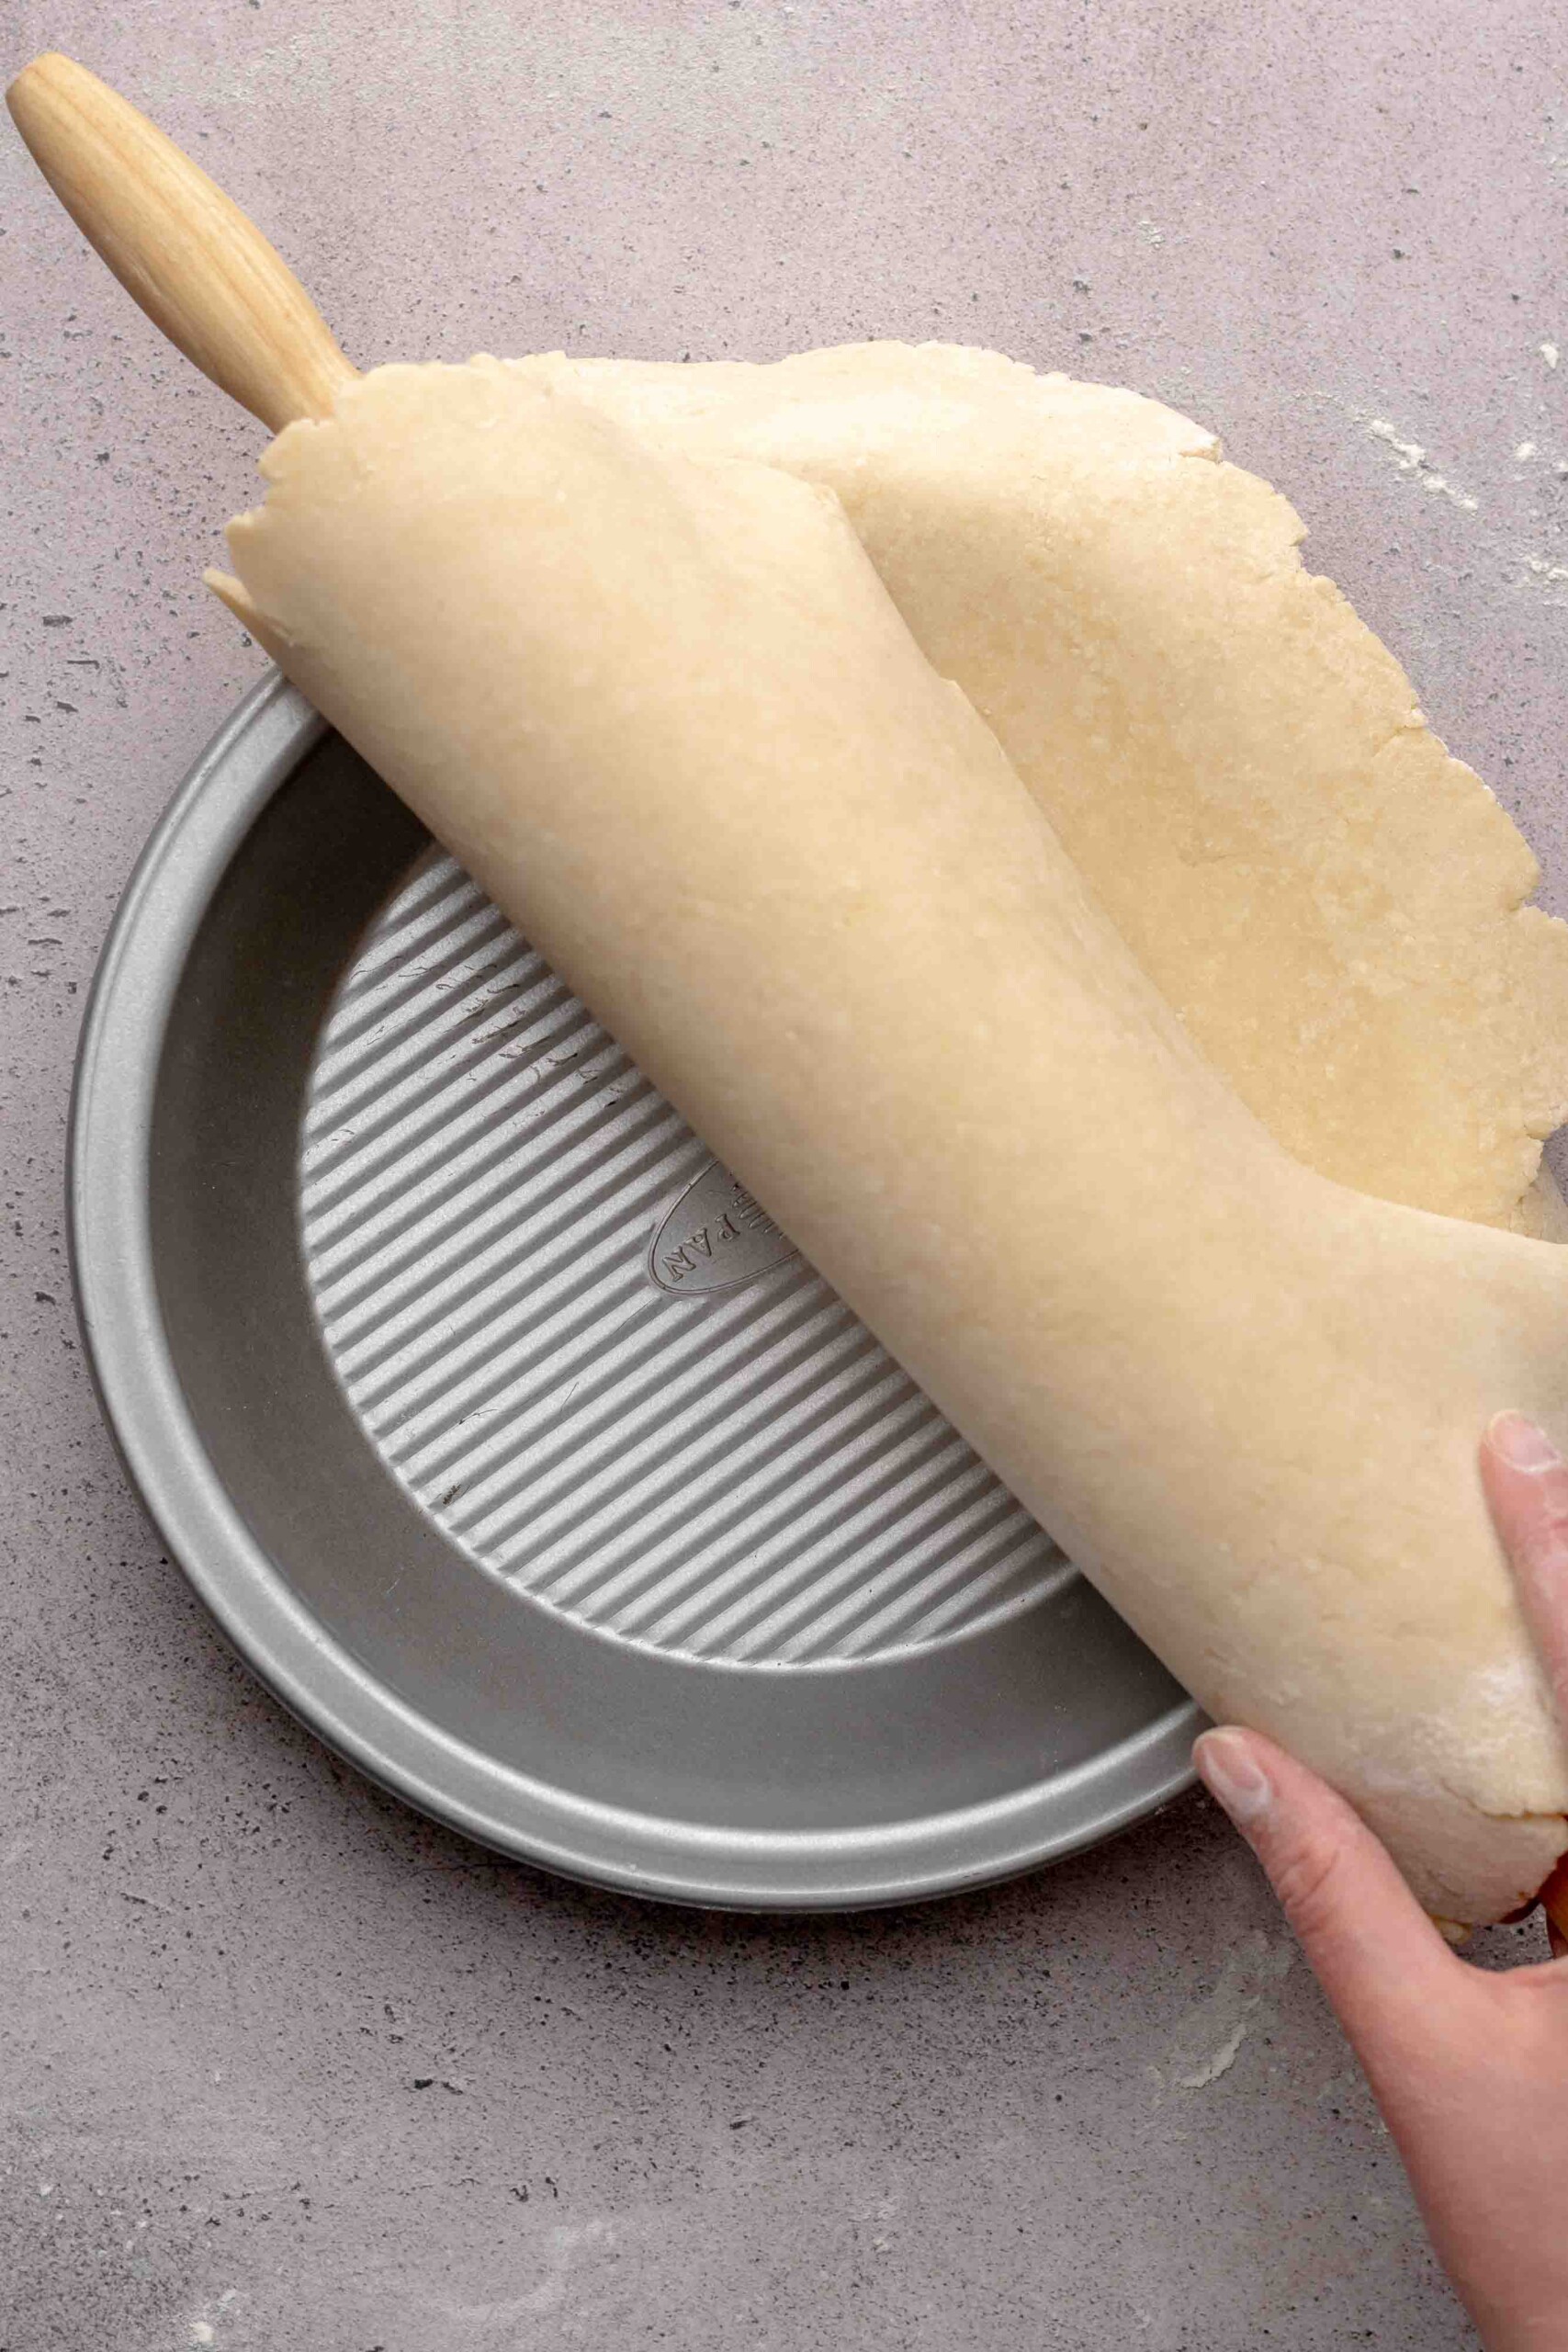
Twelve: Transfer the dough on one side of the pie dish, then unroll the dough.
Watch the Video: How to set the dough in the pie plate 🥧
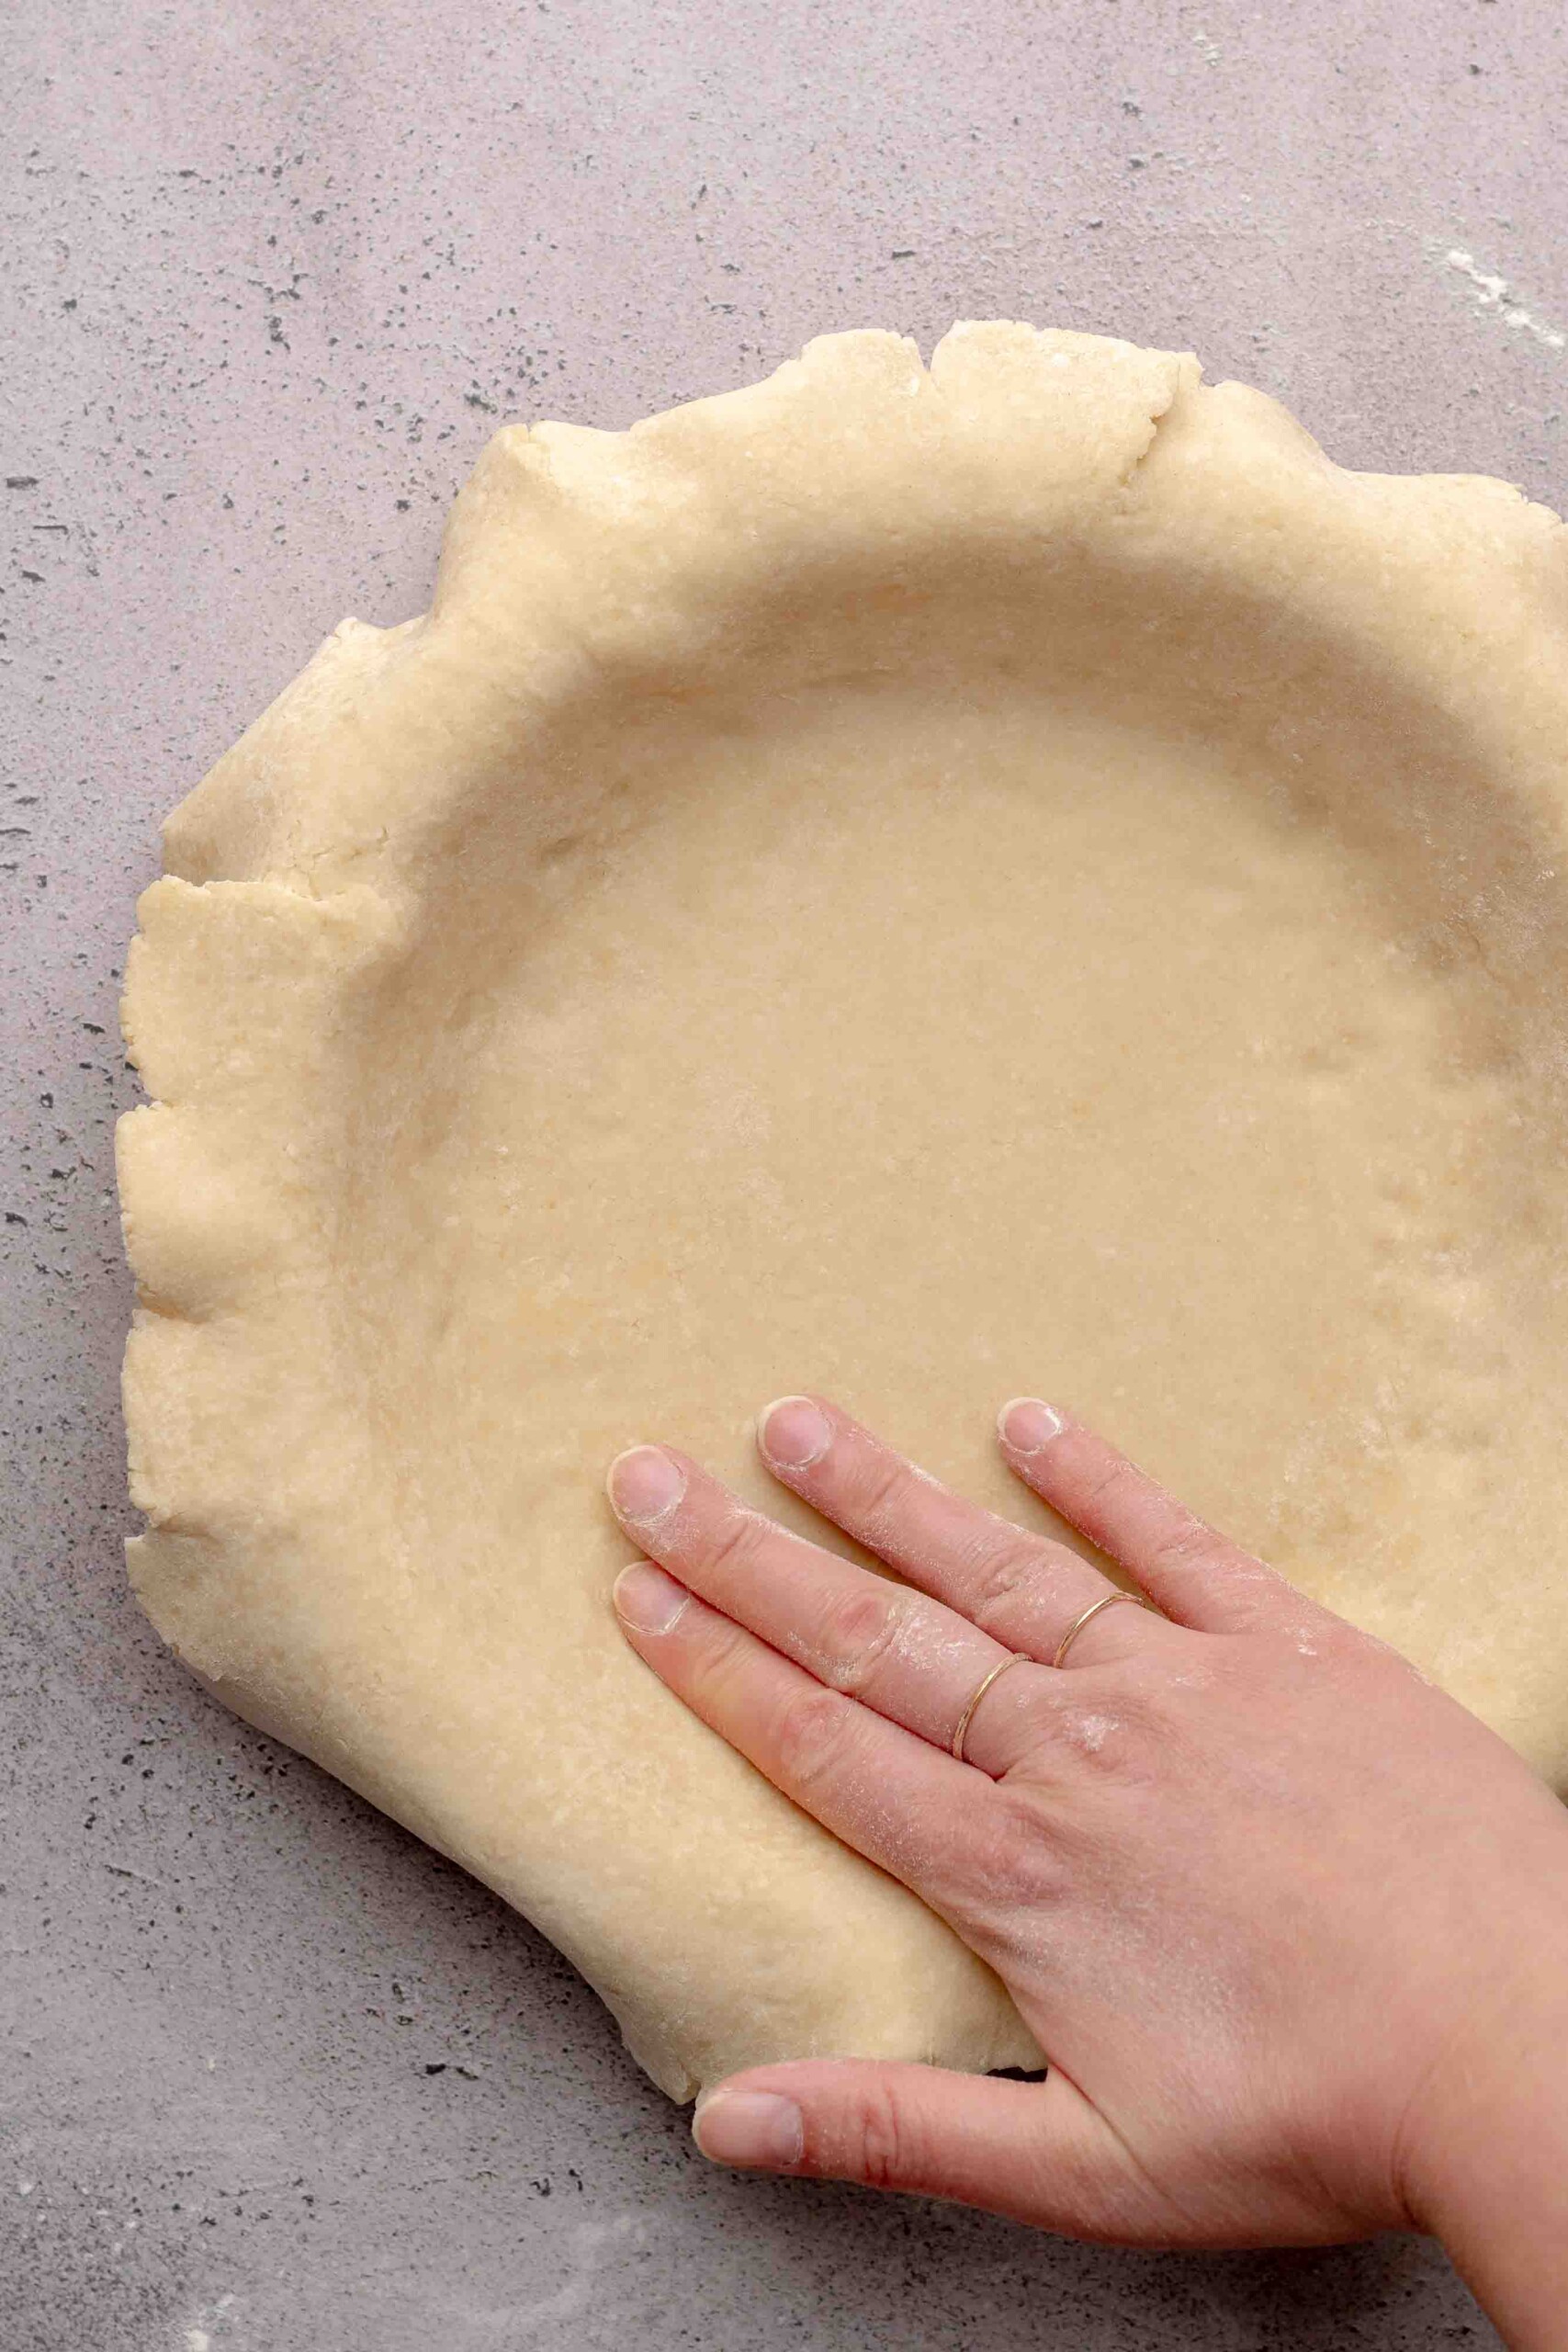
Thirteen: Press the dough into the sides and bottom of the pie dish, keeping the overhangs even all around.

Fourteen: Use kitchen shears to cut the dough so there's a 1" overhang around the dish.
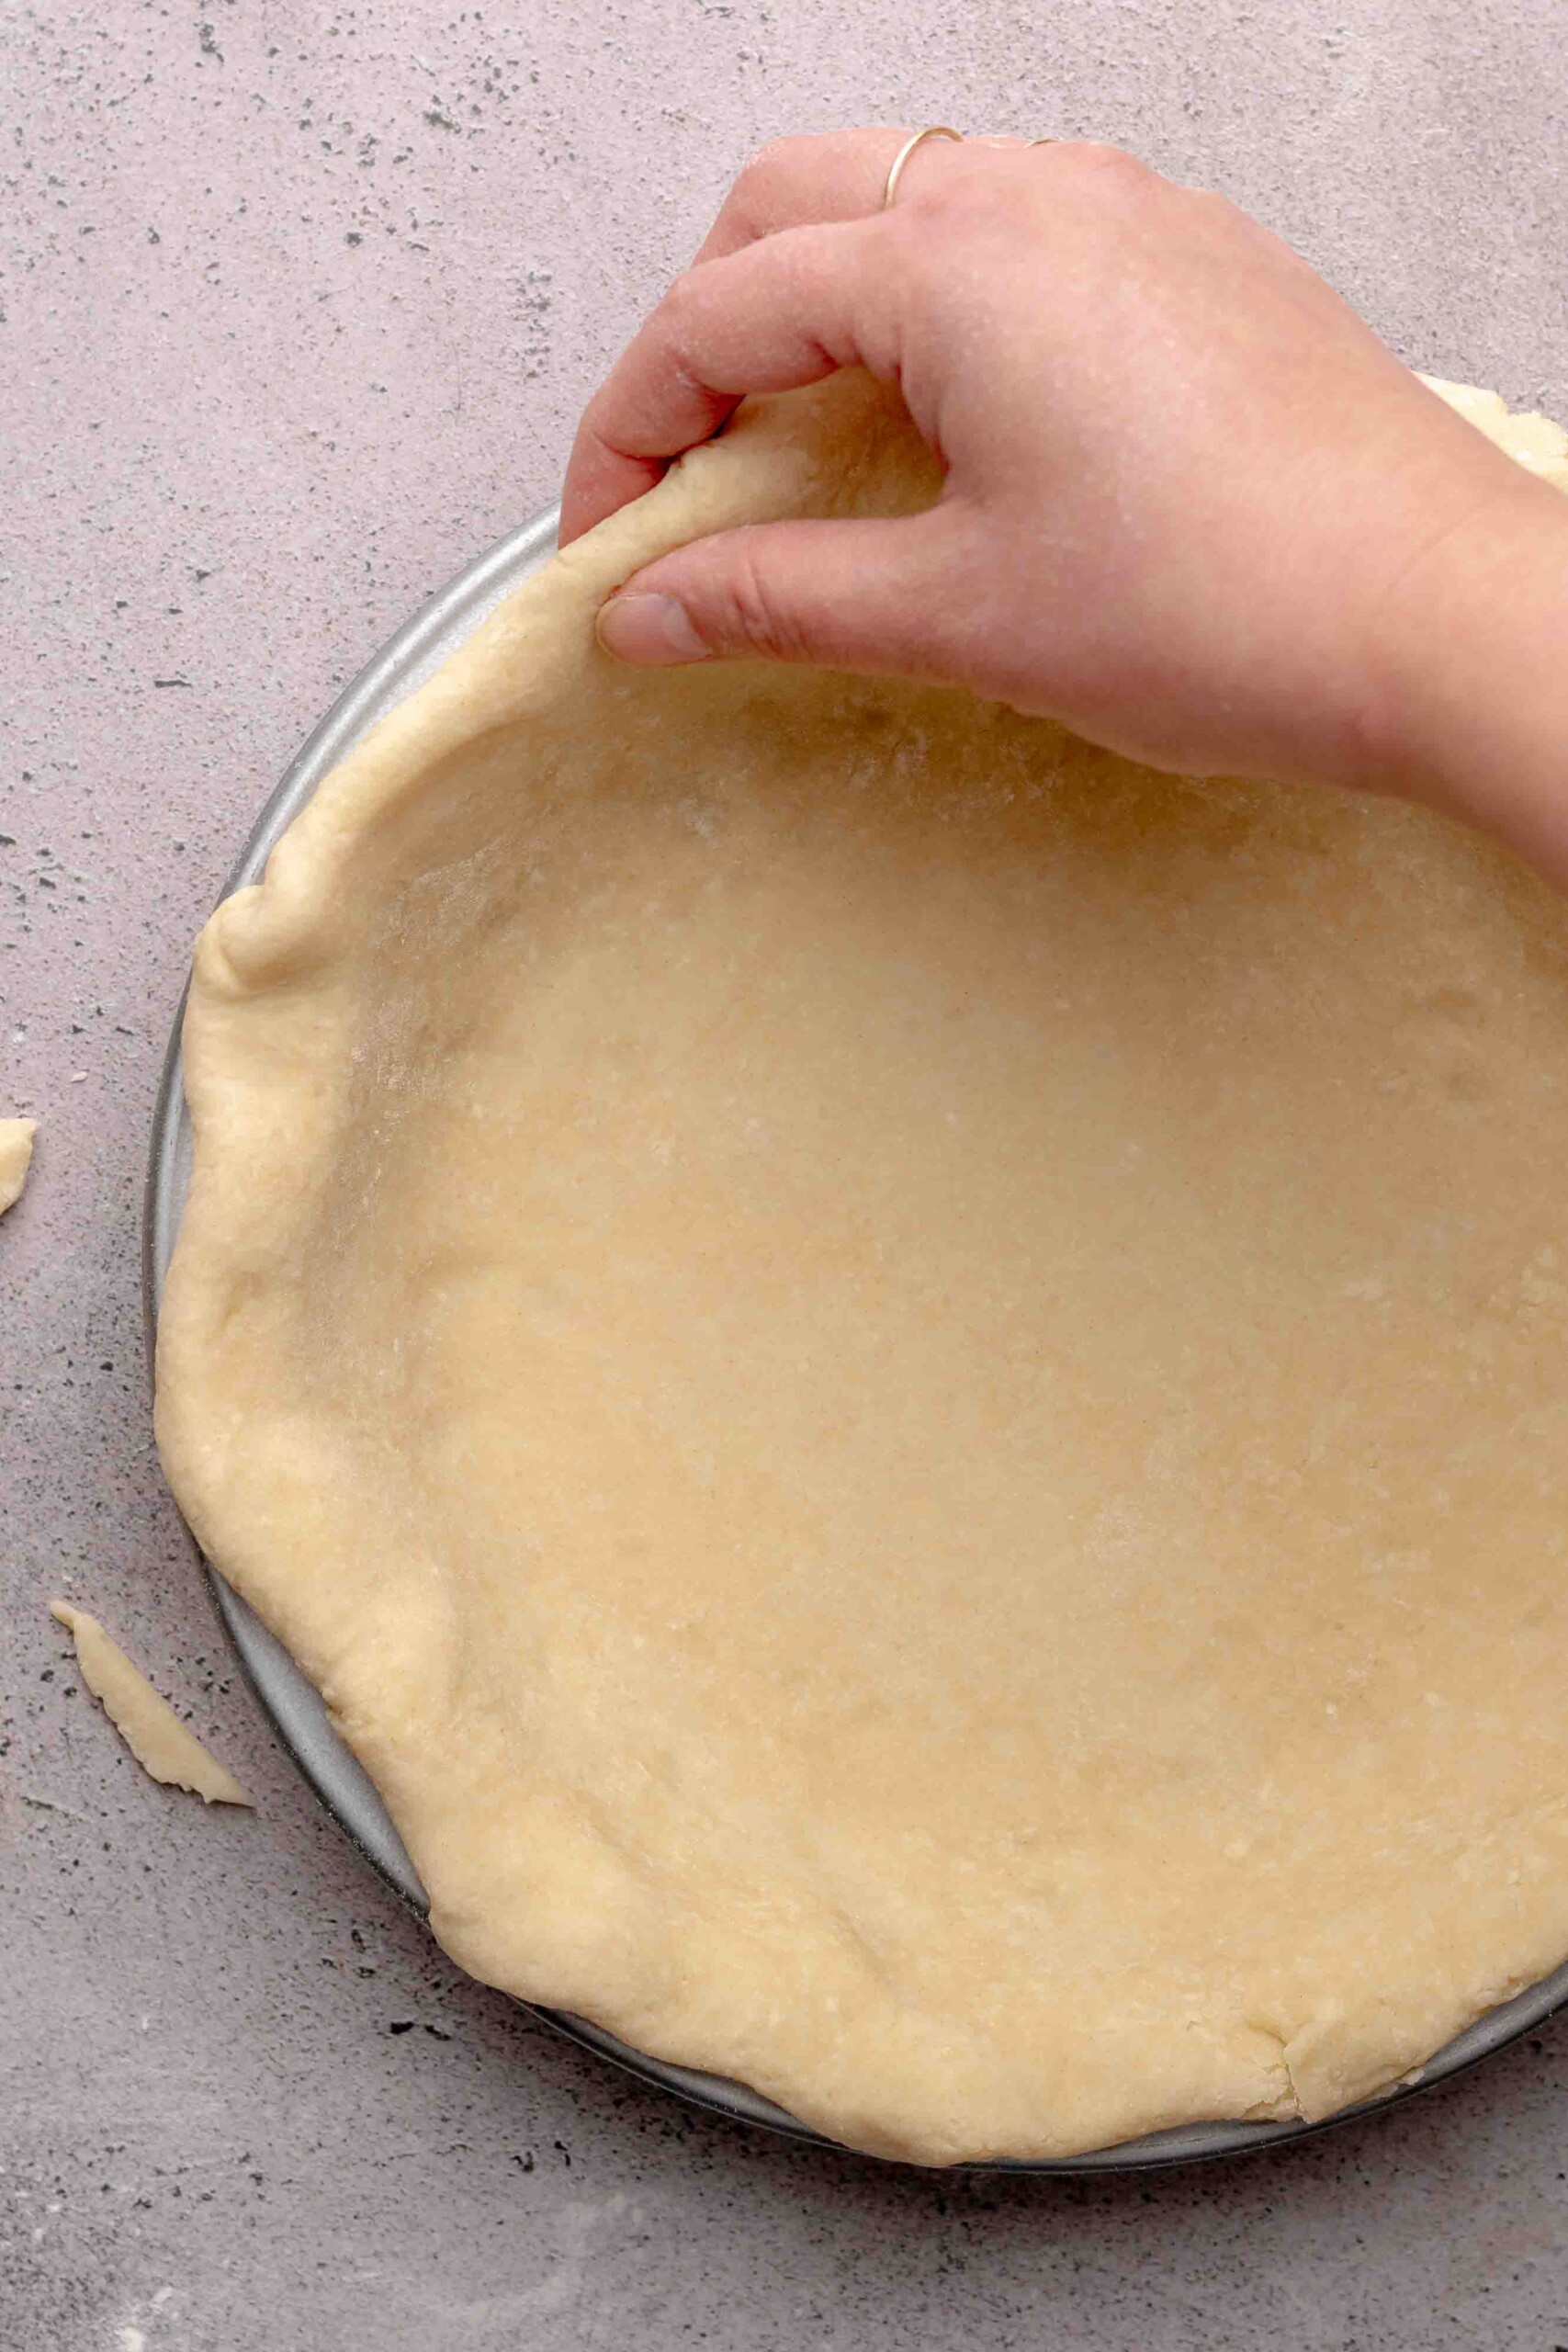
Fifteen: Fold the dough overhangs under itself, but on top of the edge of the pie dish.
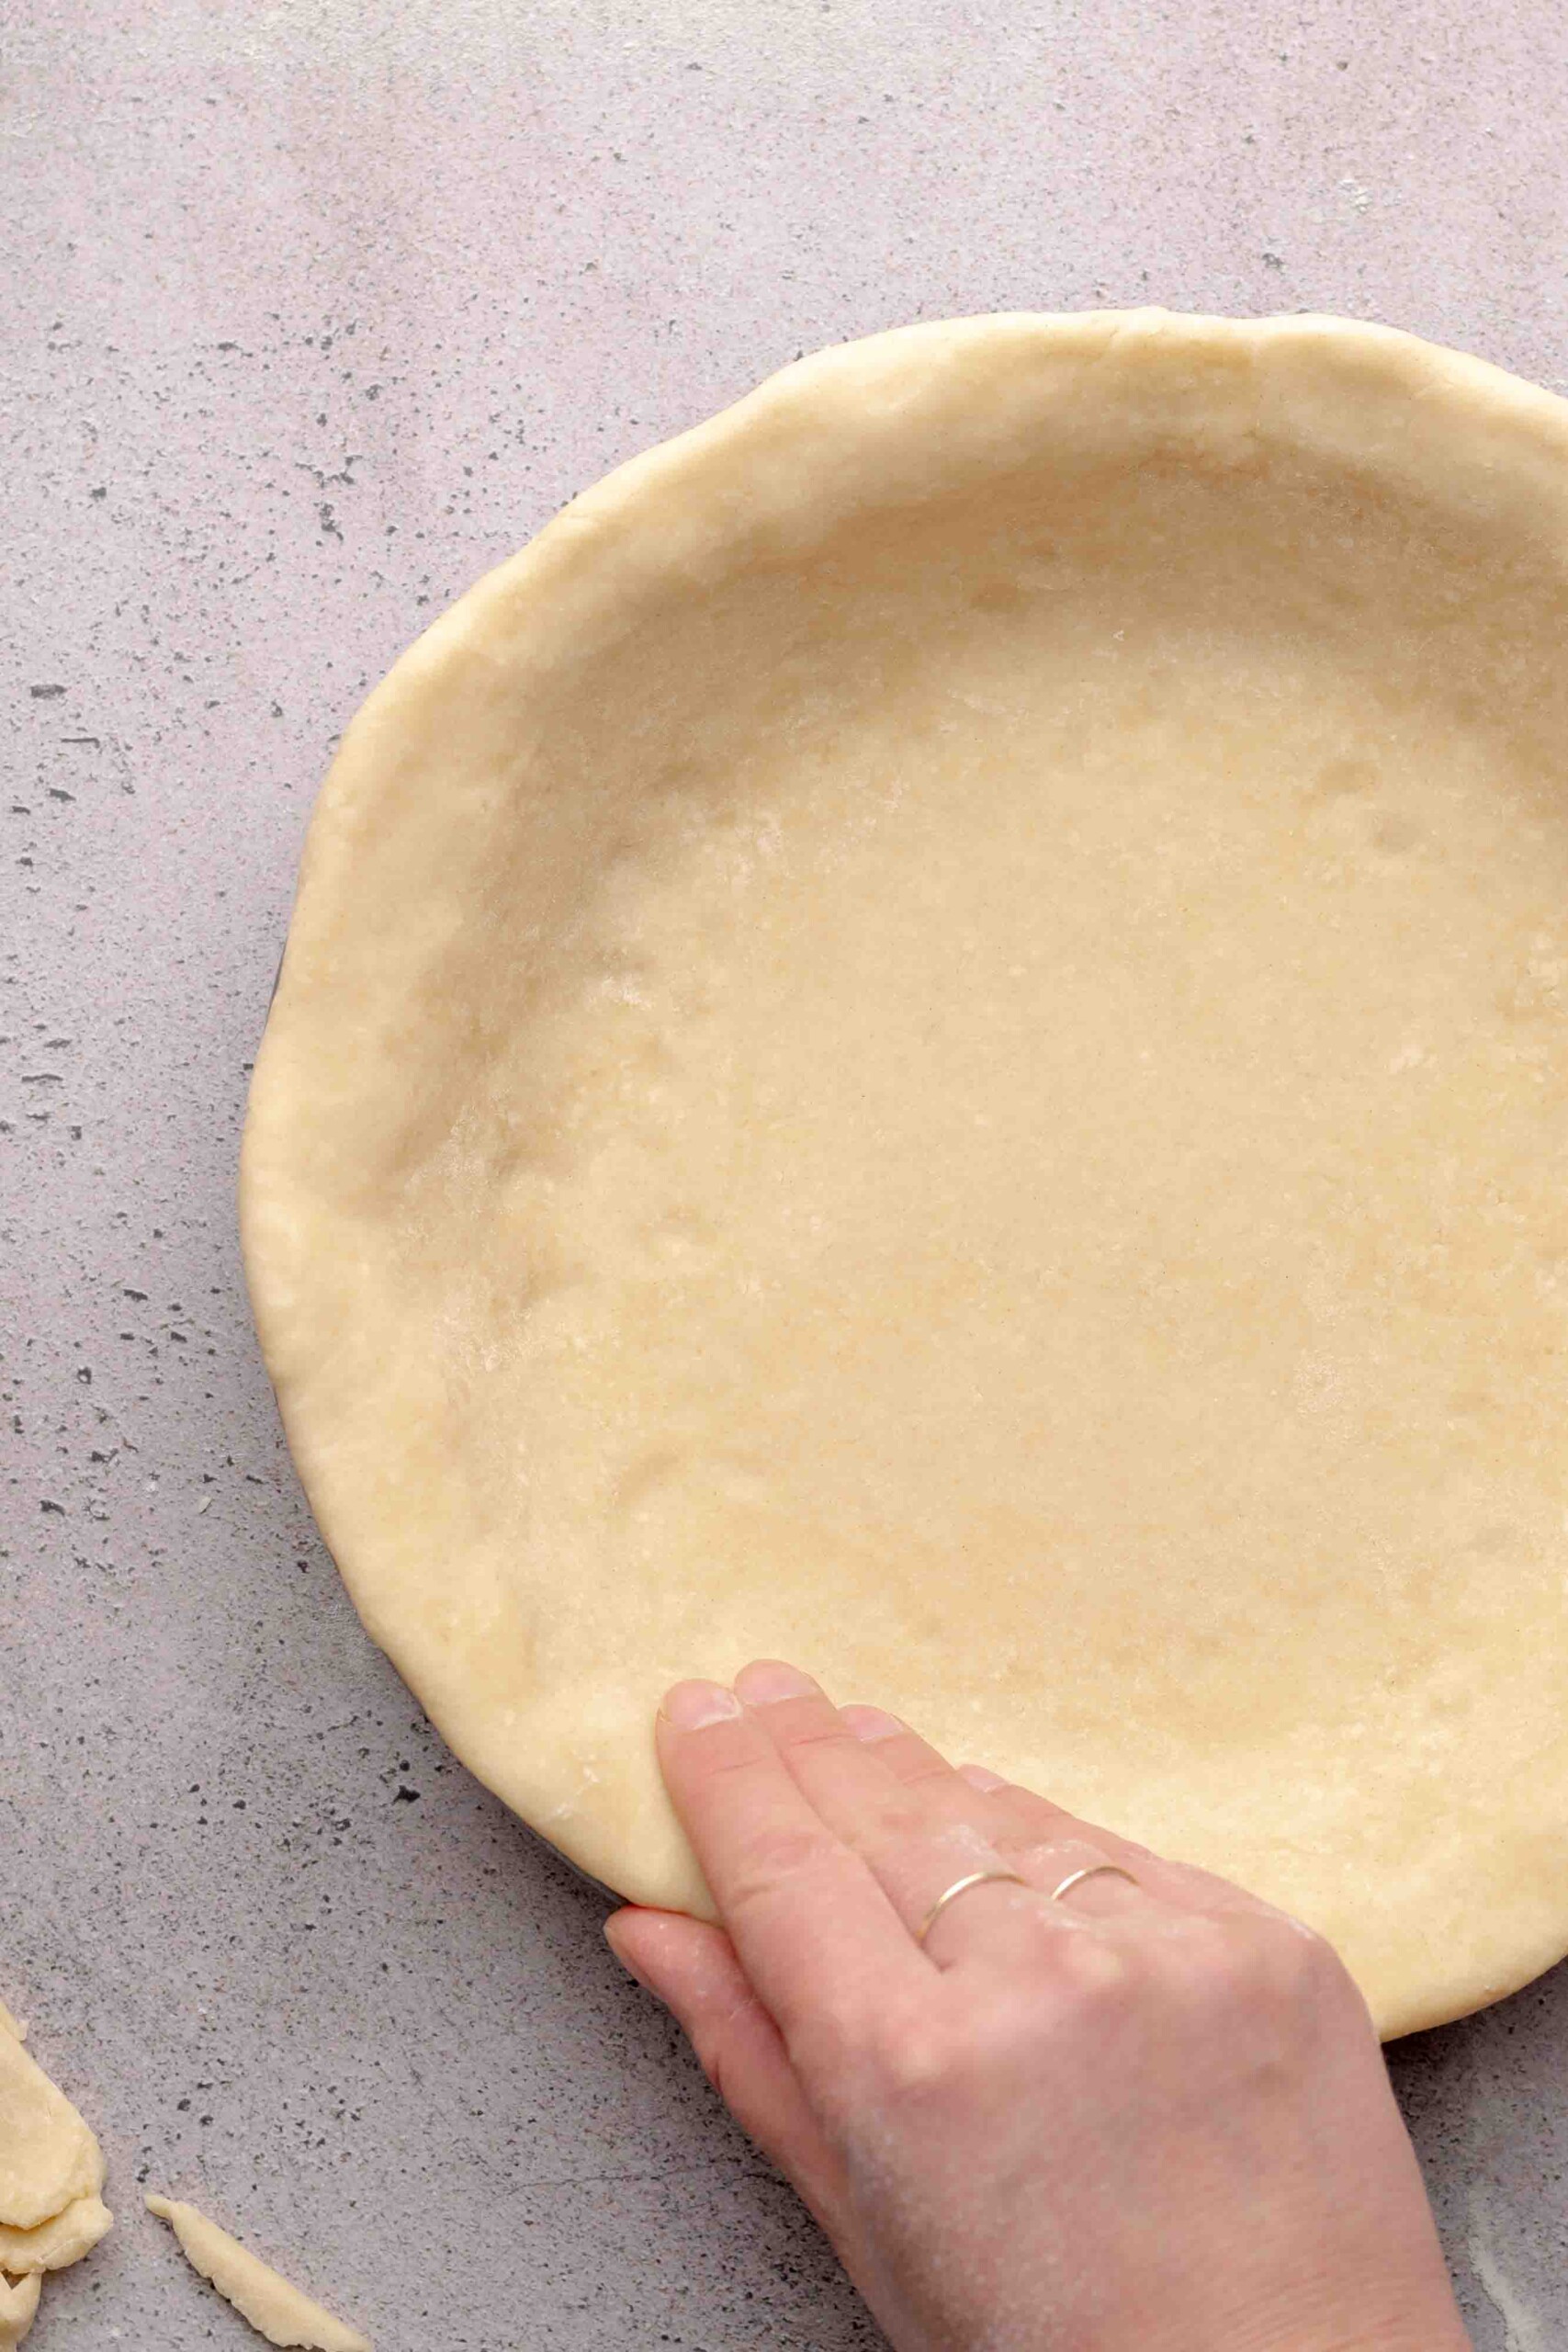
Sixteen: Press the dough dough onto the top rim of the pie dish so it's even with the edge.
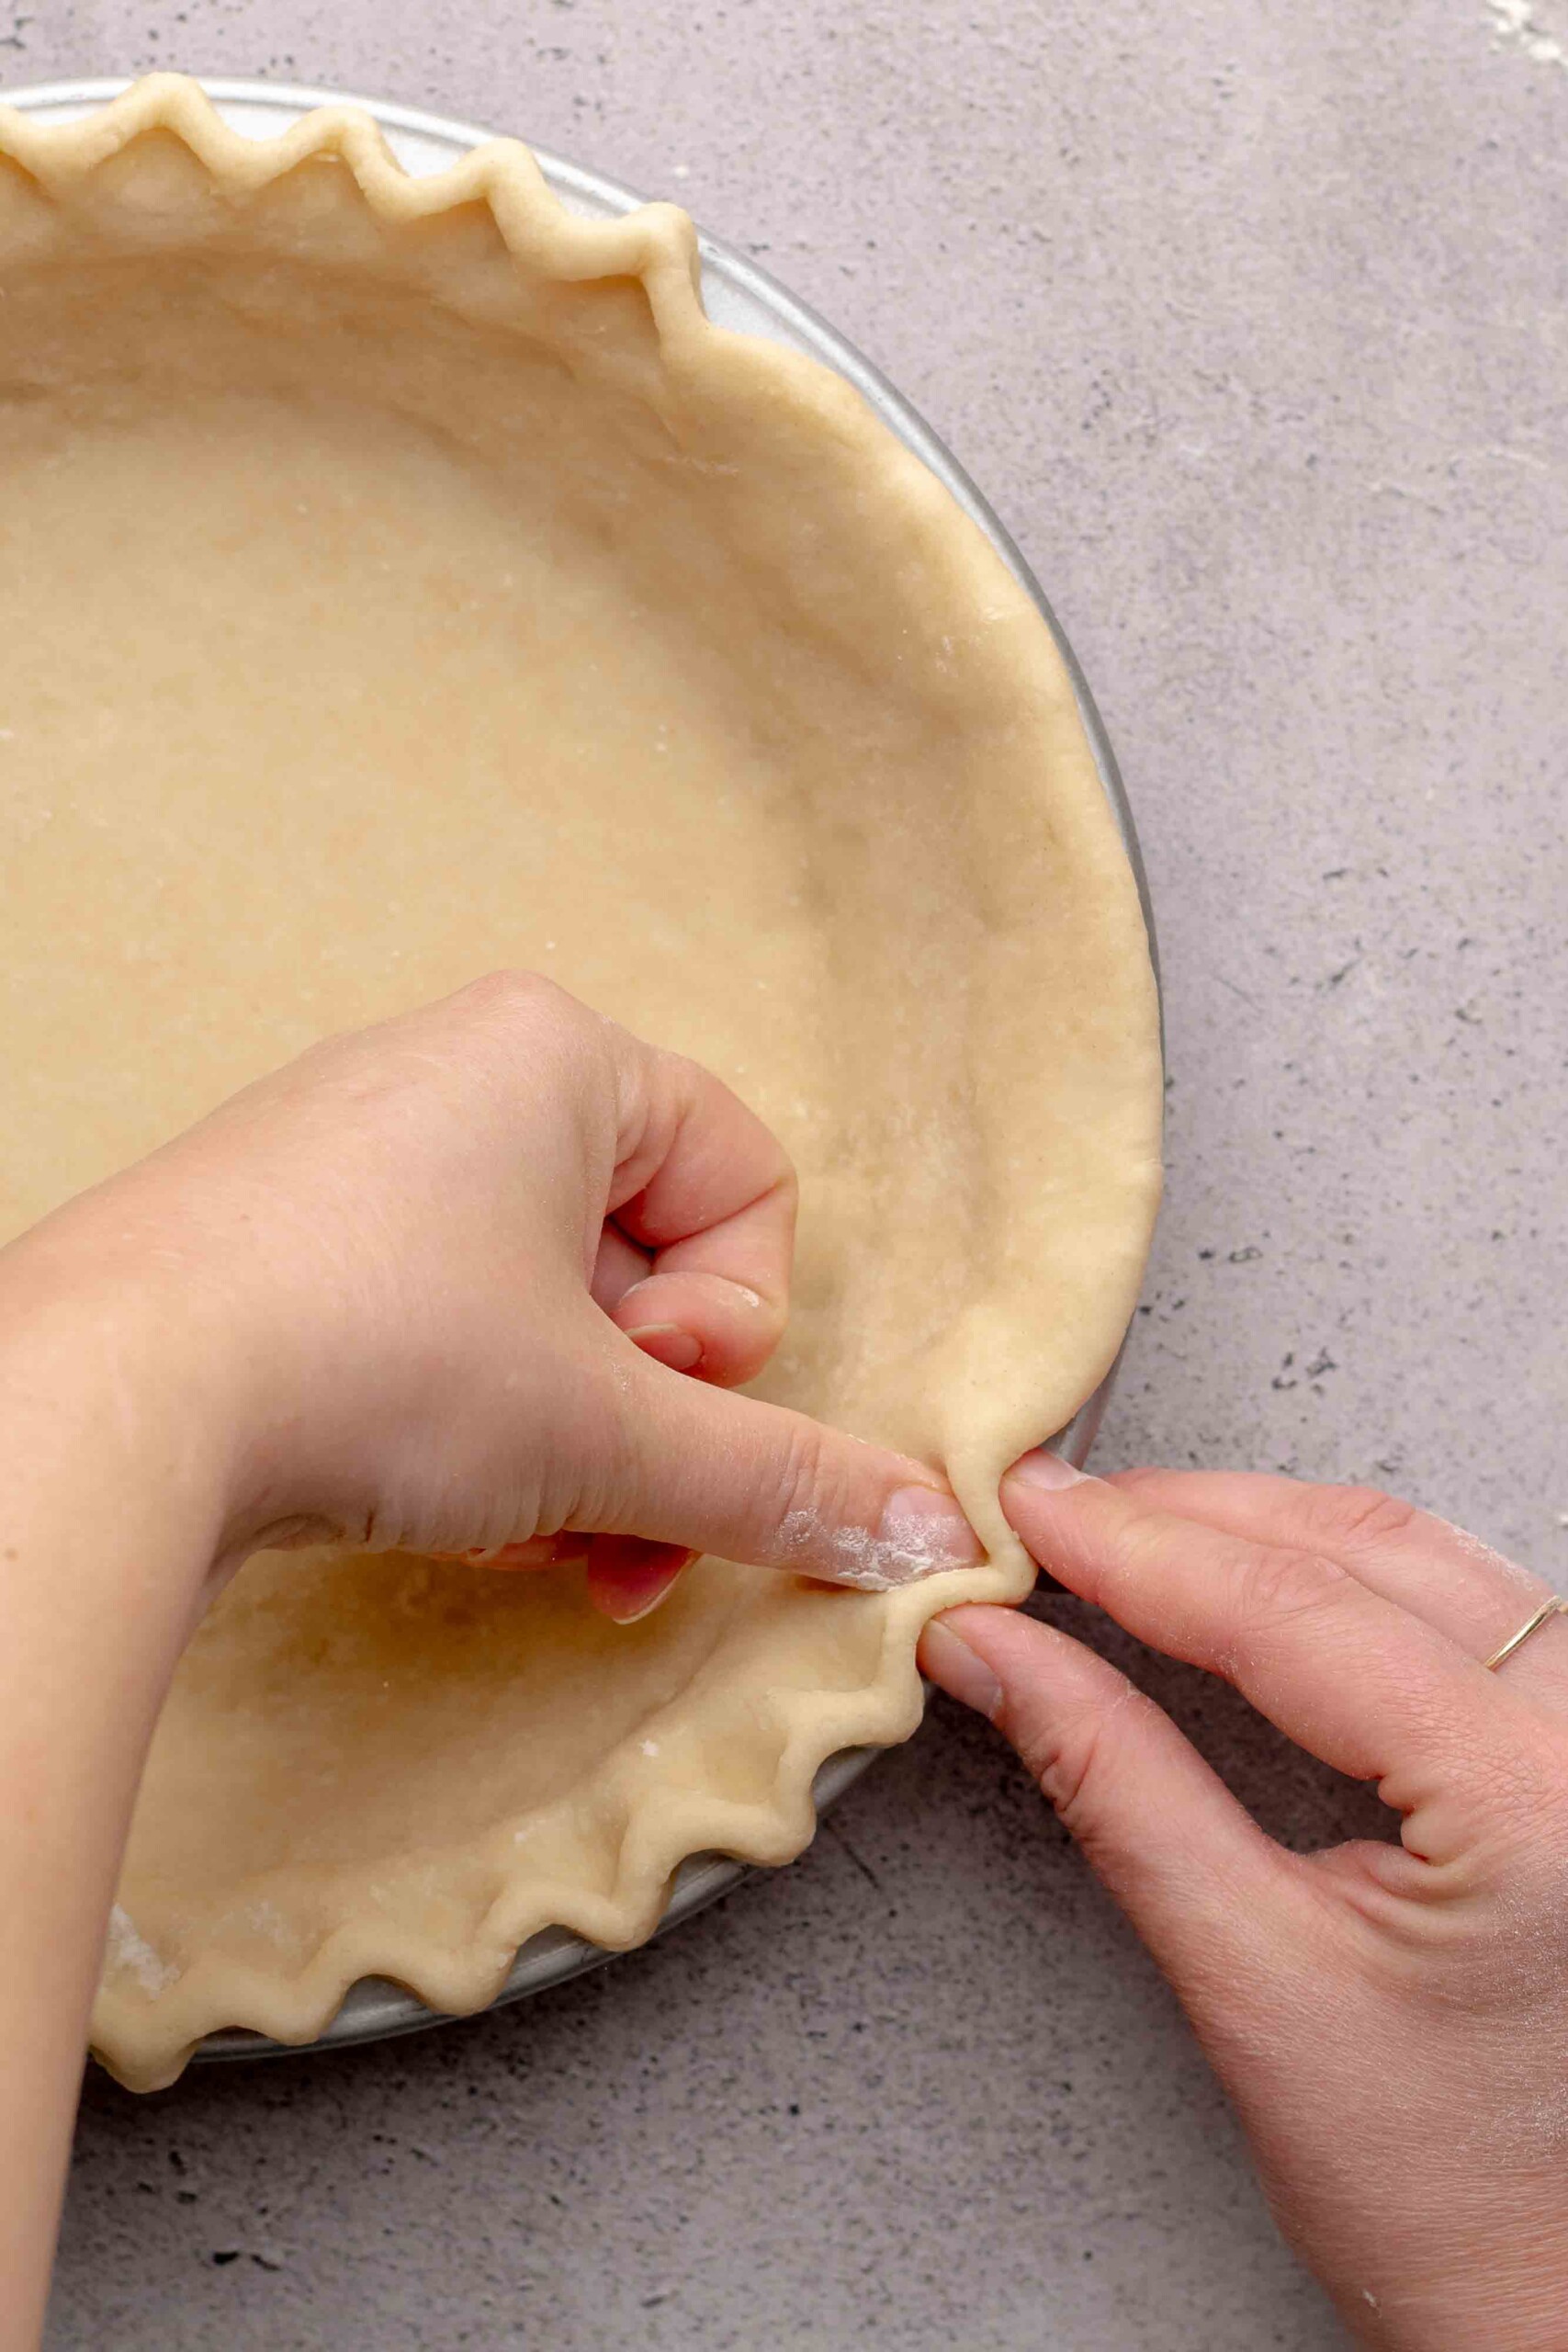
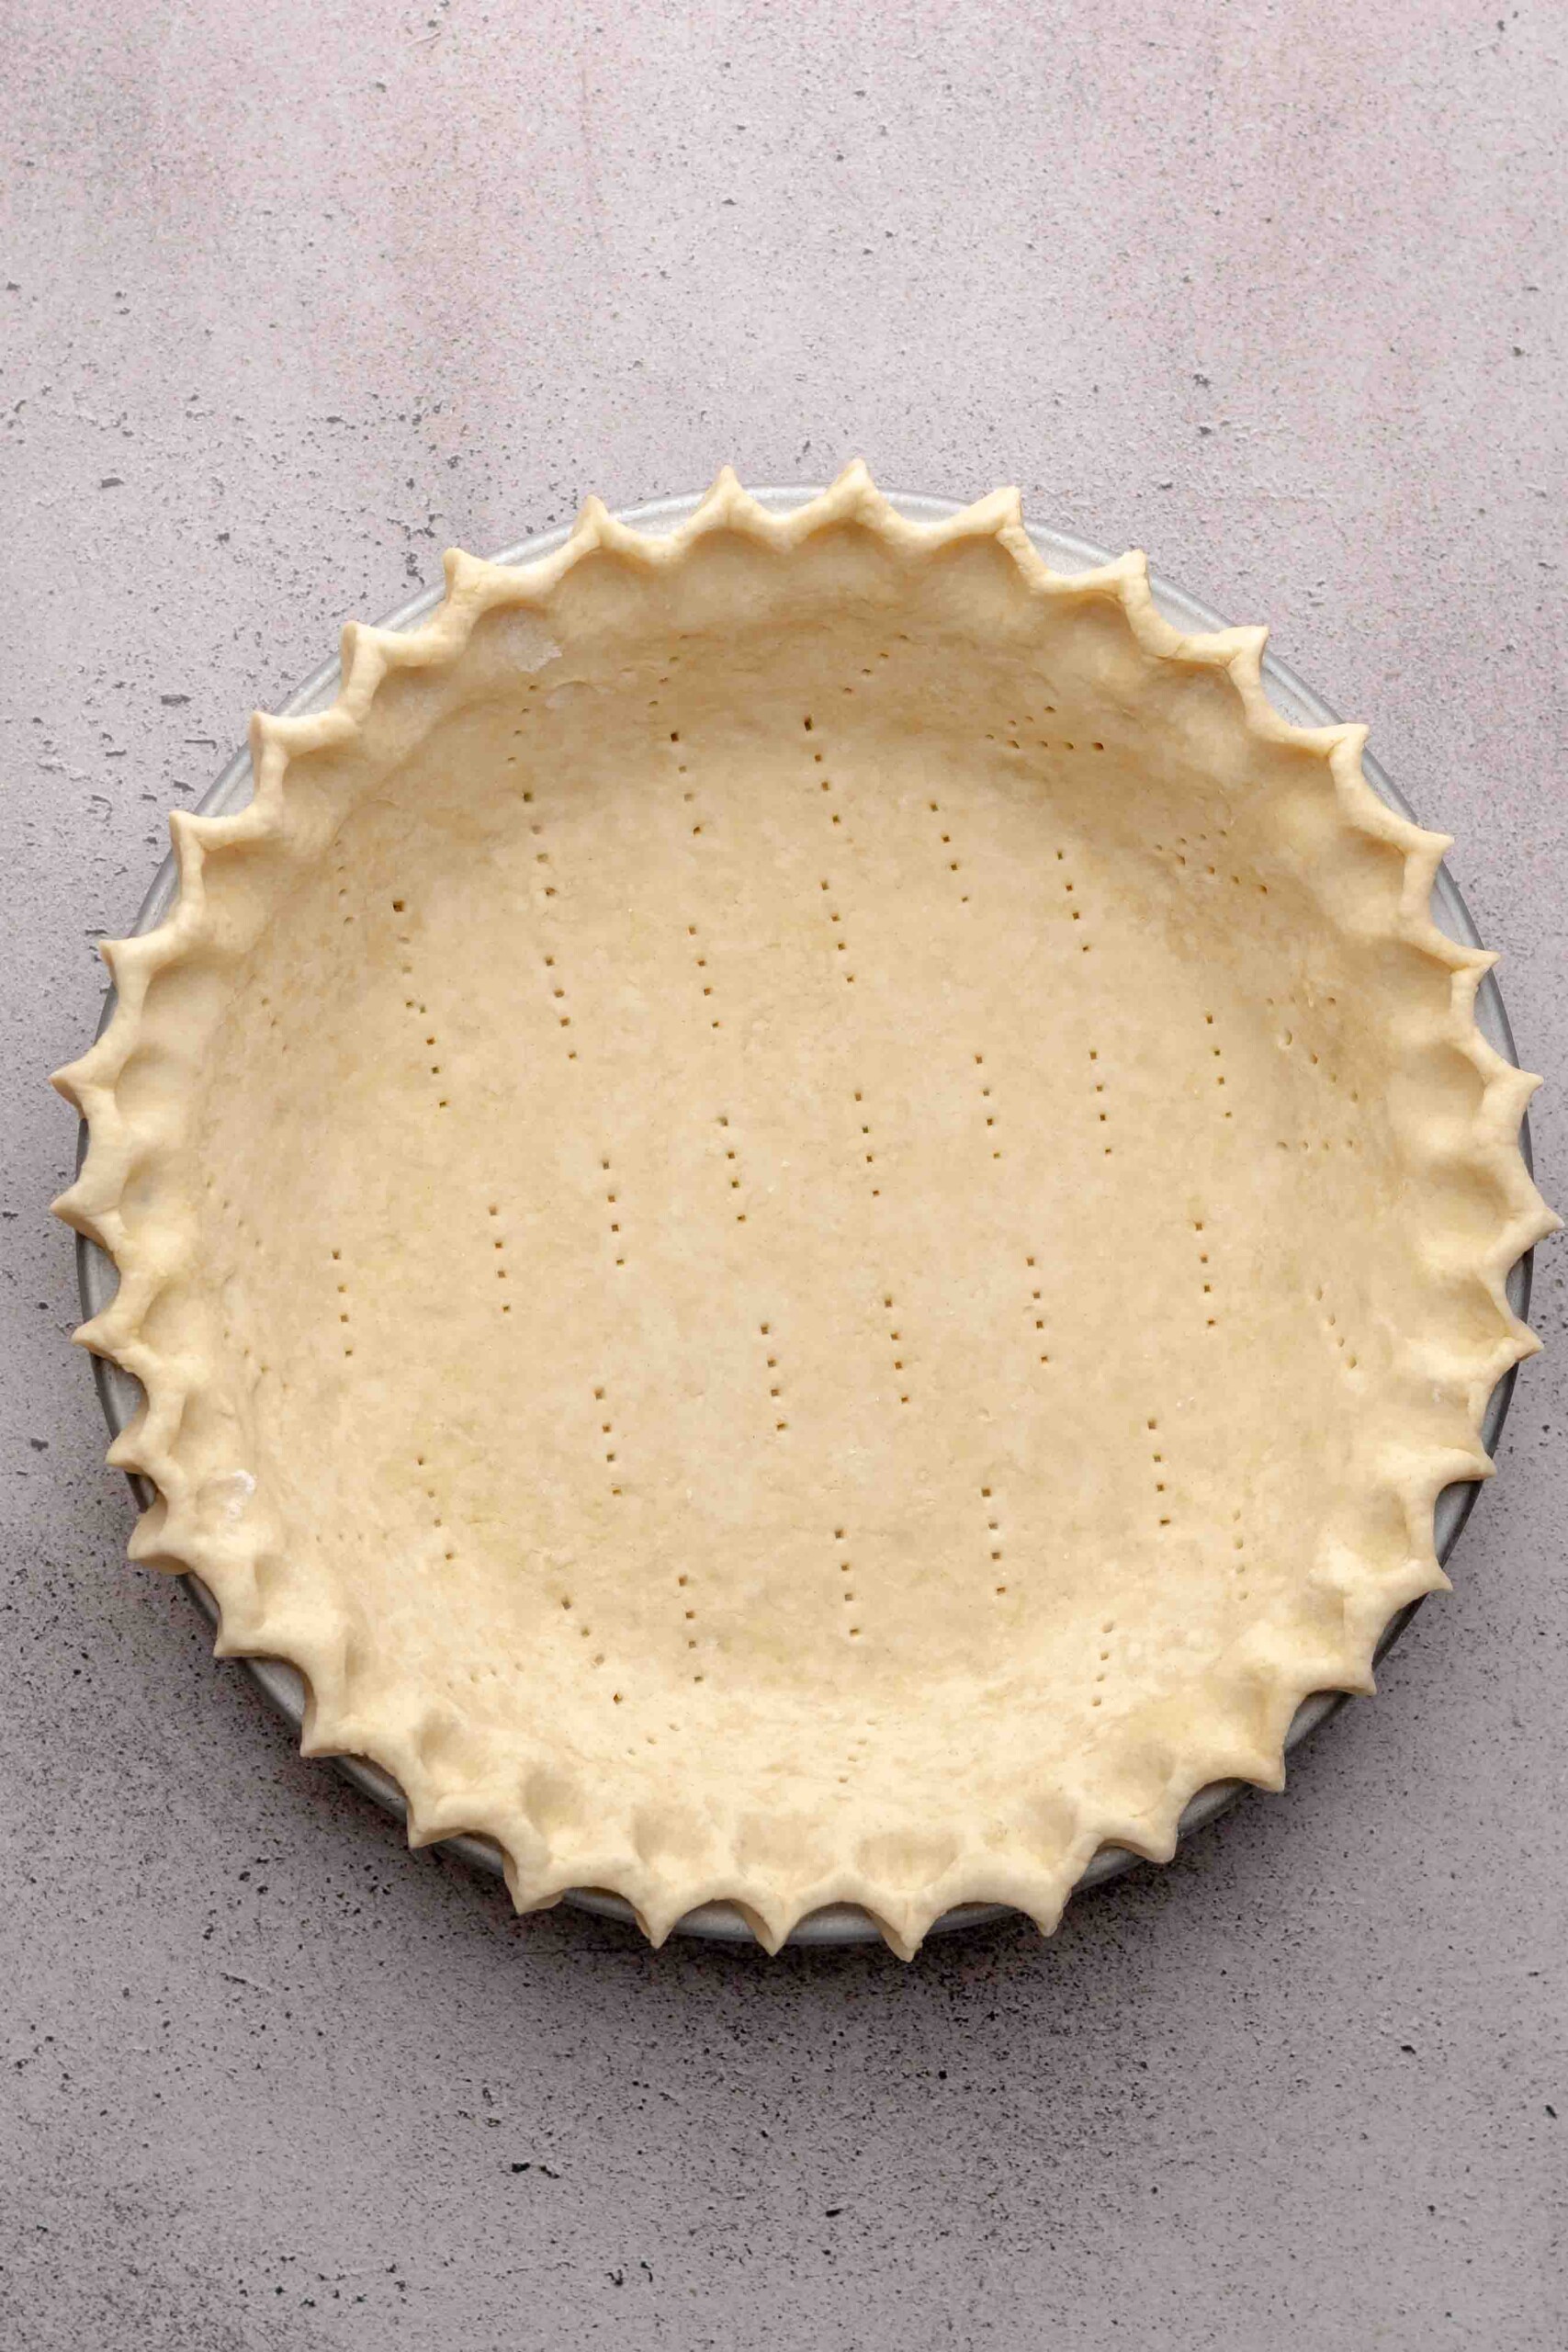
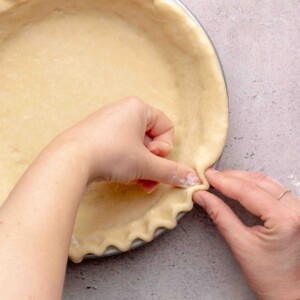
Seventeen: Crimp the edges with your favorite pie crust crimping technique.
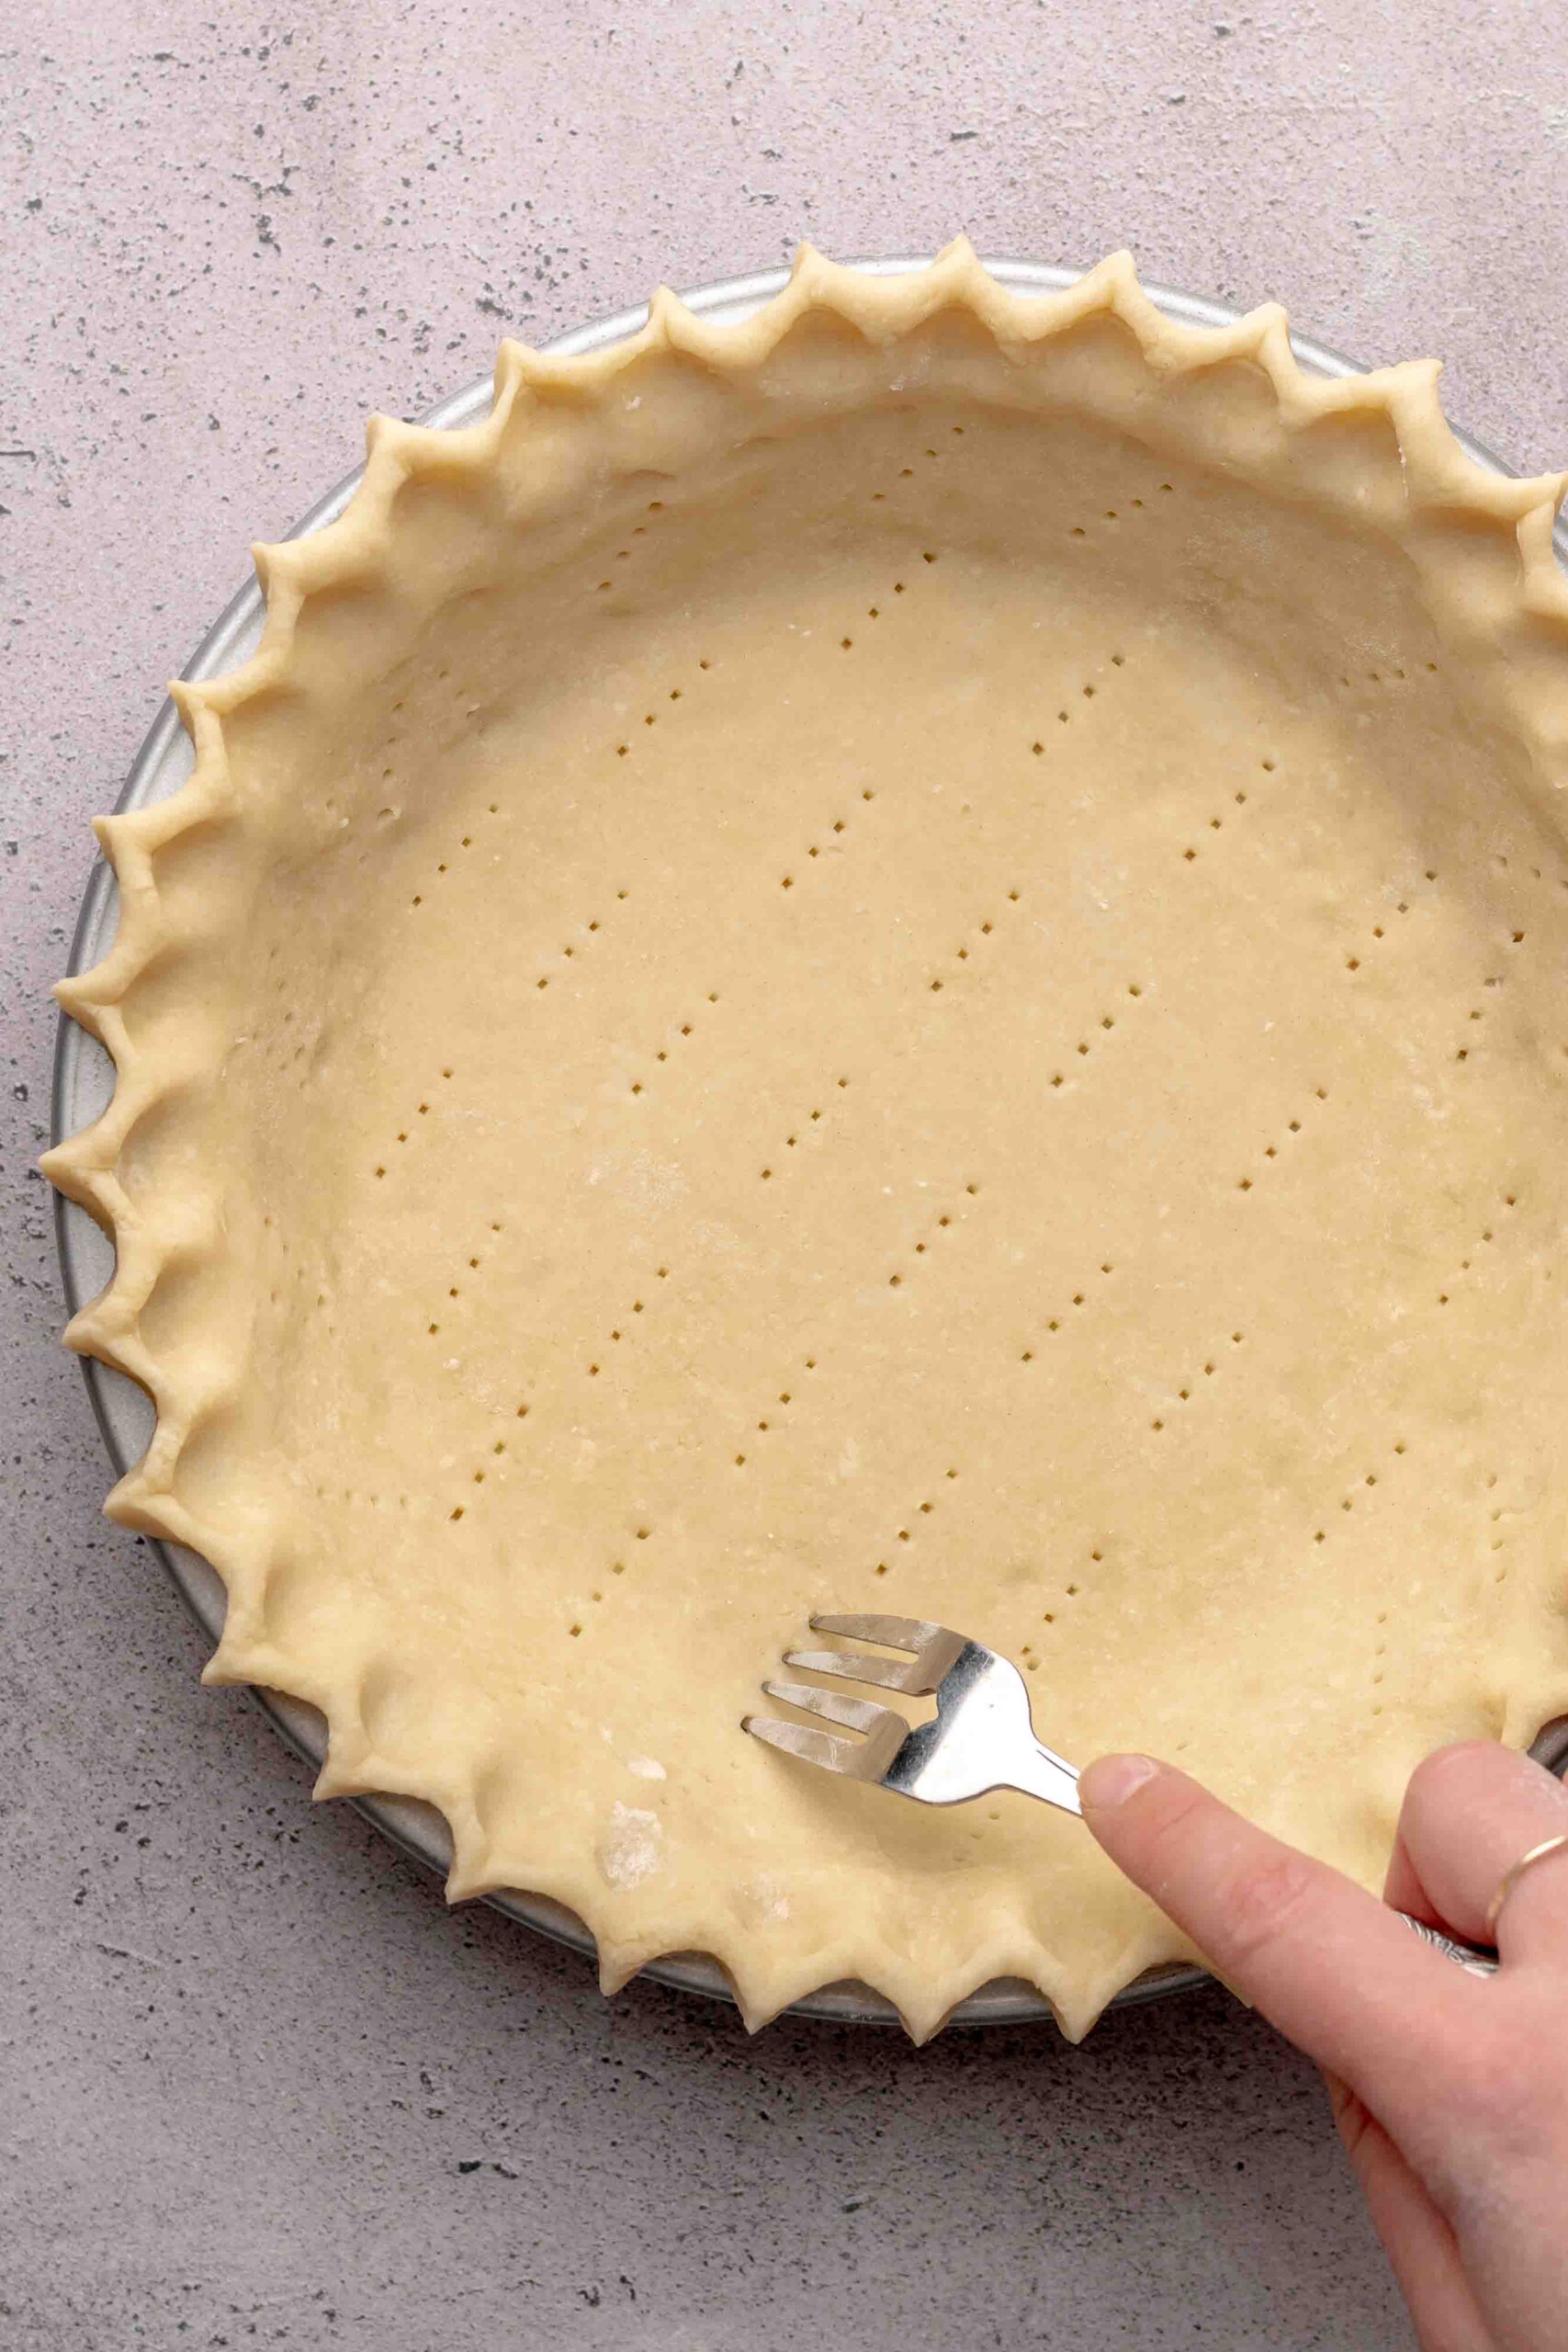
Eighteen: Dock the bottom and sides of the pie crust all over with the tines of a fork.
Hot tip! If the fork sticks to the crust and pulls it up in any areas, dip the tines into flour and continue docking.
Nineteen: Freeze the pie dough while you preheat the oven. Very cold dough prevents shrinkage!
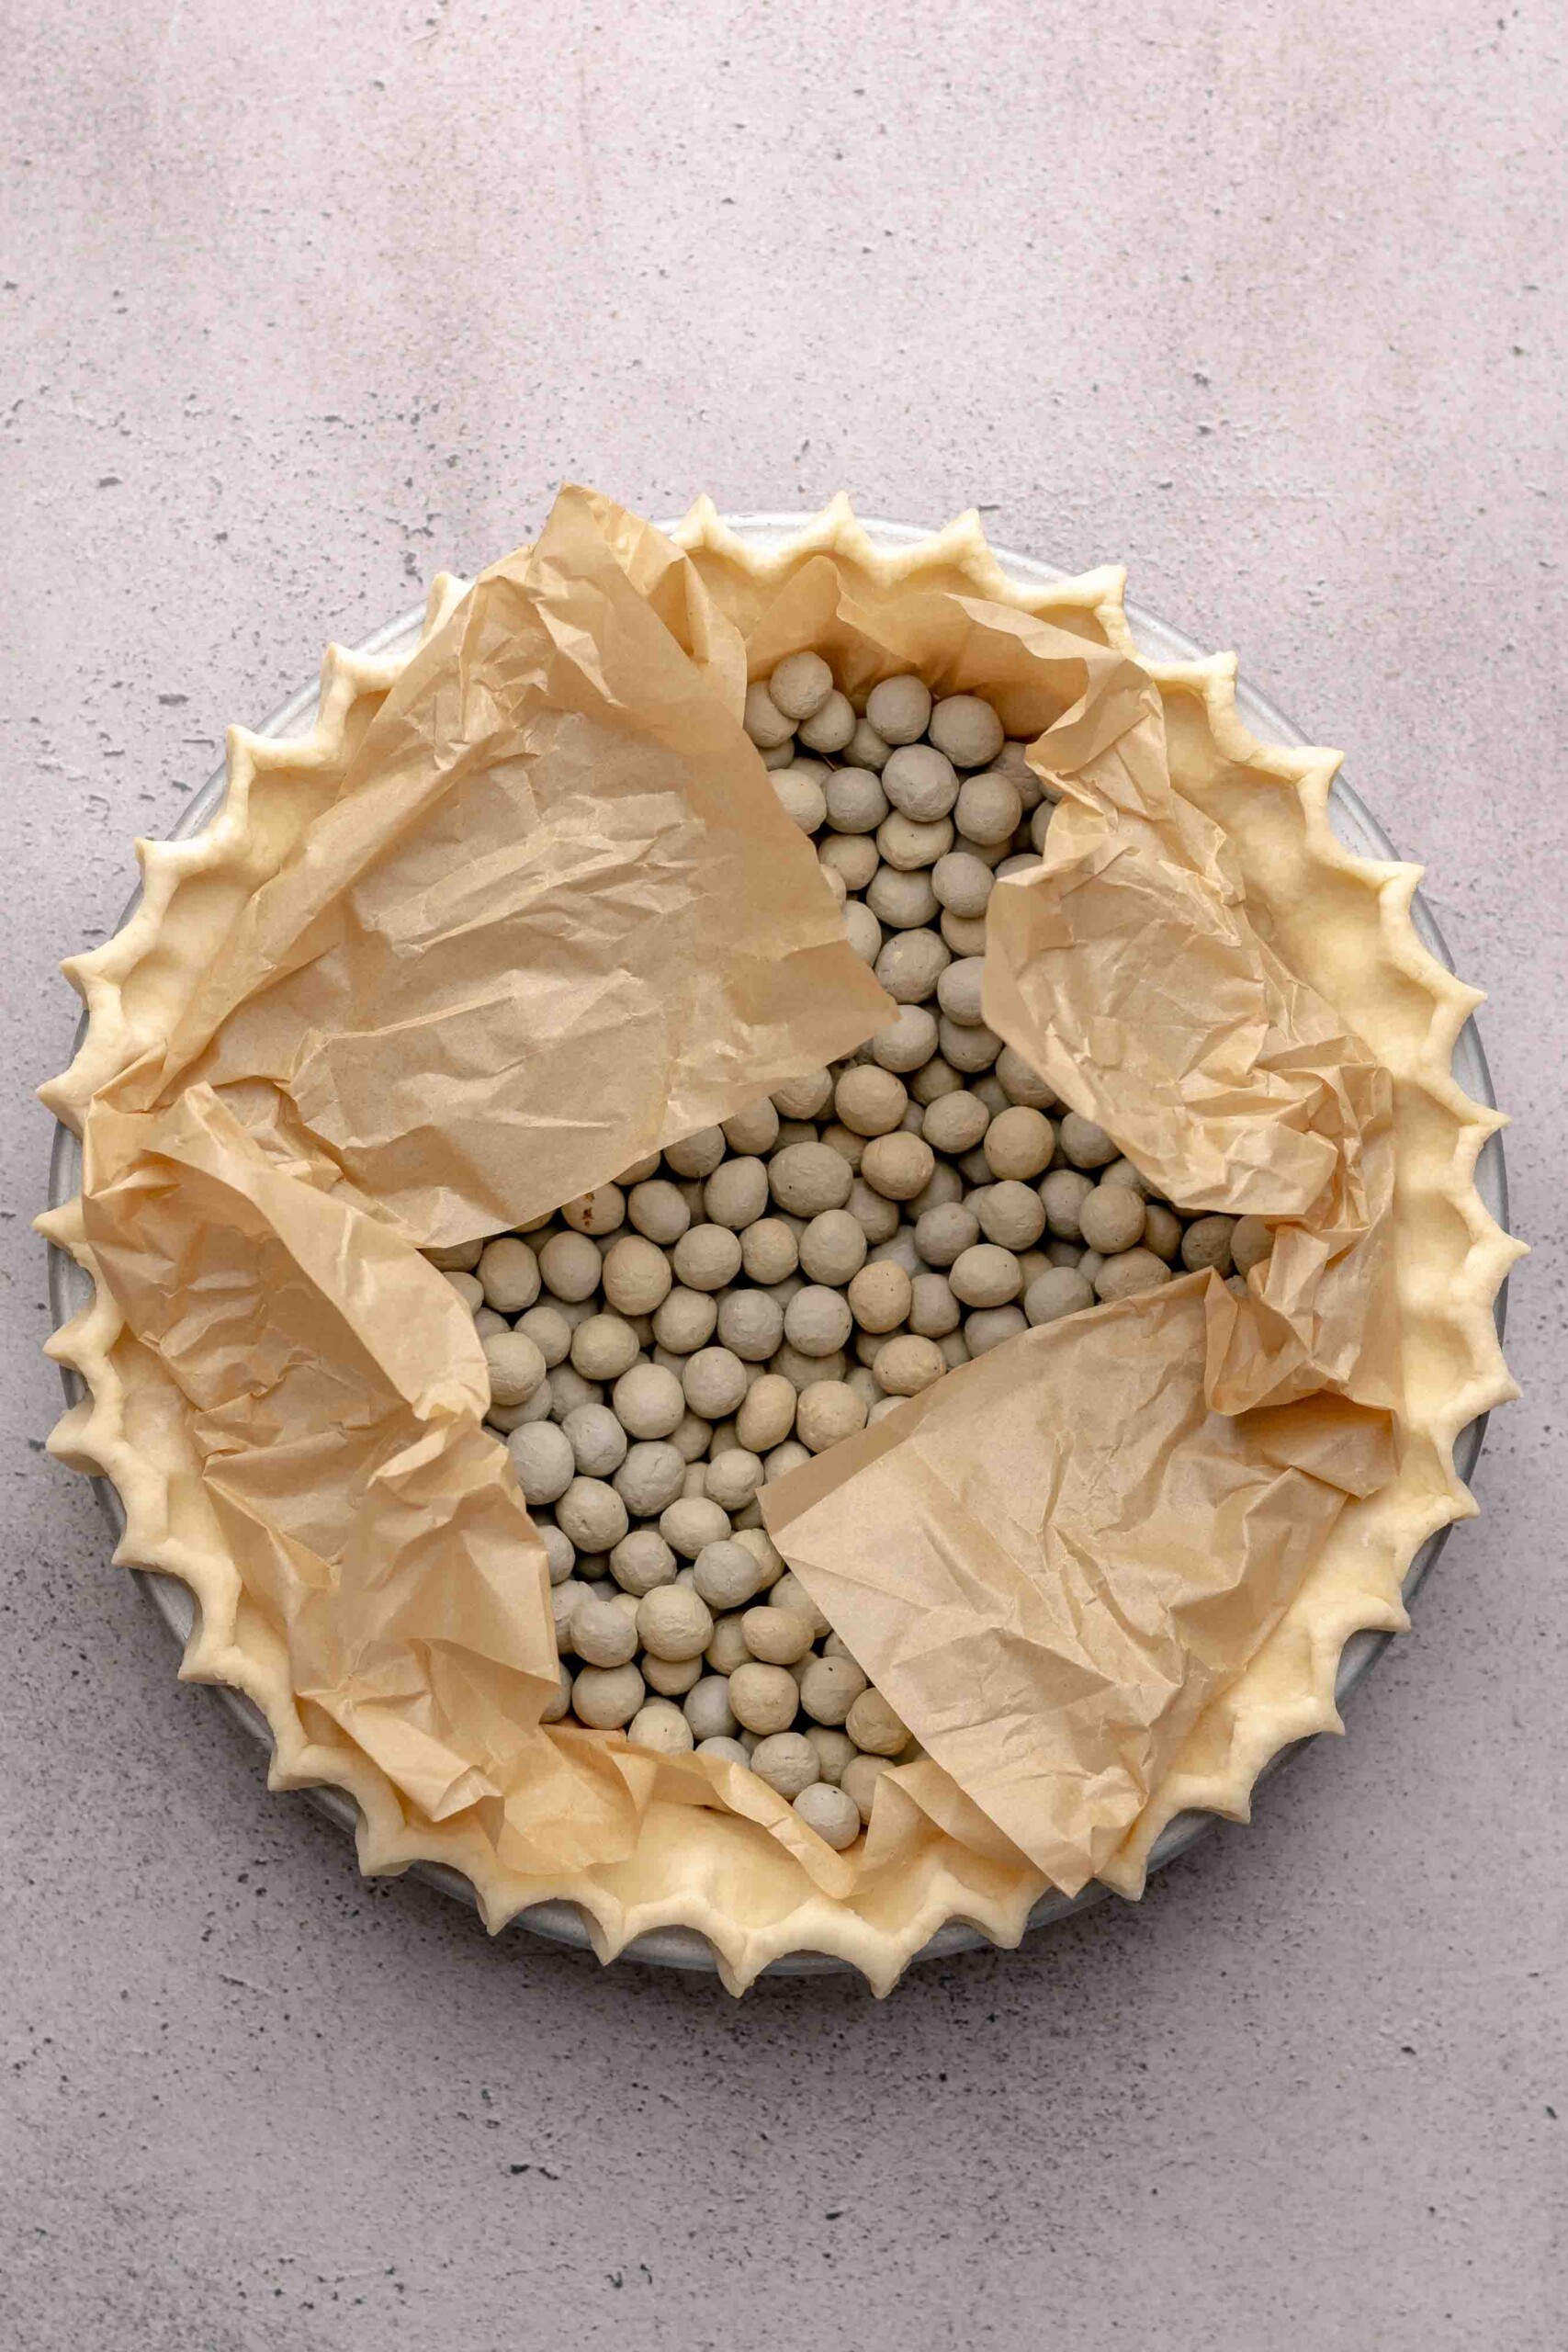
Twenty: Add parchment paper and pie weights to the crust. Fold the parchment inward so it doesn't bake into the edges.
Hot tip! Fill the crust the whole way with the weights, pushing it into the edges. This prevents the crust edges from slouching during baking.
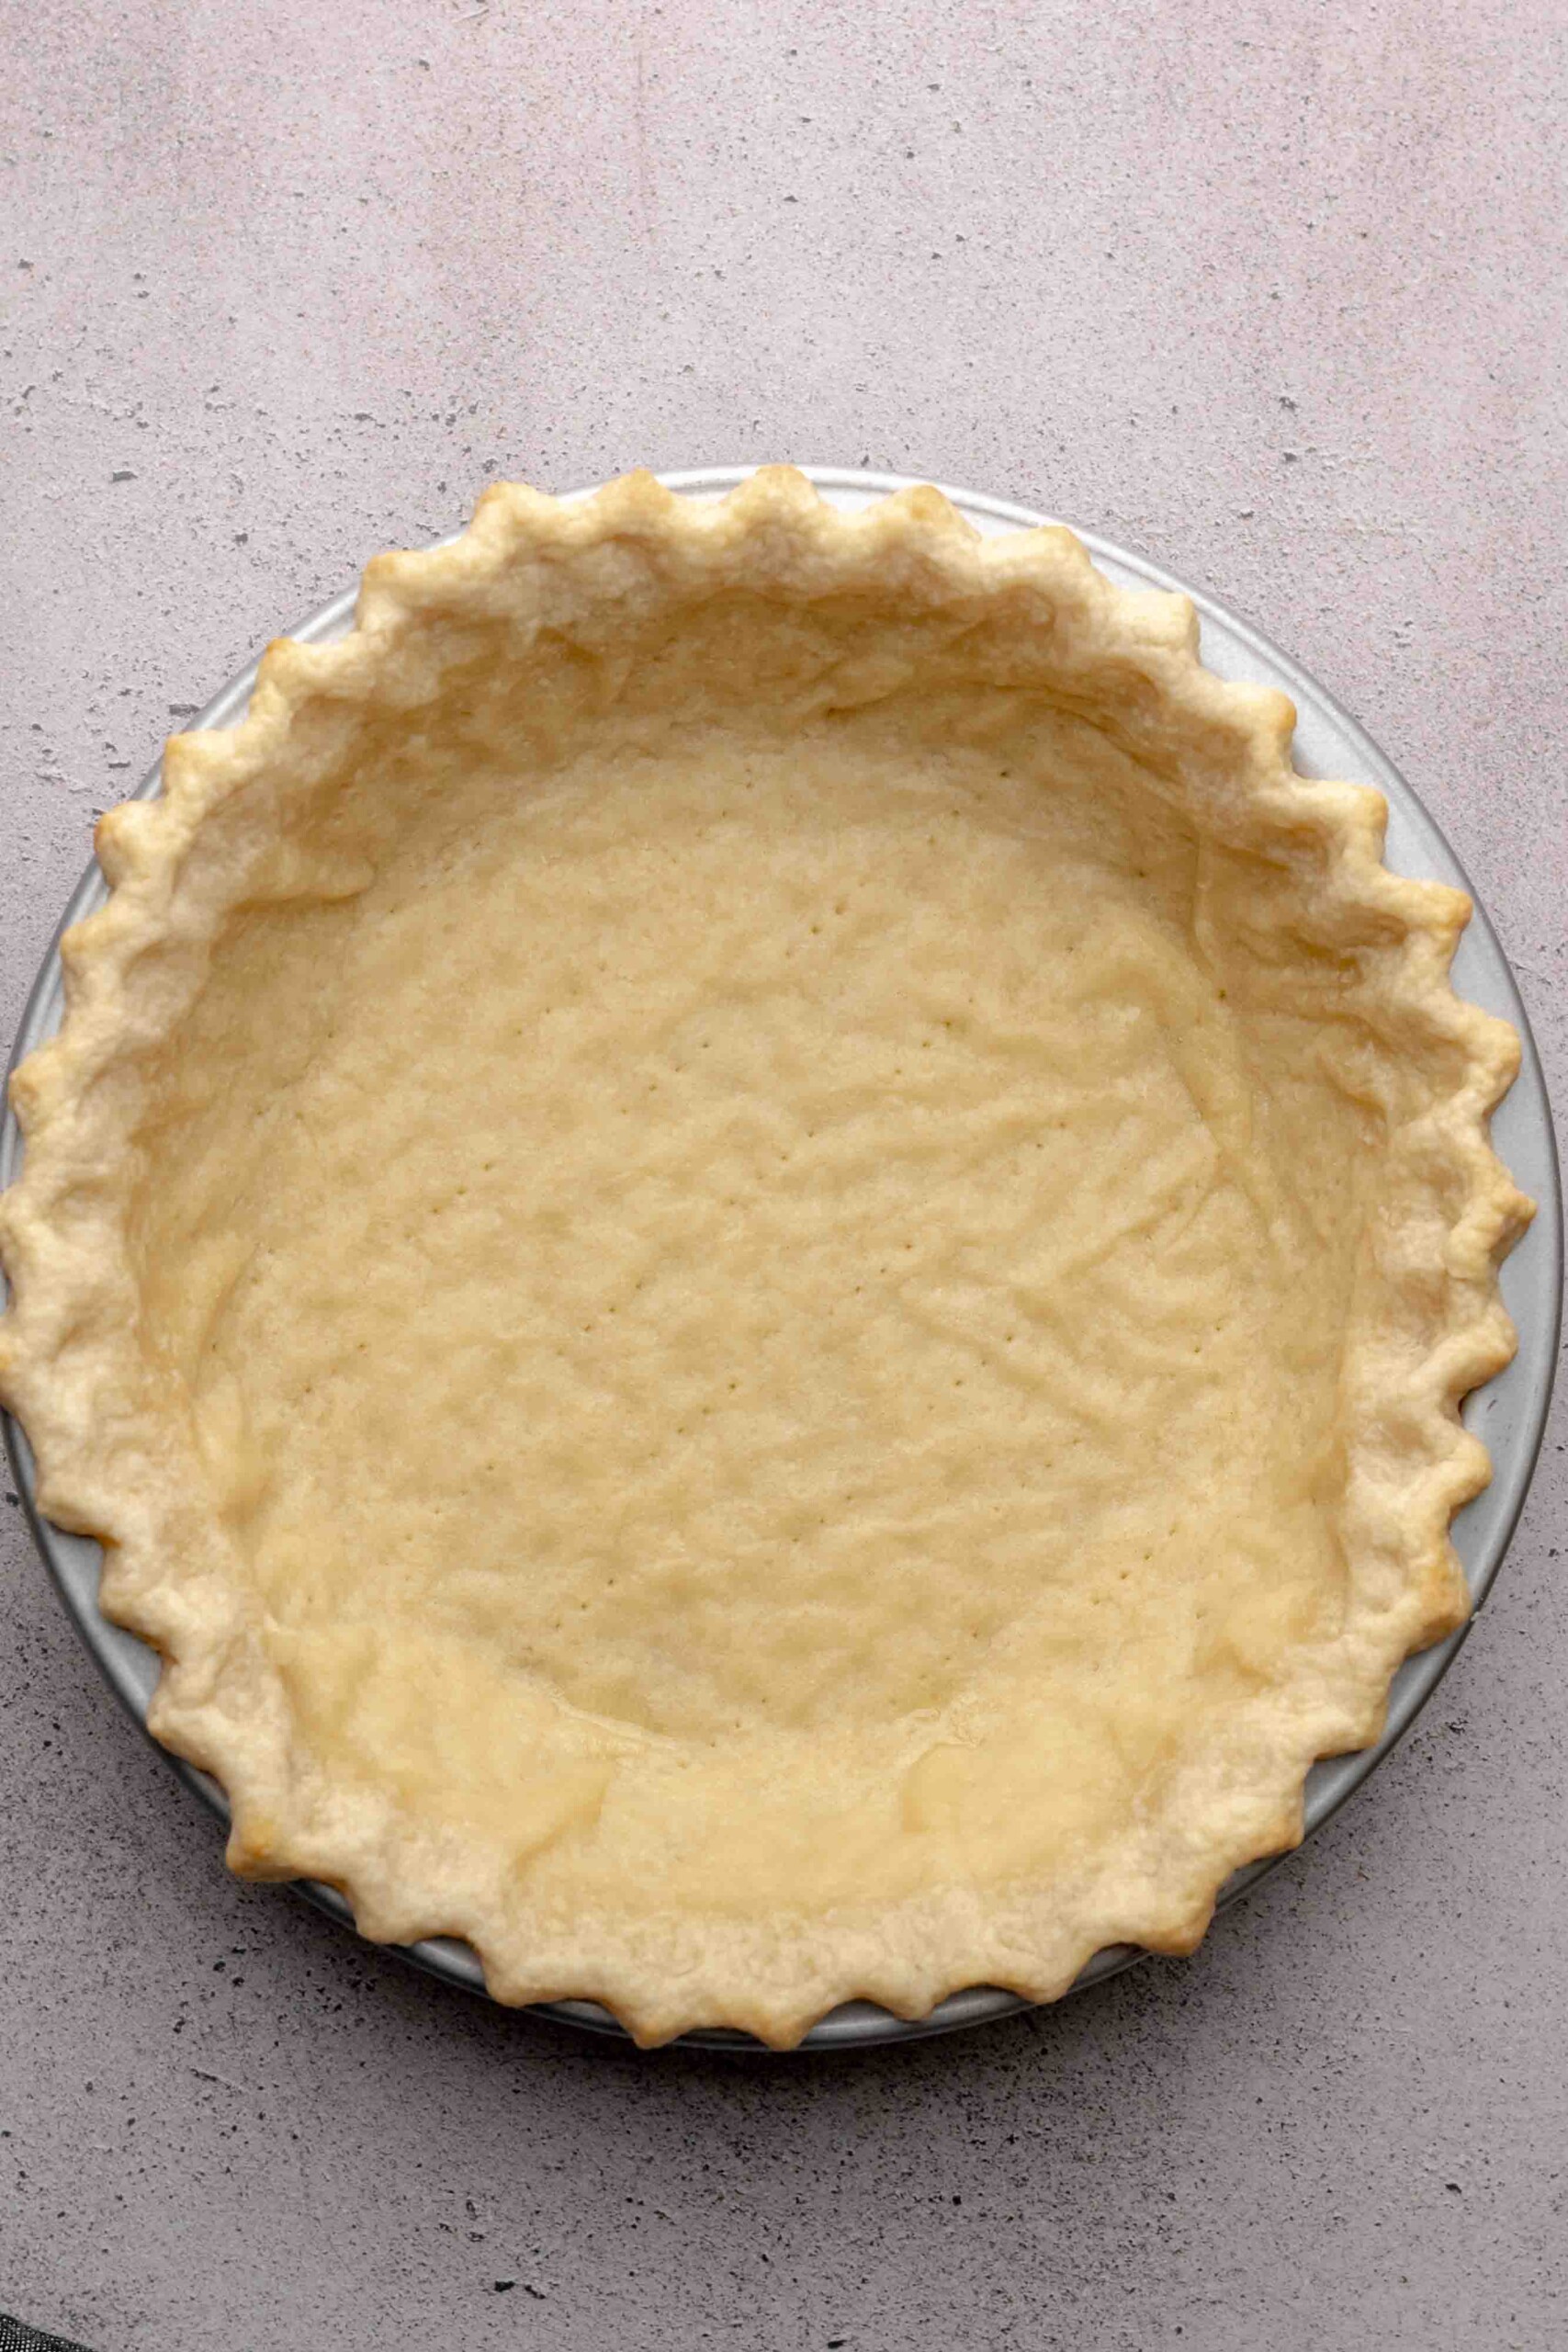
Twenty one: Bake the crust for 15 minutes, then remove the weights and parchment. The pie is now par-baked.
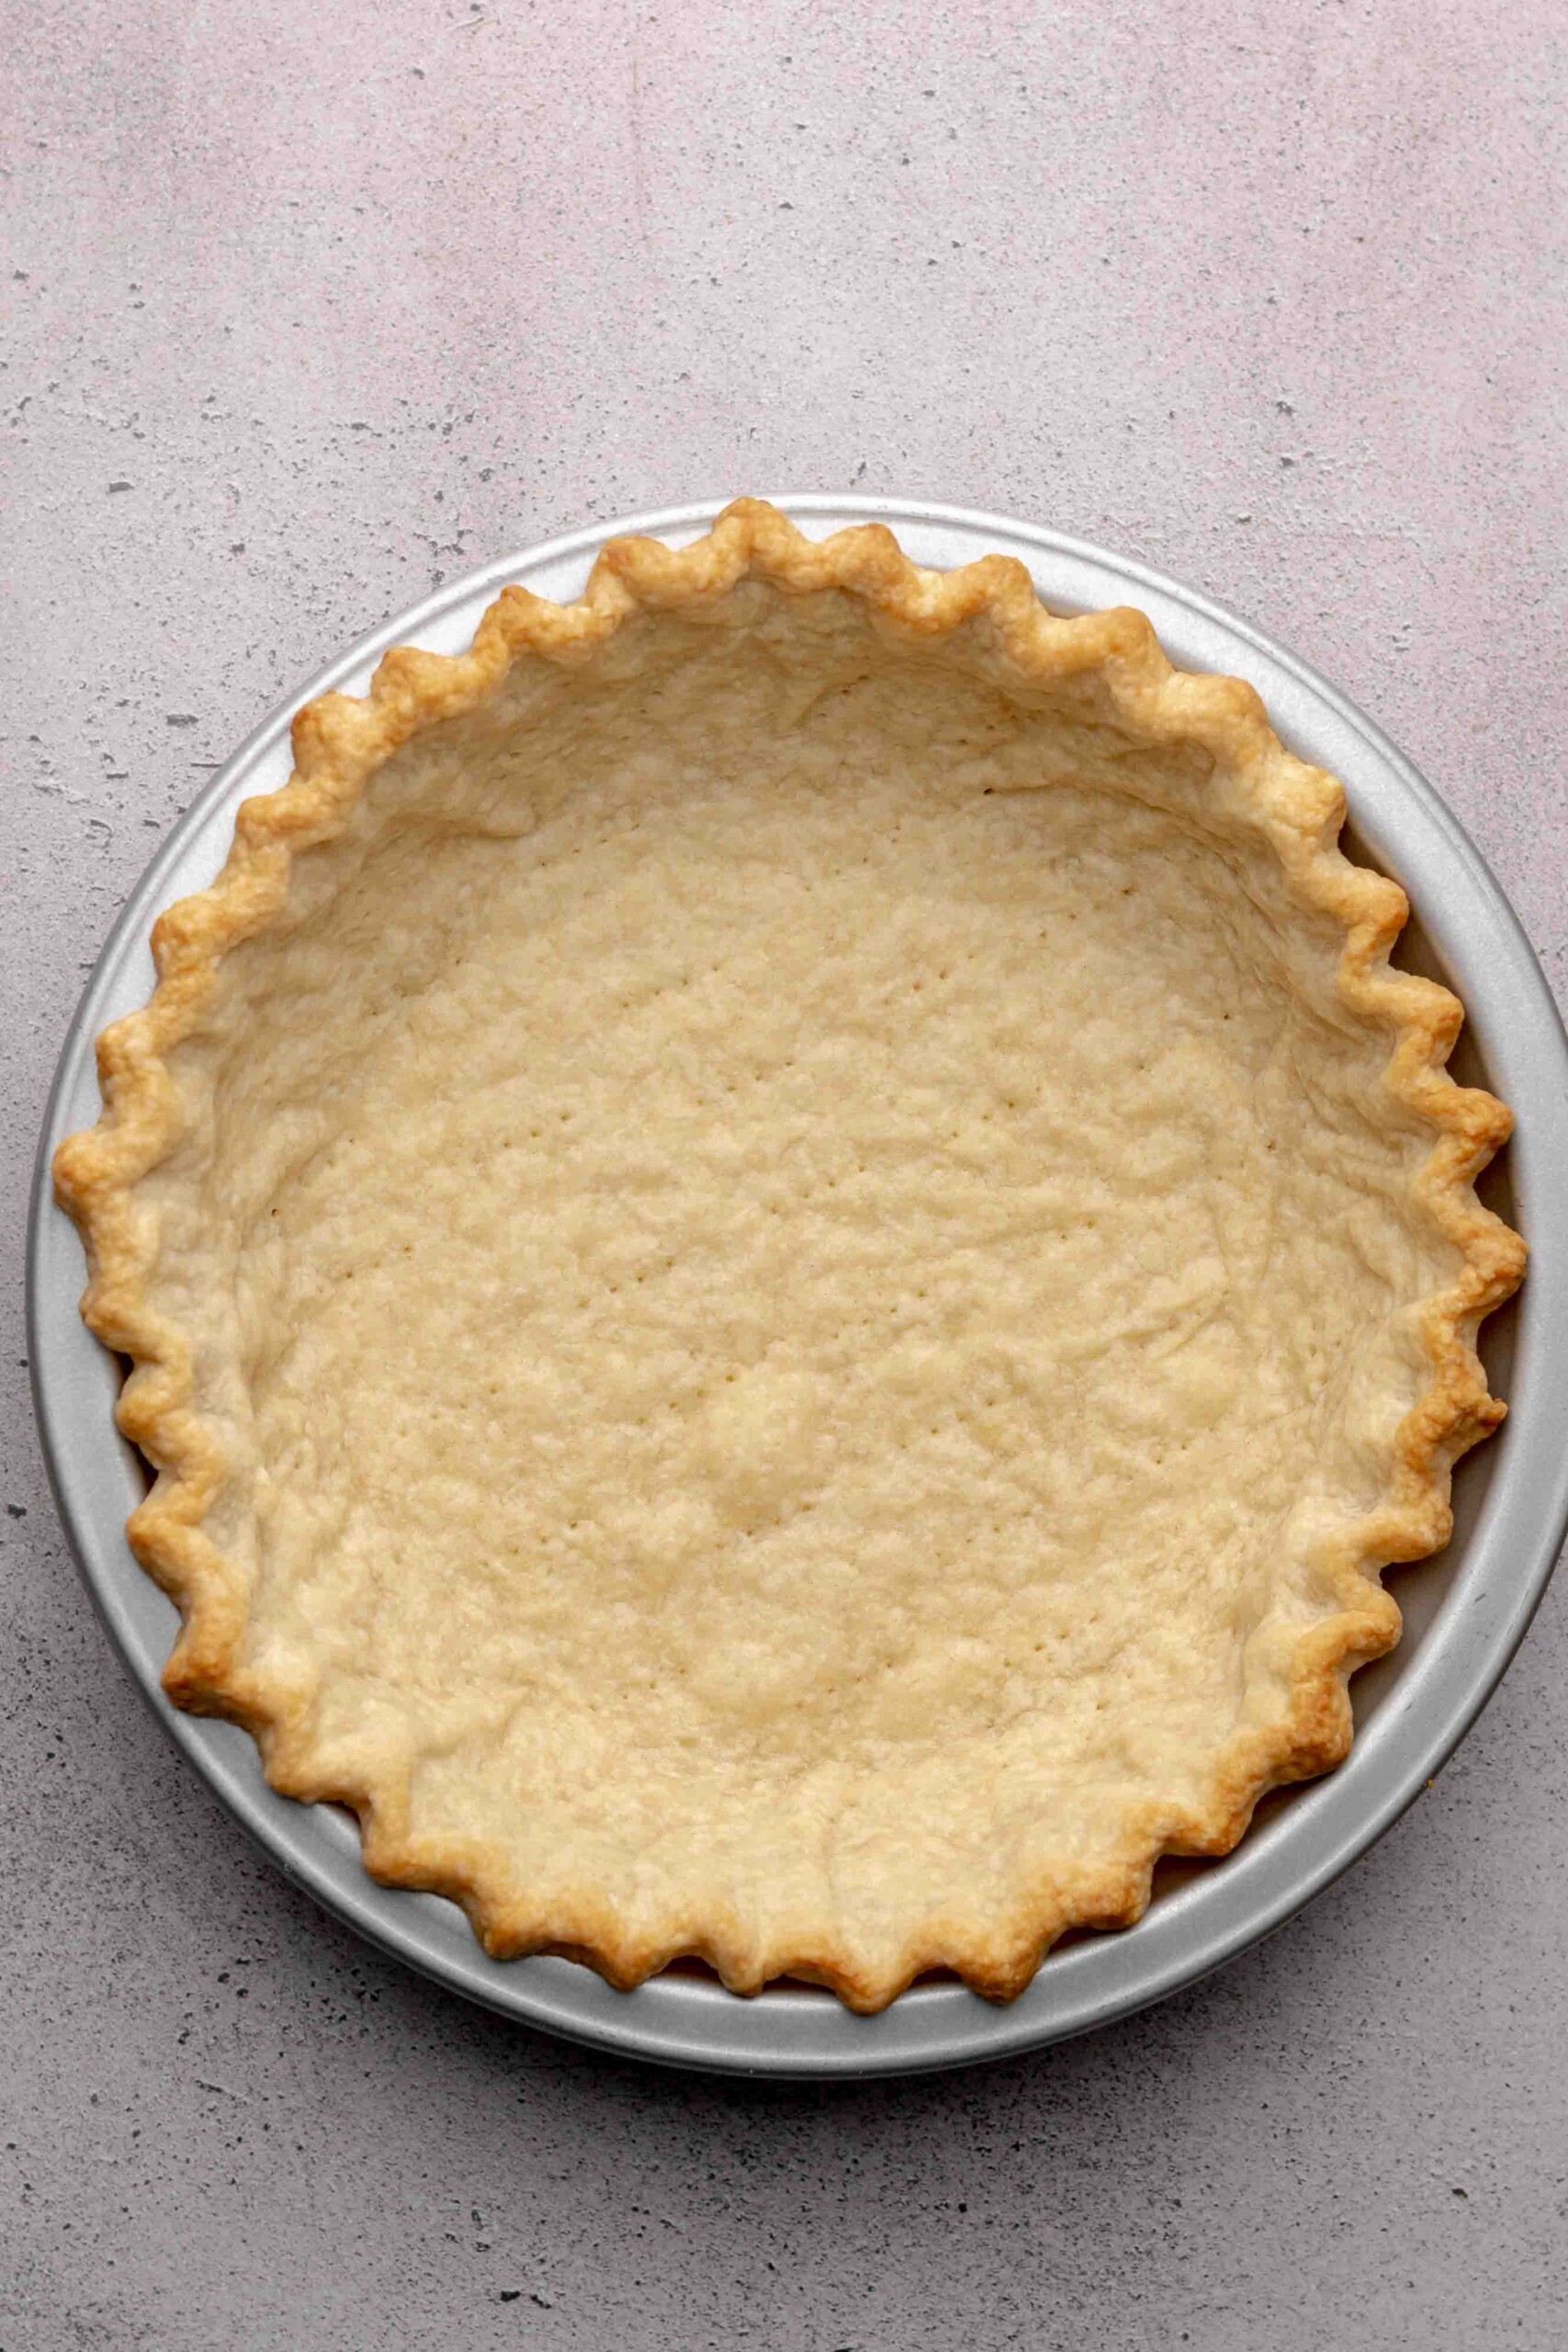
Twenty two: Continue baking the crust (without weights and parchment) for another 5-10 minutes until golden. The crust is now blind baked.
Par Baking vs Blind Baking
Watch the Video: par-baking and blind baking a pie crust 🥧
The recipe will indicate if the crust needs to be partially baked before adding the filling, or fully baked before adding the filling. Note, fillings may also be added before the crust is baked at all!
Refer to your recipe instructions on which baking method to use for the pie.
Par-baking - This method partially bakes the pie crust and will still have some wet spots in the bottom and sides of the dough. A filling will get added at this point, and the pie will get added back to the oven to bake the filling and finish baking the crust.
Blind-baking - This method fully bakes the pie crust and will not have any moist spots. A no-bake filling can now be added to the crust.
Crust for Types of Pies
- Par-baked crusts: This partially baked crust is used when you're going to fill the pie, then continue baking it. This is used for things like custard pies (e.g. pumpkin pie), apple butter pie, sweet potato pie, maple bourbon pecan pie, honey chess pie, and savory pies like smoked salmon quiche and ham and Swiss quiche.
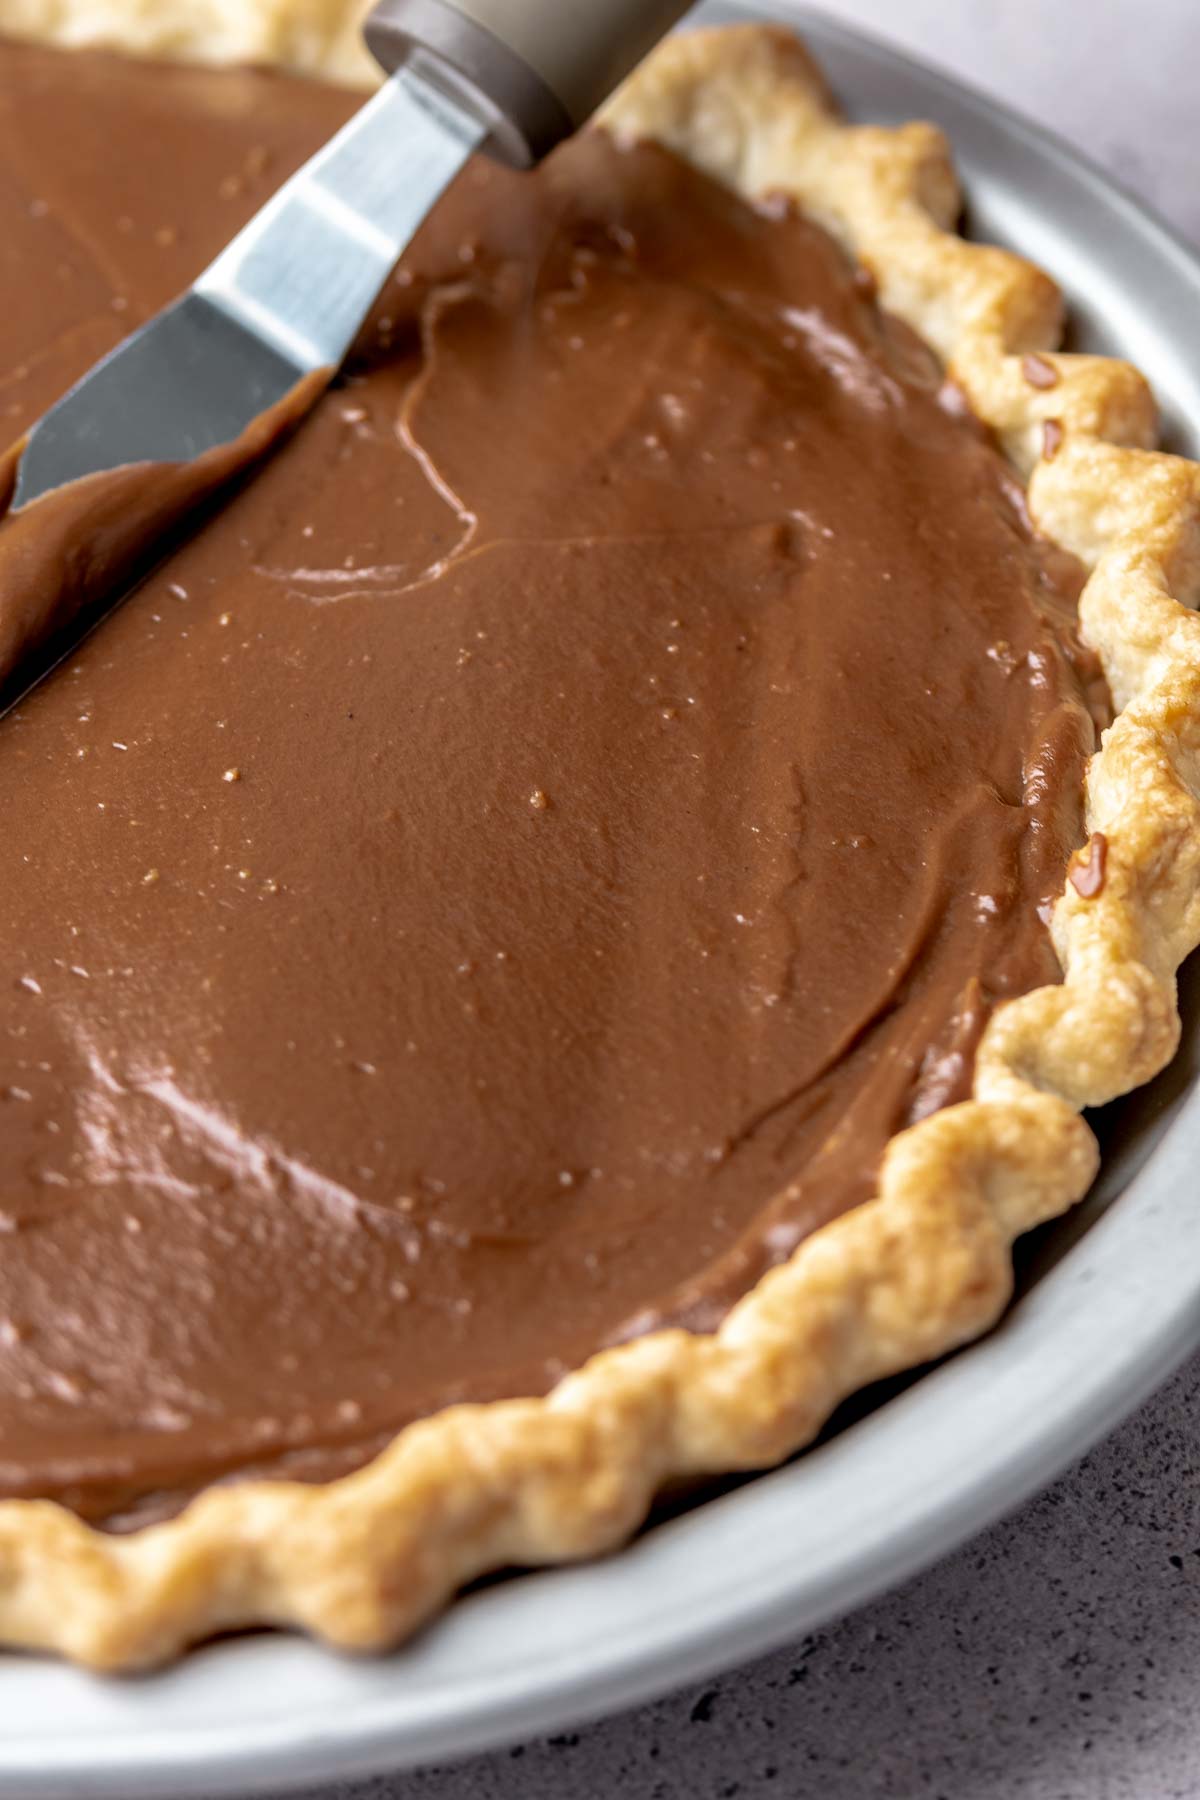
- Blind baked crusts: these are used in recipes that have a no-bake filling and need to have a fully baked crust prior to filling and eating. This method is used in my mini lemon meringue tarts, cranberry curd tarts, and chocolate meringue pie.
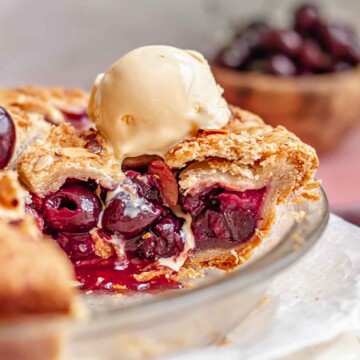
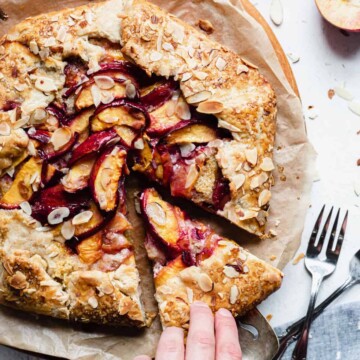
- Fruit pies are typically not par-baked in any capacity, because they require a longer bake time and it gives the crust time to fully cook during the process. This method is used with my dutch caramel apple pie, strawberry rhubarb tartlets, peach frangipane galette, and classic cherry pie.
💌 Save This Recipe
How to Make Pie Dough by Hand
Watch the Video: making pie dough by hand 🥧
If you don't have a food processor, you can still make pie crust, it just takes an extra 15 minutes of effort. The next easiest way is to use a pastry cutter, pressing down and turning until the butter pieces are cut into pea-sized pieces.
If you don't have a pastry cutter, you can also flatten the butter cubes with your thumbs and forefingers, then continue rubbing the butter into the flour until it forms a sandy texture.
Because this part of the process takes a bit longer by hand, once the butter gets broken down, place the entire bowl in the freezer for about 15 minutes to get the butter cold again.
From this point, drizzle the water (leaving one tablespoon left) around the flour and use a spatula or wooden spoon to mix it together until moistened.
Use your hands to push everything together into a large ball. If it does not hold into a ball, drizzle in a teaspoon of water at a time into the dry areas until it comes together.
Wrap the dough in plastic wrap, roll it into a disc with a rolling pin, and refrigerate for at least two hours before rolling it out and using it according to recipe instructions.
Expert Tips
- Chill the dough for at least 2 hours, but overnight is best. The rest time allows the dough to hydrate and gluten to relax, making it easier to roll out.
- Let the dough come to temperature for about 15 minutes before rolling it out.
- If the dough sticks to the counter or rolling pin at any point, add some additional flour.
- A bench scraper can be a helpful tool to gently lift a sticky pie crust from the counter.
- Fill the dough completely with pie weights, and push them into the sides. This helps the pie keep its structure and prevent any slipping during baking.
- Tent the crust lightly with foil if it begins to brown too quickly during baking.
Recipe FAQs
This means too much water was added to the dough. Wrap it up and let it hydrate in the fridge, then use a generous amount of flour when rolling it out. The flour will work into the dough while rolling and bring it back to the correct consistency.
If it's cracking in the center, it means there were dry spots in the dough that needed more time to hydrate. If it's cracking on the edges, the dough just needs a bit more time to warm up before continuing to roll.
Any sweet pie filling can be used in the pie dough (I don't suggest using a savory filling, like pot pie filling). This sweet crust is a great option for no-bake fillings because it remains crispy for days in the refrigerator.
Storage
Refrigerator (disc form) - store for two days before rolling out and baking.
Refrigerator (in pie tin) - store for two days before baking. Keep the dough covered to prevent it from drying out.
Freezer (disc form) - store in the freezer in a zip top bag for four months. Thaw the disc in the fridge overnight before using.
Freezer (in pie tin) - wrap completely (dough and tin) in a few layers of plastic wrap and tin foil and freeze for four months. The pie crust can be baked directly from frozen.
When freezing pie dough in a pie tin, it's best to use a metal pie plate. The change in temperature can cause a glass plate to crack during the freezing or baking process.
How to Use Sweet Pie Crust
What to Know When Cooking with The Cozy Plum
- All recipes are created with Diamond Crystal kosher salt, the least salty variety of kosher salt. If using Morton's, you'll need to cut the amount of salt in half as it's 2x as salty. This will be the same for sea salt. Please do not use table salt.
- Switch between Cups vs Metric using the toggle on the recipe card. Baking by weight using a digital scale will always produce the most accurate results.
- Scale the recipe using the '1X' '2X' '3X' buttons on the recipe card. Note that this does not make an adjustment for baking times, only quantities.
- If you'd like to make the recipe in a different pan, use the pan size converter.
📖Recipe
Sweet Pie Crust
Equipment
- Plastic wrap
- 9" pie plate
- Pie weights or dried rice/beans
Ingredients
- 1½ cups all-purpose flour plus more for rolling
- 2 tablespoons granulated sugar
- ¼ teaspoon kosher salt
- ½ cup unsalted butter cut into cubes
- ¼ cup water very cold
Instructions
- Add the flour, sugar, and salt to the bowl of a food processor and pulse a few times to blend.1½ cups all-purpose flour, 2 tablespoons granulated sugar, ¼ teaspoon kosher salt
- Add the butter and pulse until pea sized crumbles form.½ cup unsalted butter
- With the processor running, slowly drizzle in the water through the chute, The dough will be crumbly and should form together when squeezed. If it’s still too crumbly, drizzle in a bit more water until it holds together.¼ cup water
- Remove the dough onto a large piece of plastic wrap and wrap all sides of the plastic wrap around the dough. Push it together slightly with your hands, then use a rolling pin to gently roll the dough until it flattens into a 1” thick disc. Refrigerate for at least 2 hours or up to two days.
- Once chilled, remove from the fridge and wait about 15 minutes to take the chill off of the dough. This will help it roll out without cracking. Lightly flour a clean work surface and rolling pin, then roll out the dough, turning a quarter turn every few rolls to keep it round and even.
- Roll the dough until it’s about ⅛” thick and is at least 1 inch wider than your pie dish. Continue to lightly flour your surface and pin anytime the dough begins to stick.
- Carefully transfer the dough to a pie dish, pressing it into place on the bottom and sides (there will be overhang), and trim the edges with kitchen shears so they’re even and about 1” wider than the dish.
- Fold the sides underneath the crust so the fold meets the edge then crimp the edges. Use a fork to dock the bottom and sides of the crust with the tines, then place in the freezer while the oven preheats.
- Preheat the oven to 400℉. Add a piece of parchment paper into the pie crust and fill it with pie weights (or dried rice/beans).
- For a par-baked crust, bake for 15 minutes, then remove the parchment and pie weights, add the filling and continue cooking according to recipe instructions.
- For a fully blind-baked crust, bake for 15 minutes, then remove the parchment and pie weights and continue baking for another 5-10 minutes until there are no longer any moist spots on the bottom of the crust and the edges are golden.
- Transfer to a wire cooling rack to cool completely before adding the no-bake filling.
Did you make this recipe? Share it with us! Tag @thecozyplum on Instagram & Facebook and leave a star rating ⭐️ below!
Leave a Reply