
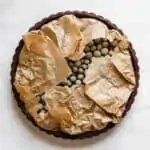
Sweet tart crust, also known as pâté sucrée, short crust pastry, sweet pastry dough, is a sweet cookie-style dough used as a tart base for a delicate crunch. This Chocolate Sweet Tart Crust version can be filled with all types of creams, curds, or ganaches.
Chocolate Sweet Tart Crust
Sweet tart dough is made by creaming together butter, sugar, and salt, then an egg is added, followed by a bit of flour. This version also includes dutch-processed cocoa powder, which as a darker, richer cocoa than natural cocoa and gives it a strong chocolate flavor and color.
Check out my normal Sweet Tart Crust if you're not looking for a chocolate base!
This dough method follows the same creaming method used in cookies, which is why the texture very closely resembles a crisp shortbread cookie. It is soft, easy to work with, and very forgiving! For all of my tarts, I use my trusty 9″ Wilton Tart Pan with Removable Bottom. I couldn’t live without it (because tarts are life!).
Ingredients
- Unsalted butter. At room temperature! Read my Butter 101 post if you're unsure of the correct temperature and texture.
- Granulated sugar.
- Kosher salt.
- Large egg. Just one, and at room temperature.
- All-purpose flour.
- Dutch-processed cocoa powder. I use Rodelle brand (not sponsored, this is just my go to), but you can also find Hershey's Dark Chocolate Special Cocoa in most grocery stores.
Tools
- Stand mixer or hand mixer. Use the paddle attachment for the stand mixer. If using the hand mixer, take care not to over mix.
- 8" or 9" tart pan with removable bottom. You can also do this in a pie dish.
- Rolling Pin. To roll out the chocolate sweet tart dough.
- Paring knife. A sharp one! Necessary to help trim the excess dough.
- Pie weights. You can also use dried rice or beans. Do not eat them afterwards, these should be stored in a bag or Tupperware and will become your baking weights!
- Parchment paper. For the blind baking and pie weights.
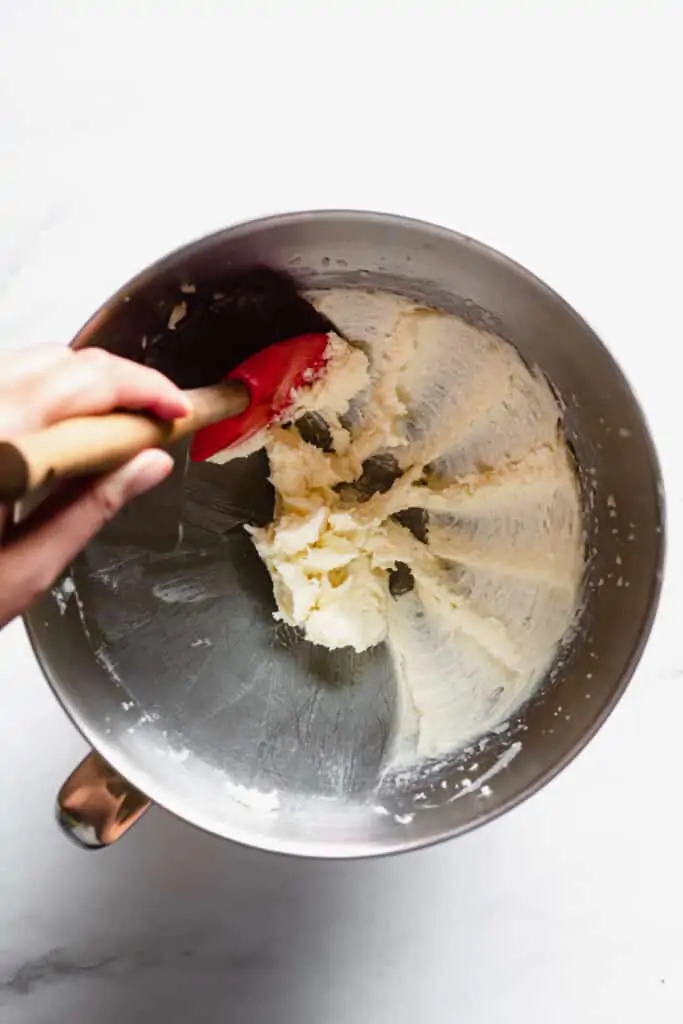
Begin by creaming together the room temperature butter, sugar, and salt in a stand mixer fitted with the paddle attachment (or using a hand mixer) for about a minute on medium speed and scrape down the sides.
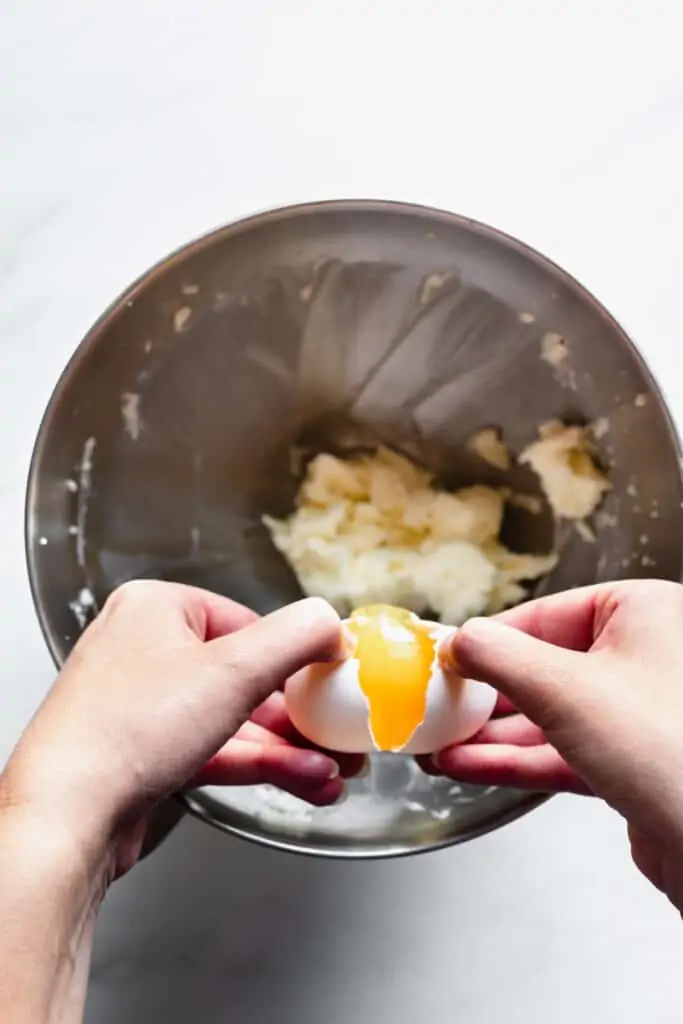
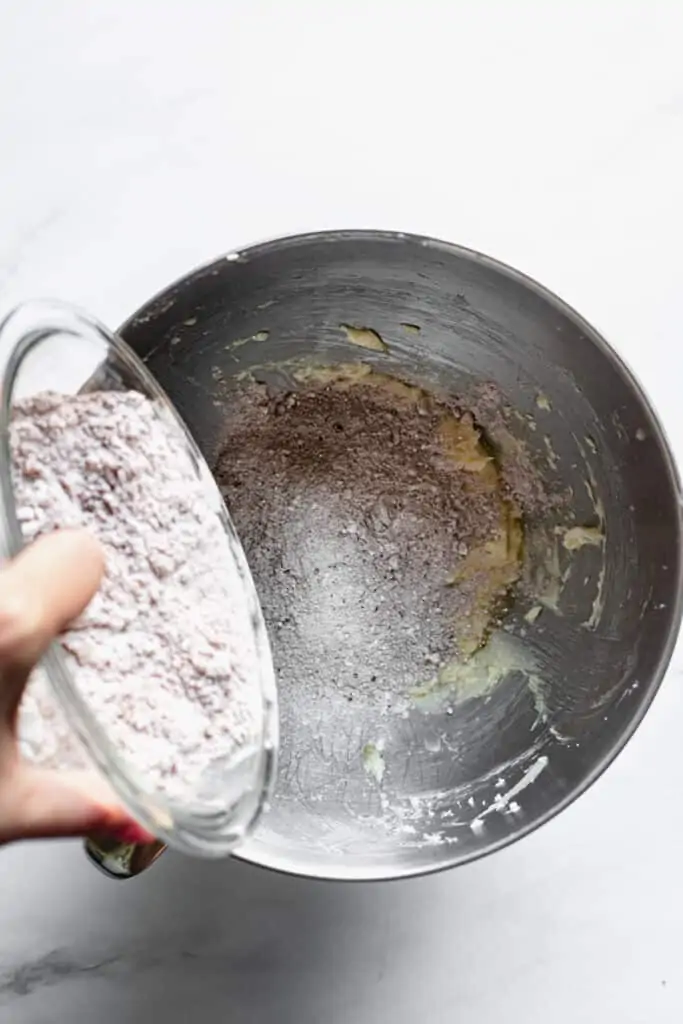
Next, add in the room temperature egg and salt and mix to break it up and incorporate the egg. At this point, scrape down the sides of the bowl agin, then add the flour and cocoa powder and mix on low to combine.
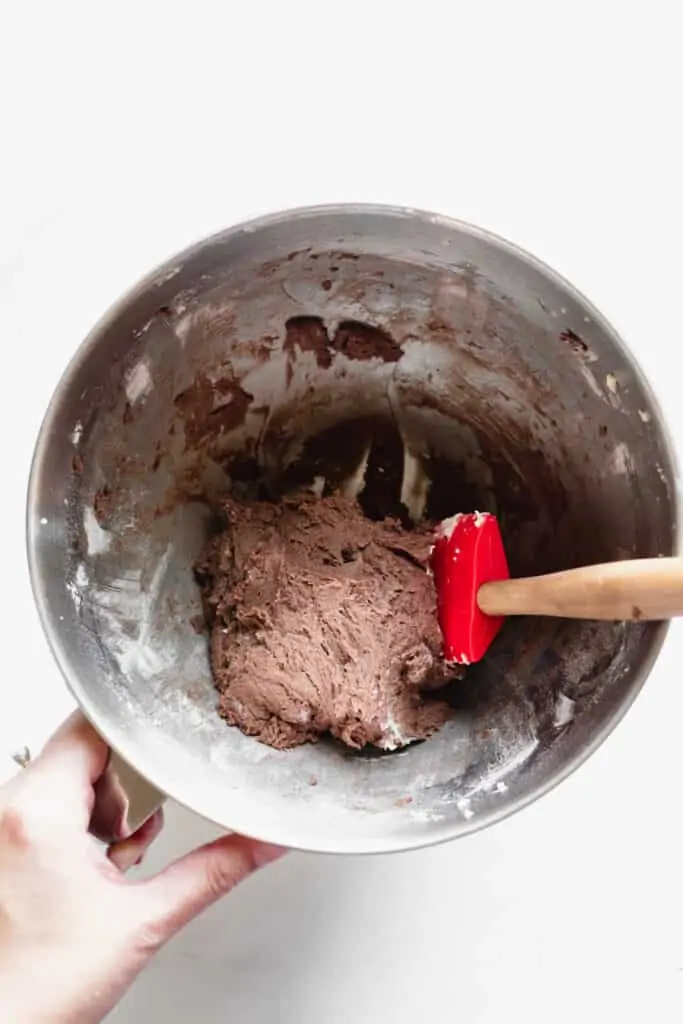
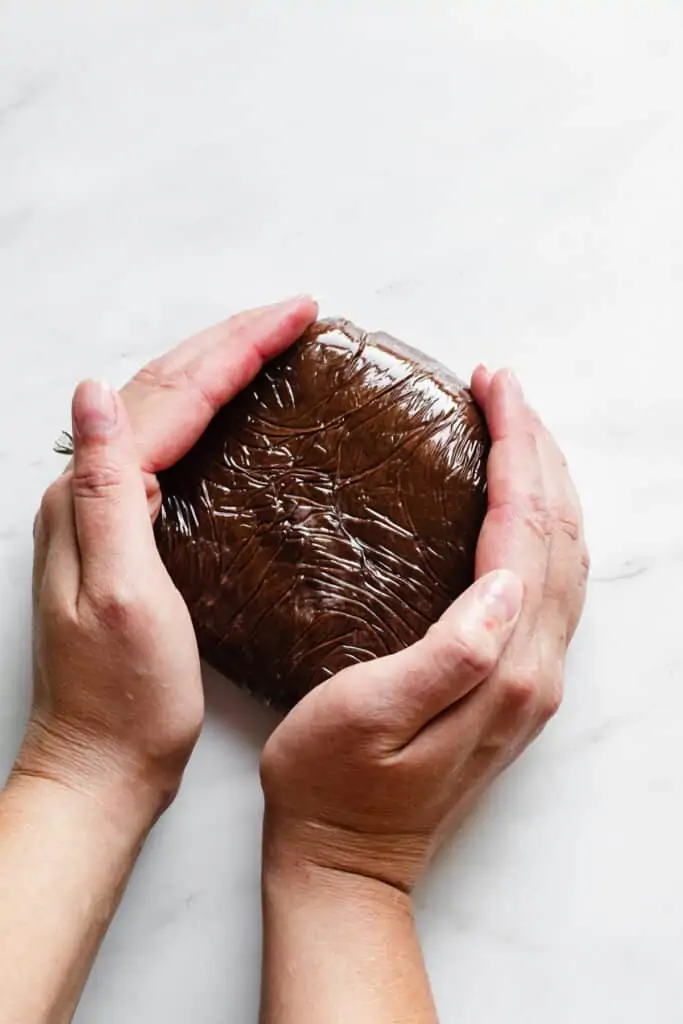
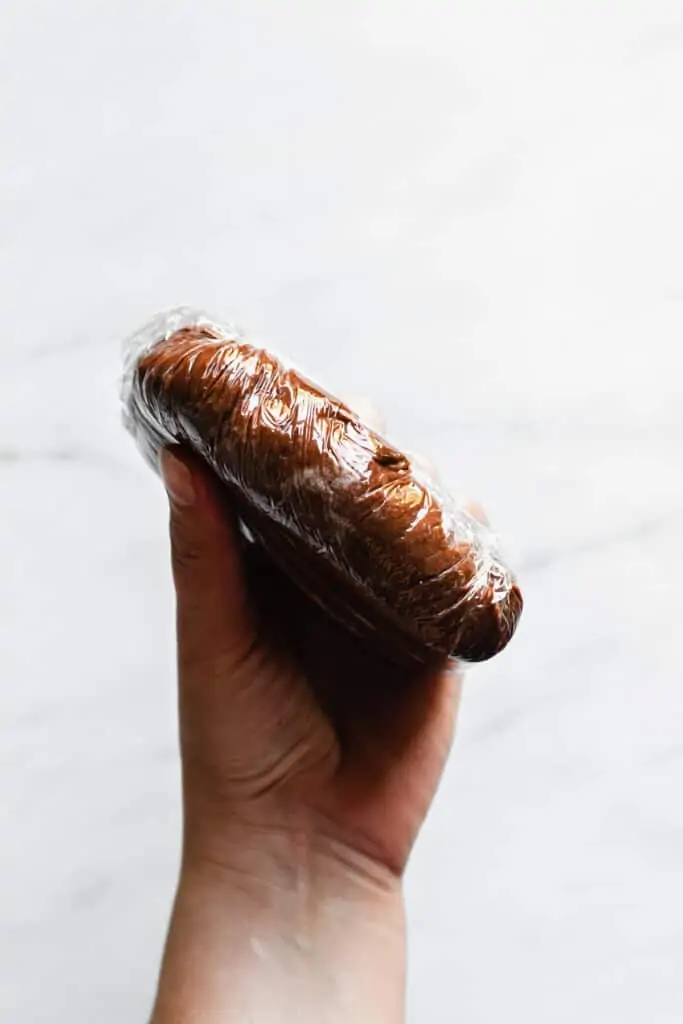
The dough will feel very soft and pliable. Transfer the dough to a large piece of plastic wrap, wrap completely to cover and seal, then press the dough into a round, 1″ thick disk. Allow the dough to sit in the fridge for 2 hours to chill and firm up. This part is crucial to both hydrate and firm up the dough, so do not skip the rest time.
Prepping the dough
After the rest time is up, remove the dough from the fridge and let the chill come off for about 15 minutes. This will help to roll out the dough more evenly and with fewer cracks.
Lightly flour a clean work surface and rolling pin, and begin rolling out the dough, turning it 90 degrees every few rolls. This will help to roll it into a circle. If the dough sticks to the counter or rolling pin at any point, sprinkle on a bit more flour.
Continue rolling out the dough until it’s about 2 inches wider than the tart pan (simply place the tart pan on top of the dough to check) and is between ⅛″-¼″ thick. If the edges have started to crack, that’s ok. The dough is incredibly forgiving and is able to be patched once in the pan.
Hot tip! Pâte Sucrée Cookies
Given that this is so similar to a cookie dough, any leftover scraps from creating the tart crust can be smooshed back together, rolled out again, and cut or stamped into cookies! Simply bake them on a parchment lined baking sheet and bake at 325℉ for about 10 minutes. The cookies can be enjoyed as is, or can be iced and decorated.
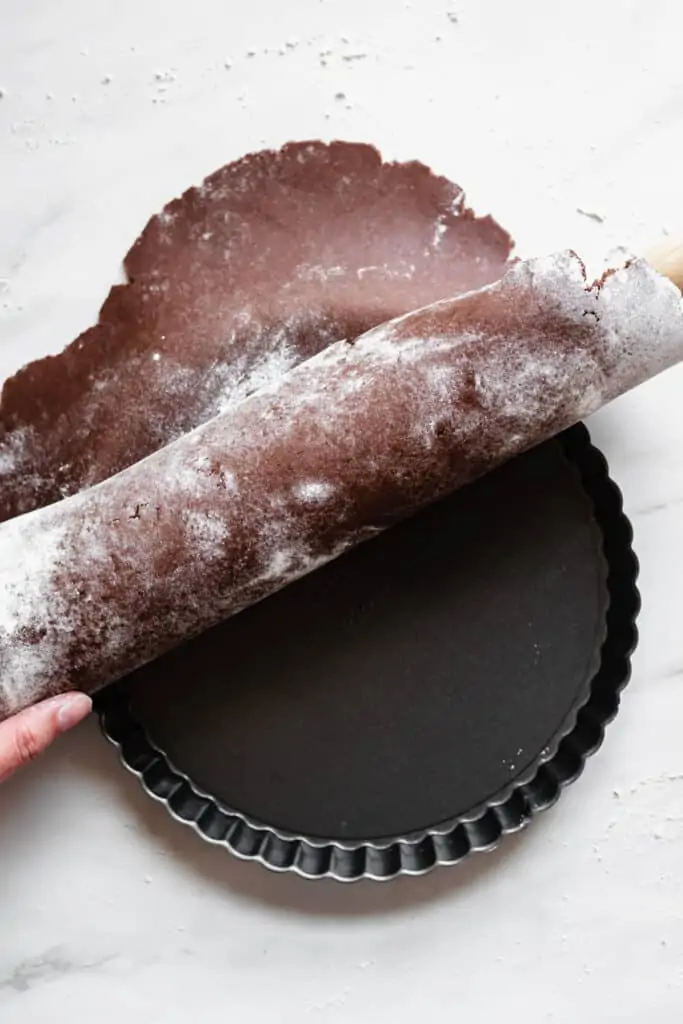
Transferring the dough to the pan
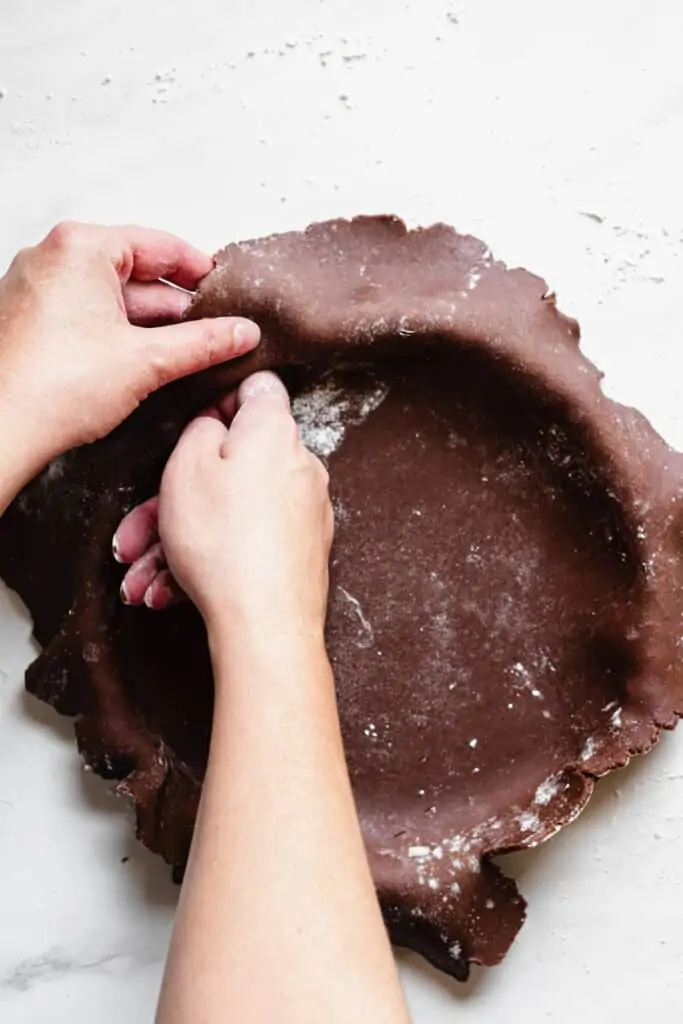
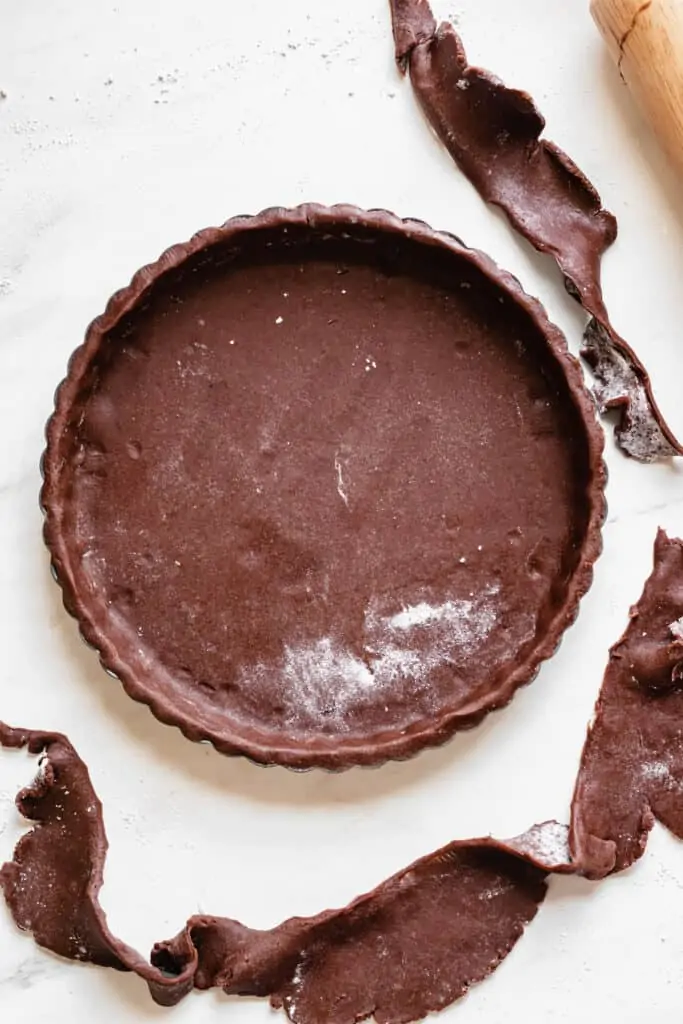
Once the dough is rolled out to the appropriate thickness, roll it onto your rolling pin, then transfer it to the tart pan and unroll it overtop. Carefully lift the dough around the edges to allow it to sink into the pan. Then, use your fingers to push the dough into the corners and bottom of the pan.
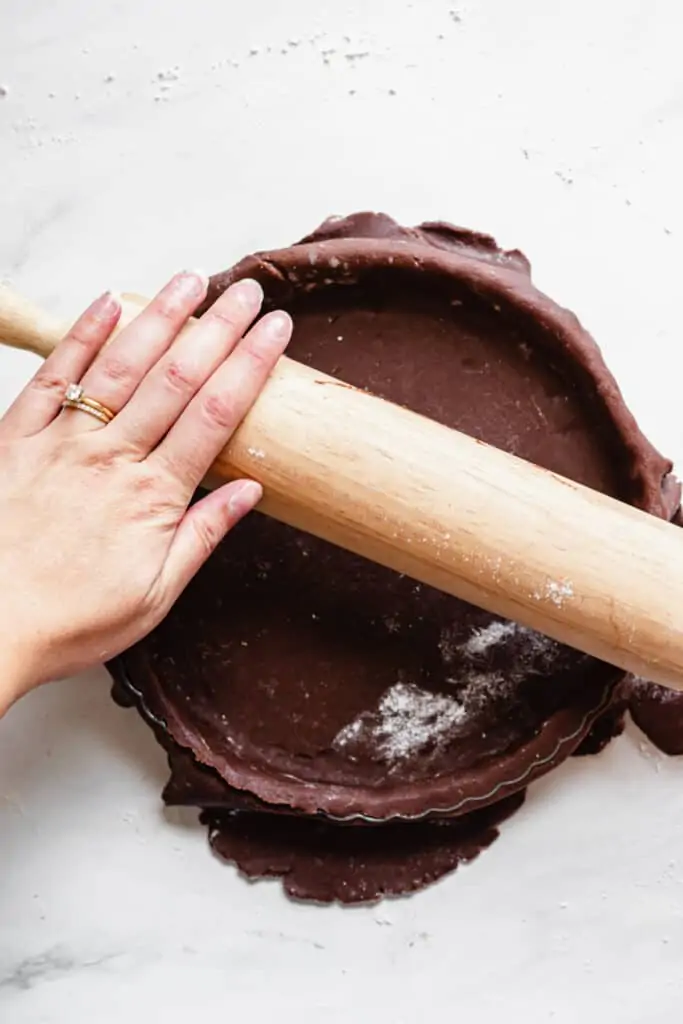
Gently fold the excess over the outsides of the pan and use the rolling pin to roll over the top to remove the excess dough. These are the scraps that can be worked back into a disc and re-rolled for the cookies (see above).
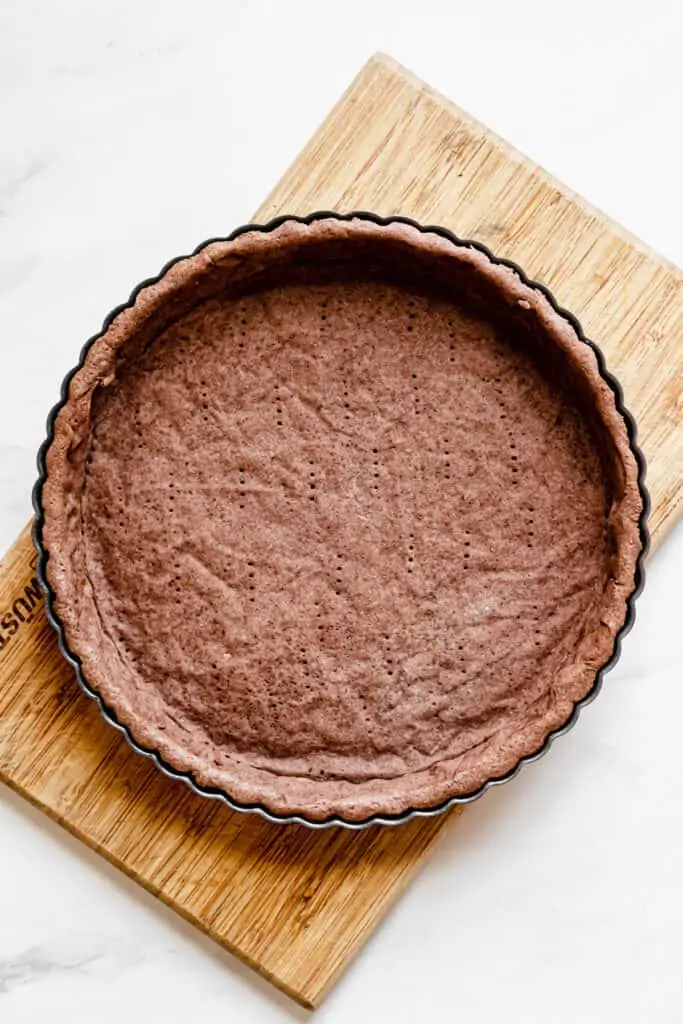
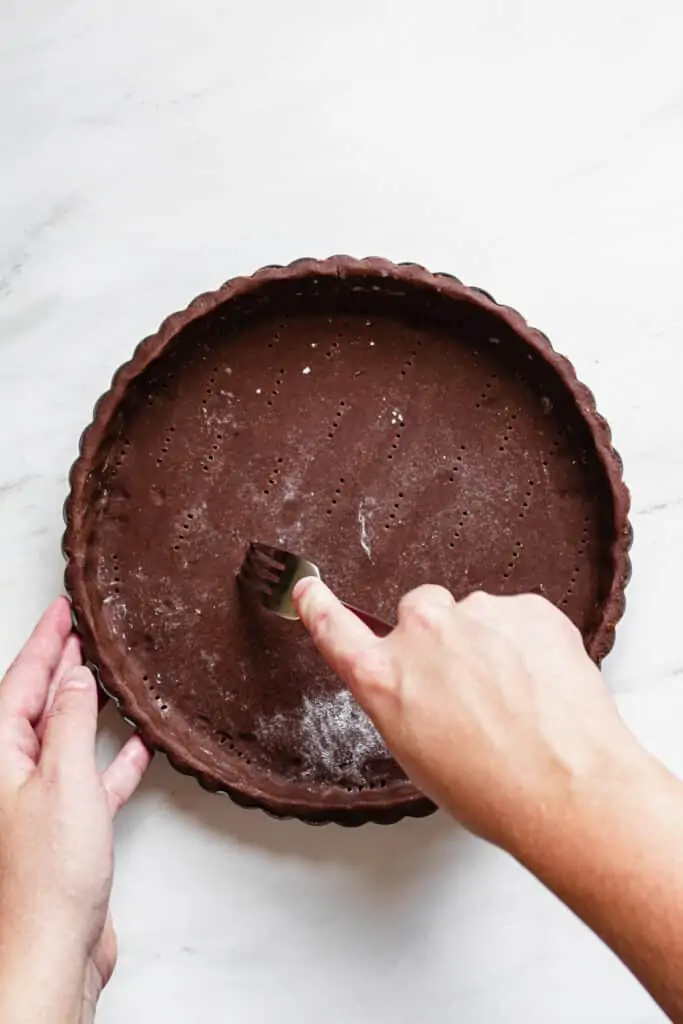
Once the tart is prepared, place it into the freezer for 15 minutes and preheat the oven to 325℉/163℃. Dock the shell all over with the tines of a fork, including the corners.
💌 Save This Recipe
Prepping and Baking
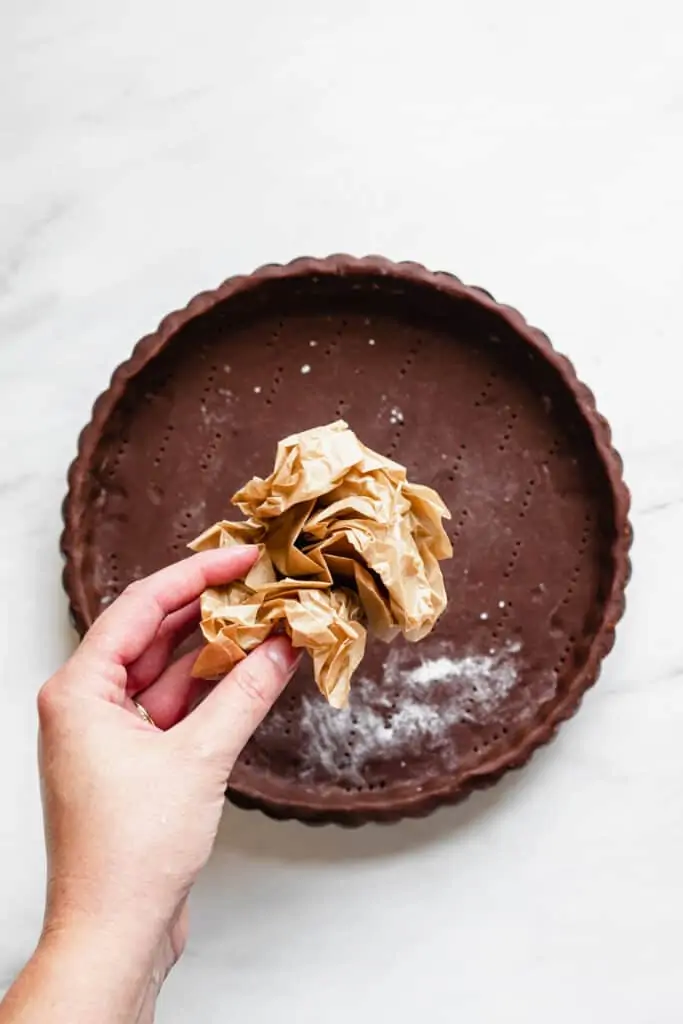
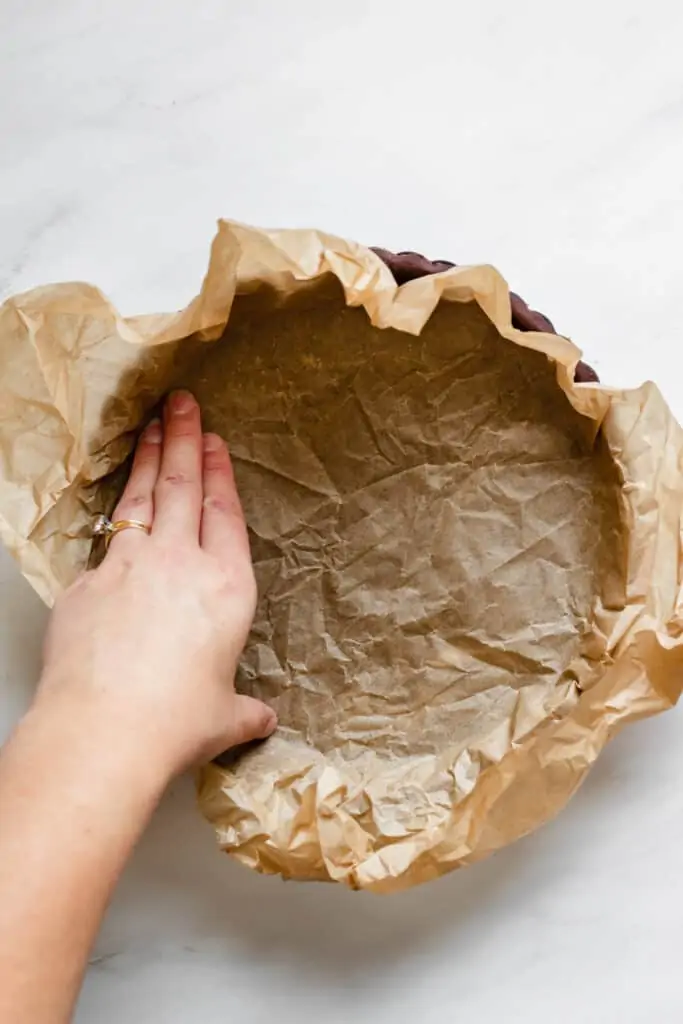
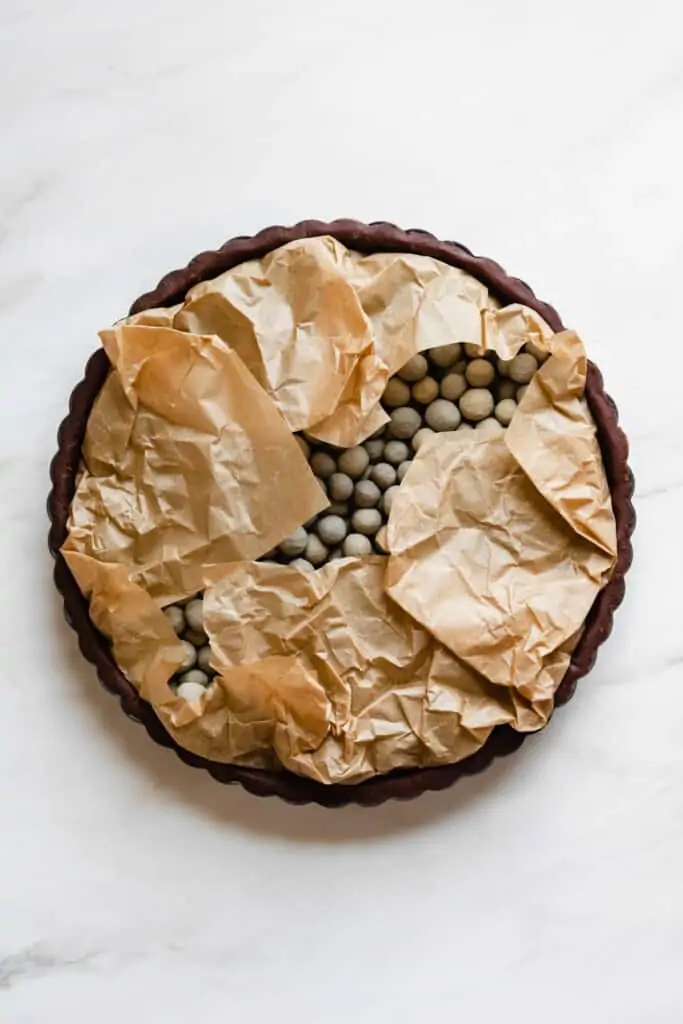
Crumble a piece of parchment paper, then unwrap it and spread it out inside the tart shell. Add pie weights (dried rice or beans also works, just don’t use them to eat afterwards) – enough so the shell is completely filled, and push the weights into the corners and sides so it's evenly distributed.
Fold the parchment overhands onto the weights. This helps to keep clean edges without indents.

Bake the tart for 10-15 minutes, then remove it from the oven and carefully remove the parchment and pie weights. I just carefully lift from the corners and place the parchment and weights onto a cookie sheet to cool.
Par baking
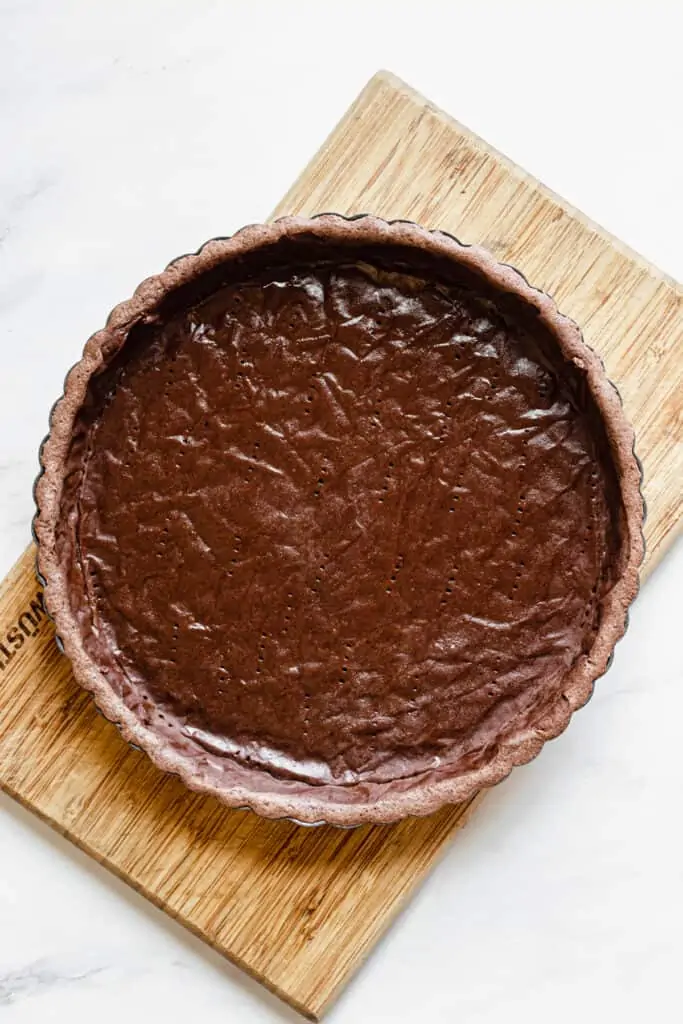
After the 10-15 minutes, the pie will still look wet in the center but the edges set. This stage is called par-baking and some recipes will call for you to stop here if you'll be adding a filling that needs to be baked.
Blind baking
There are also recipes that will have you fully bake a tart shell before adding the filling, and this is called blind baking. A blind baked shell will show no wet spots and be completely dry and set.

To fully blind bake a tart dough, continue baking the tart (without weights or parchment) for 10-15 more minutes until it is no longer moist in center. Check on it a few times – if the dough is puffing up on the bottom, use a fork or paring knife to add a few more pokes to release the steam. Transfer the tart to a wire rack to cool completely.
If the top edge of the tart becomes wonky, you can use a microplane to carefully even out the crust and shave it down until it's even.
How to remove the tart from the tart pan
Once the tart is ready to be filled or served, turn a short drinking glass upside down and place the tart on top of it. The tart ring should fall naturally, but carefully pull it downwards if it’s sticking anywhere. Use the tip of a sharp knife to loosen any very tough spots.
Transfer the tart to a serving plate, then use a thin knife to get in between the tart shell and bottom of the pan. If necessary, run the knife around the edge to loosen it and pull the pan bottom out from under the tart crust.
Watch my quick video on how to do this!
Frequently Asked Questions
If your crust has significant shrinkage, this could be for two reasons. 1) the pie weights are not filled completely to the top and fully pushed out to the sides to hold the structure. 2) the crust was not par baked long enough for the sides to set, so they slouched during the second half of baking after the weights were removed.
Once fully blind baked, this shell holds up great for many fillings. Curds, ganaches and whipped creams are all great options to fill the tart. You can also brush egg whites over the crust after removing the pie weights (then continue baking) to really seal the crust if you’re planning to use a very wet filling like a curd.
Once the tart shell is fully blind baked, it can be stored at room temperature for 5 days. It can be lightly covered with foil, but do not seal it in a ziplock bag or anything that prevents air from circulating or else it will turn soft.
You can also freeze the tart shell before baking and store it in a ziptop bag for 3 months.
Definitely! After the rest time in the fridge, transfer the wrapped dough to ziptop bag and freeze for 4 months.
To thaw, place in the fridge for 1-2 hours, then allow to sit at room temperature for 15 minutes before removing the plastic wrap and rolling out.
Tart recipes
📖Recipe
Chocolate Sweet Tart Crust
Equipment
- 8" or 9" tart pan with removable bottom
- Pie weights, or dried rice/beans
Ingredients
- 6 T unsalted butter room temperature (85g)
- ⅓ cup granulated sugar 67g
- ⅛ teaspoons kosher salt
- 1 large egg room temperature
- 1¼ cup plus 2 tablespoons all-purpose flour 165g
- 2 tablespoons dutch-processed cocoa powder 12g
Instructions
- In a bowl, whisk together the flour and cocoa powder until combined.
- In the bowl of a stand mixer fitted with the paddle attachment (or with a hand mixer), cream together the butter, sugar and salt until smooth. Scrape down the sides.
- Add in the egg and mix until incorporated, then scrape down the sides again.
- Add the flour and cocoa powder and mix on low until just incorporated.
- Wrap the dough in plastic wrap and flatten into a 1-inch thick disc. Place in the fridge for two hours.
- Remove the dough from the fridge and allow it to sit at room temperature for about 15 minutes. Then, remove the plastic wrap.
- Flour your work surface and rolling pin and roll out the dough until it’s ⅛-¼" thick. This dough is very forgiving, so if it cracks, you can patch it later. Roll the dough so it’s about 2 inches wider than the tart pan.
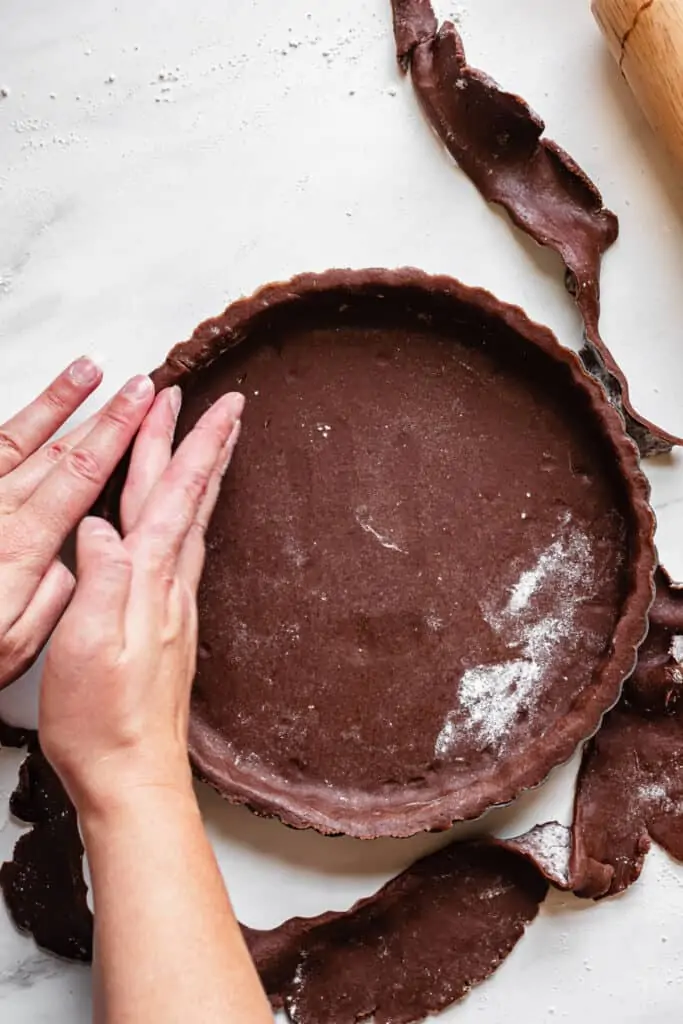
- Transfer the dough to the pan and press it into the bottom, corners, and sides of the tart pan. Roll the rolling pin over the top of the pan to remove the excess dough, then push the sides in once again and use a finger to slightly push down the top to smooth it out. Use any of the scraps to patch holes or weak spots.
- Transfer to the freezer for 15 minutes, and preheat the oven to 325℉/163℃. Remove the dough from the freezer and dock the bottom of the tart with a fork multiple times. Line the shell with parchment paper and fill completely with pie weights (or dried beans/rice).
- Bake for 10-15 minutes. Carefully remove the weights and parchment, and continue to bake for another 10-15 minutes until lightly golden. When done, the middle of the tart should not look moist or raw. Remove the pan to a wire rack to cool completely.
Notes
Once fully baked, the tart shell stores at room temperature for five days. Do not cover tightly or it will become soft.
Jenn says
Made this for a strawberry tart and it came out great!
Jenn says
Made this for a strawberry tart and it came out great!