
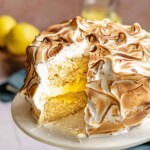
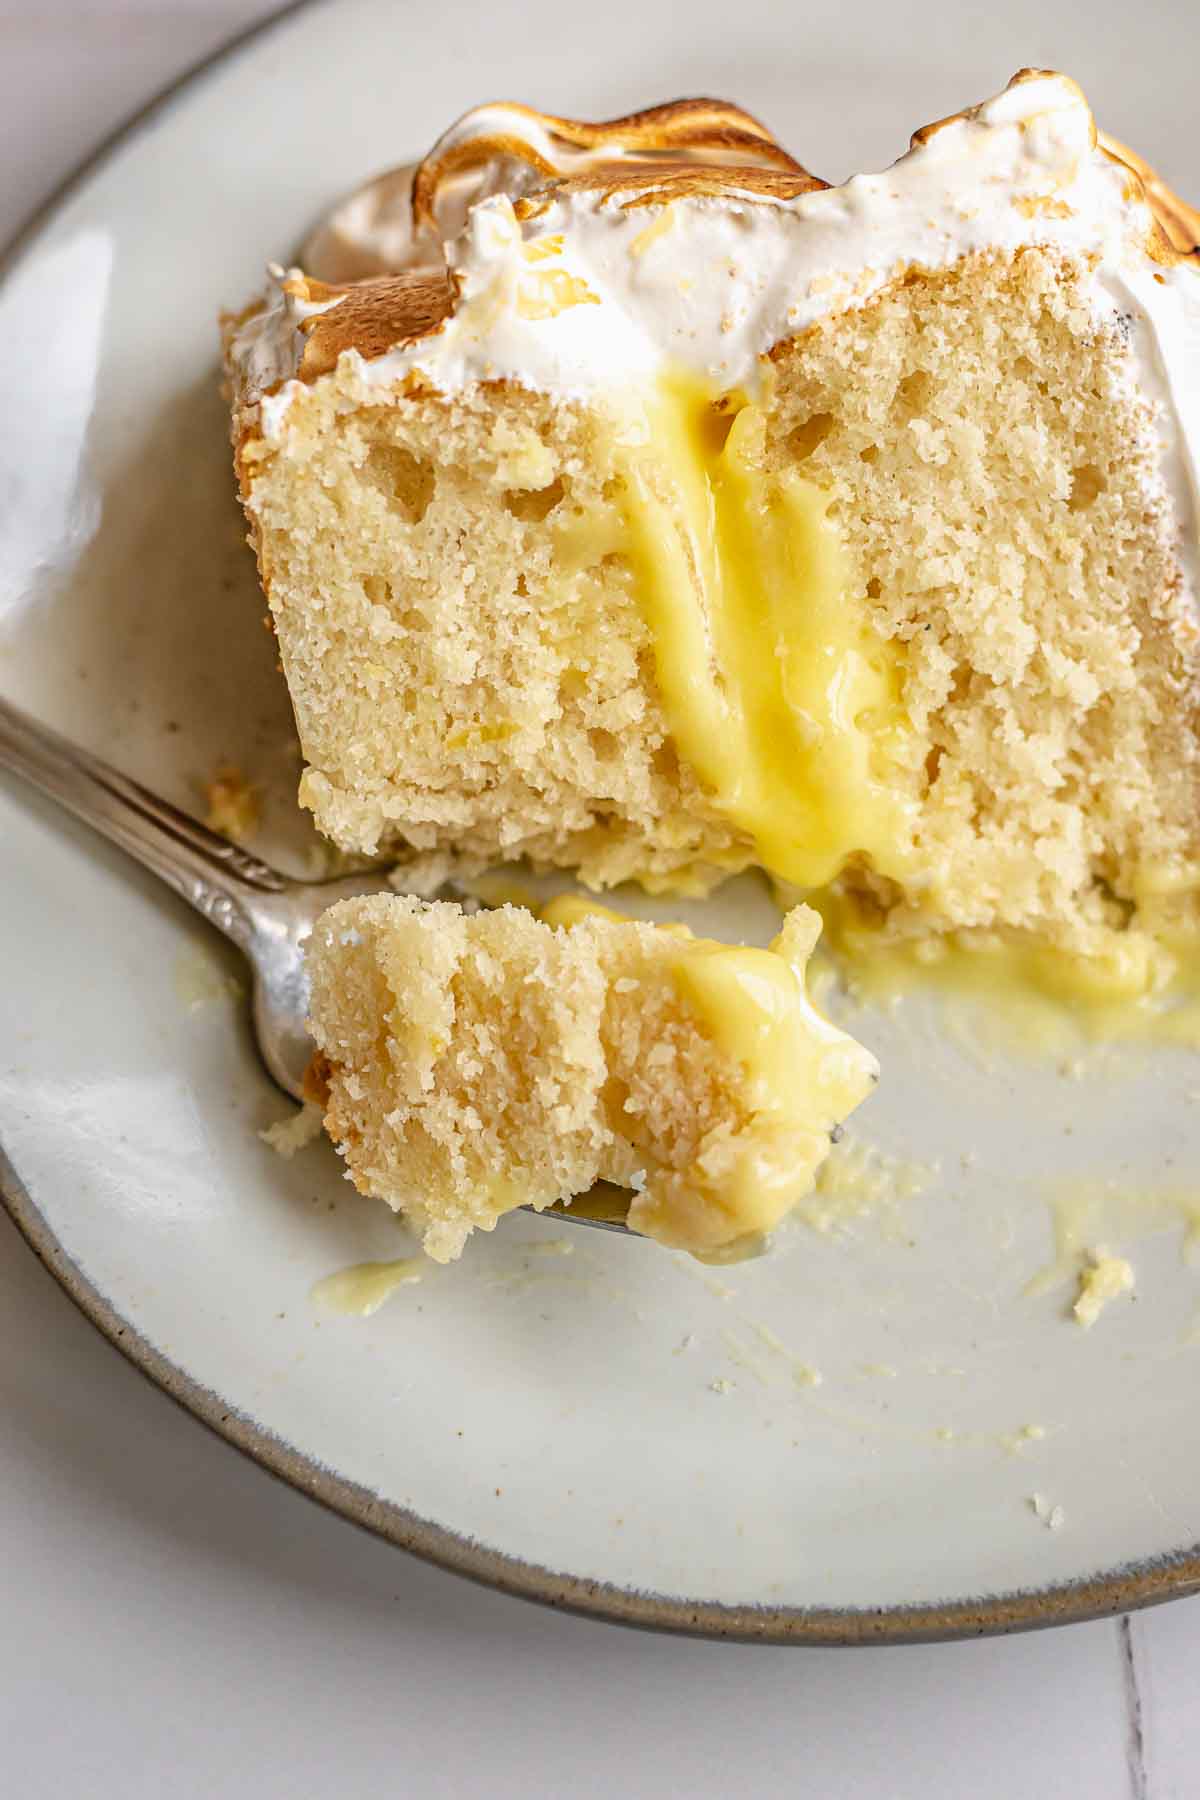
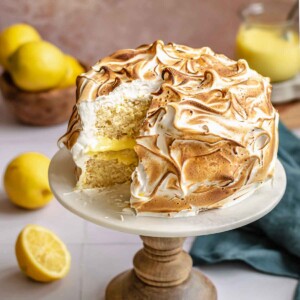
This Lemon Curd Cake is a moist vanilla cake filled with tart lemon curd, covered in a fluffy meringue frosting, and torched to perfection. It's like a lemon meringue pie in cake form and is the perfect birthday cake for citrus lovers.
This lemon meringue cake uses a thick homemade lemon curd (made with whole eggs), which is the perfect lemon filling for cake.
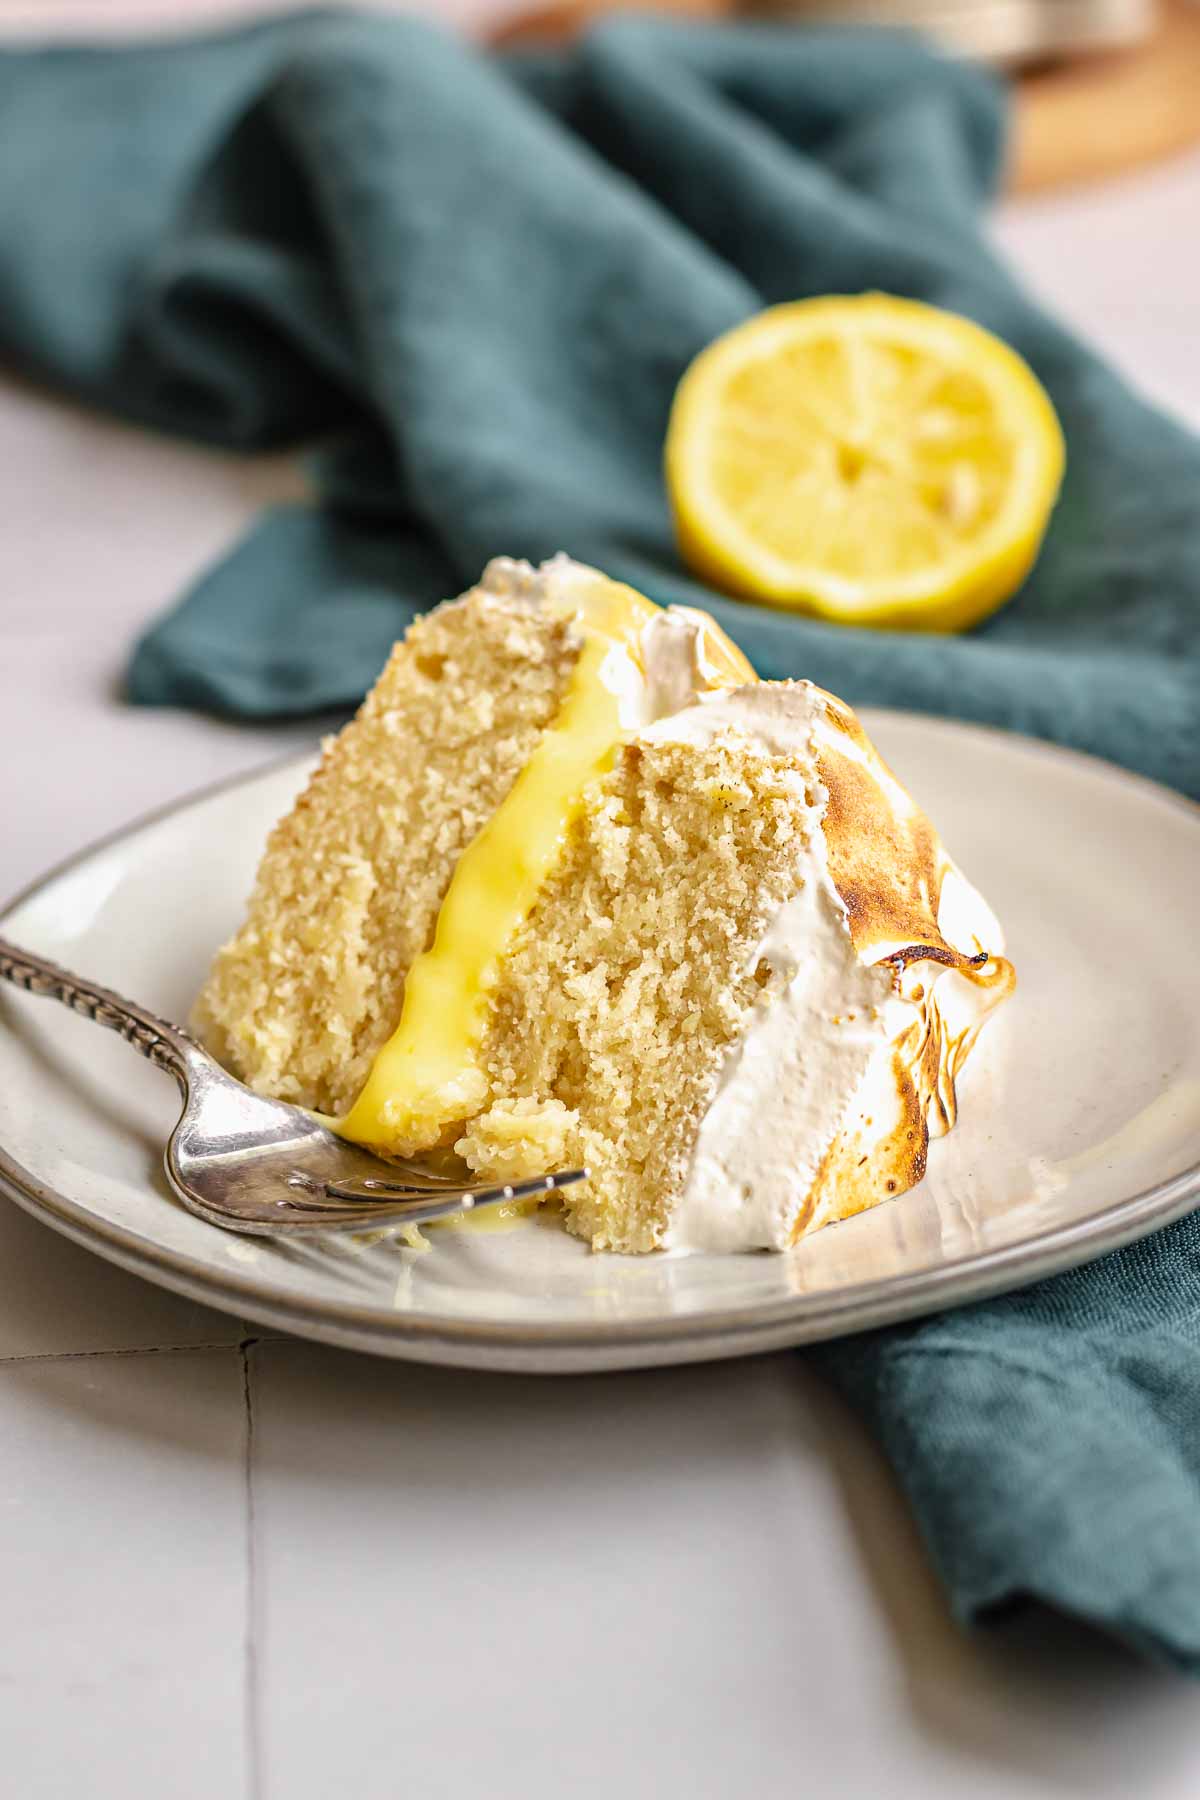
This layered lemon curd cake is packed full of tangy lemon flavor and is the ultimate dessert for a lemon lover! For more lemon desserts, try:
Jump to:
Why You'll Love This Recipe
Bright lemon flavor - With lemon zest mixed into the cake batter, and the ultra tart, zingy, and sweet lemon curd filling, this lemon curd cake is packed full of lemon flavor.
Make ahead - This is a great recipe to split up the baking and cooking time. Make the lemon curd and cake layers the first day, then make the Swiss meringue and assemble the cake the next day (or the day you plan to serve the cake).
Celebration cake - Lemon meringue cake would be the perfect cake to celebrate a birthday or special occasion! It's striking in looks, and it's not too heavy tasting, making it the perfect way to end a celebration meal.
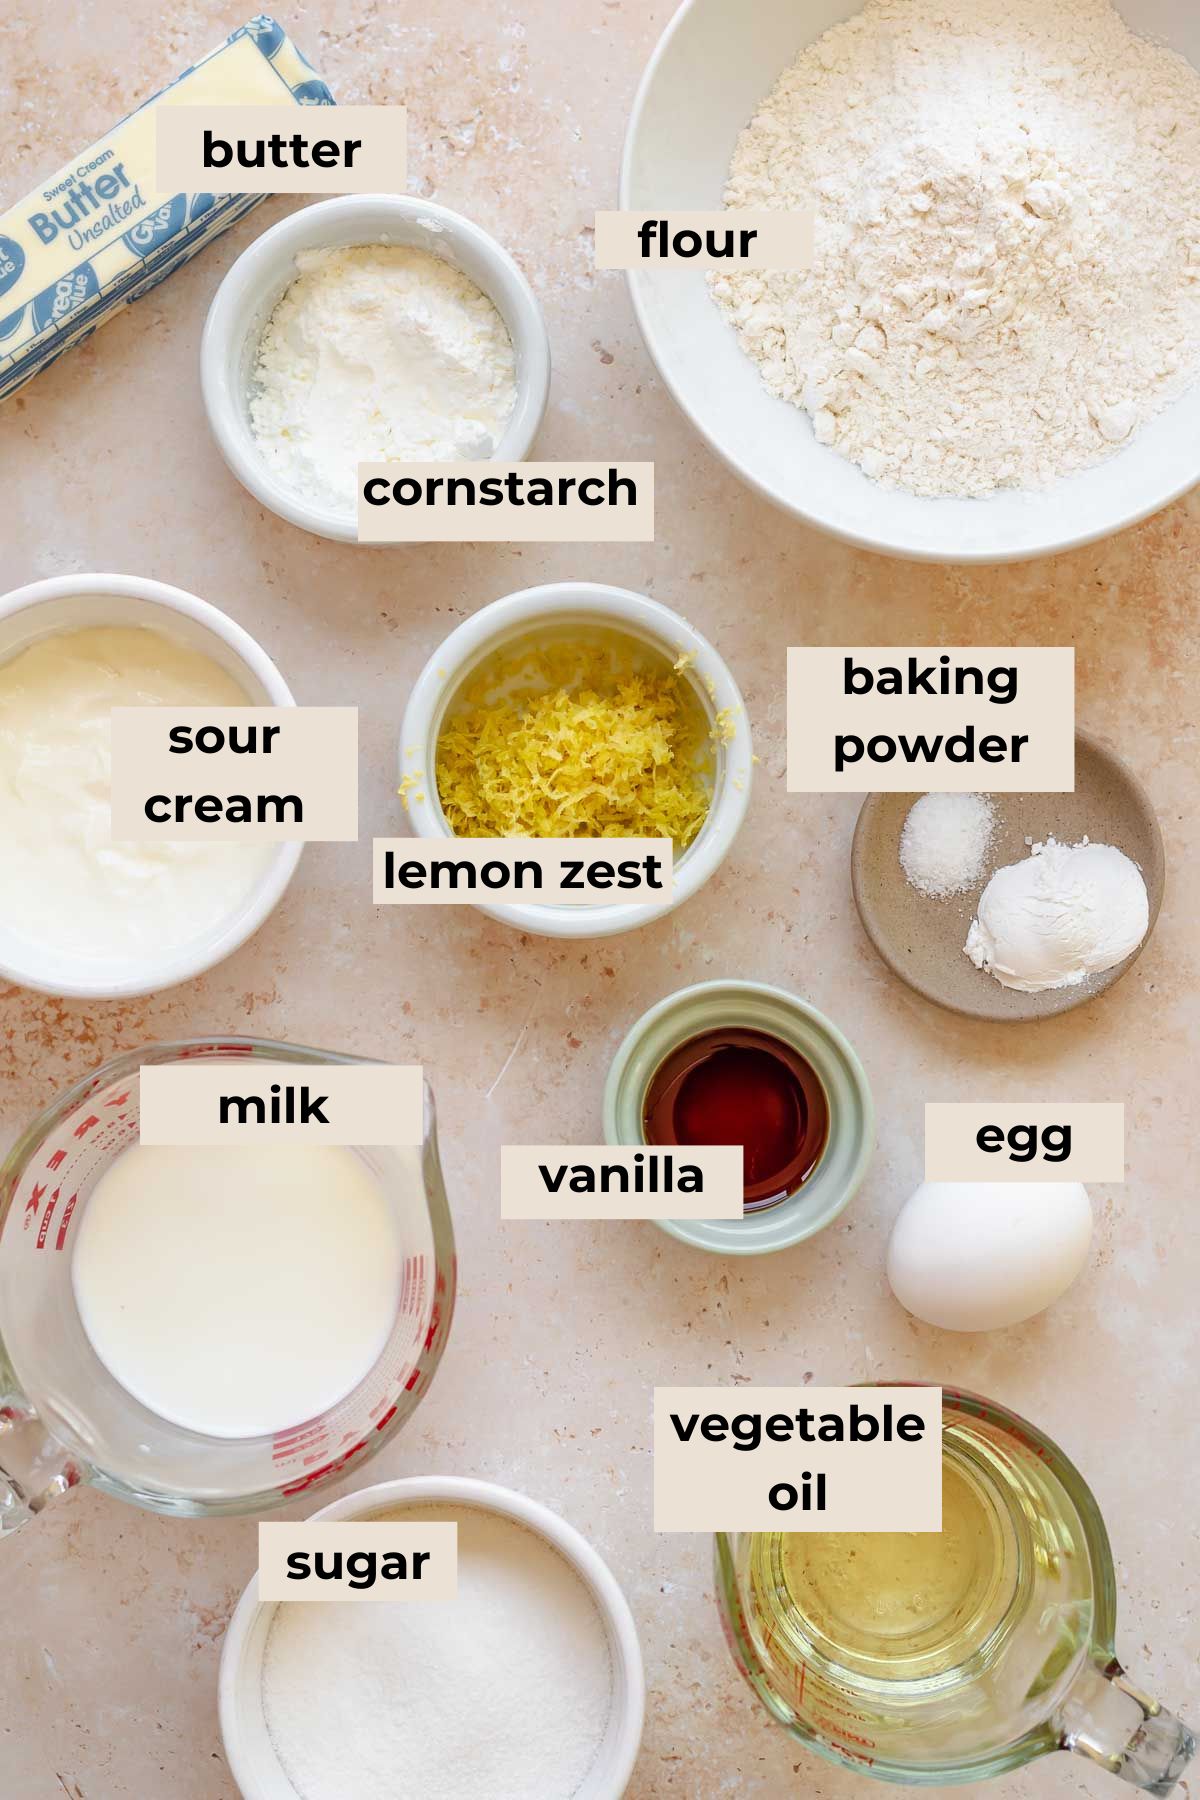
Ingredients
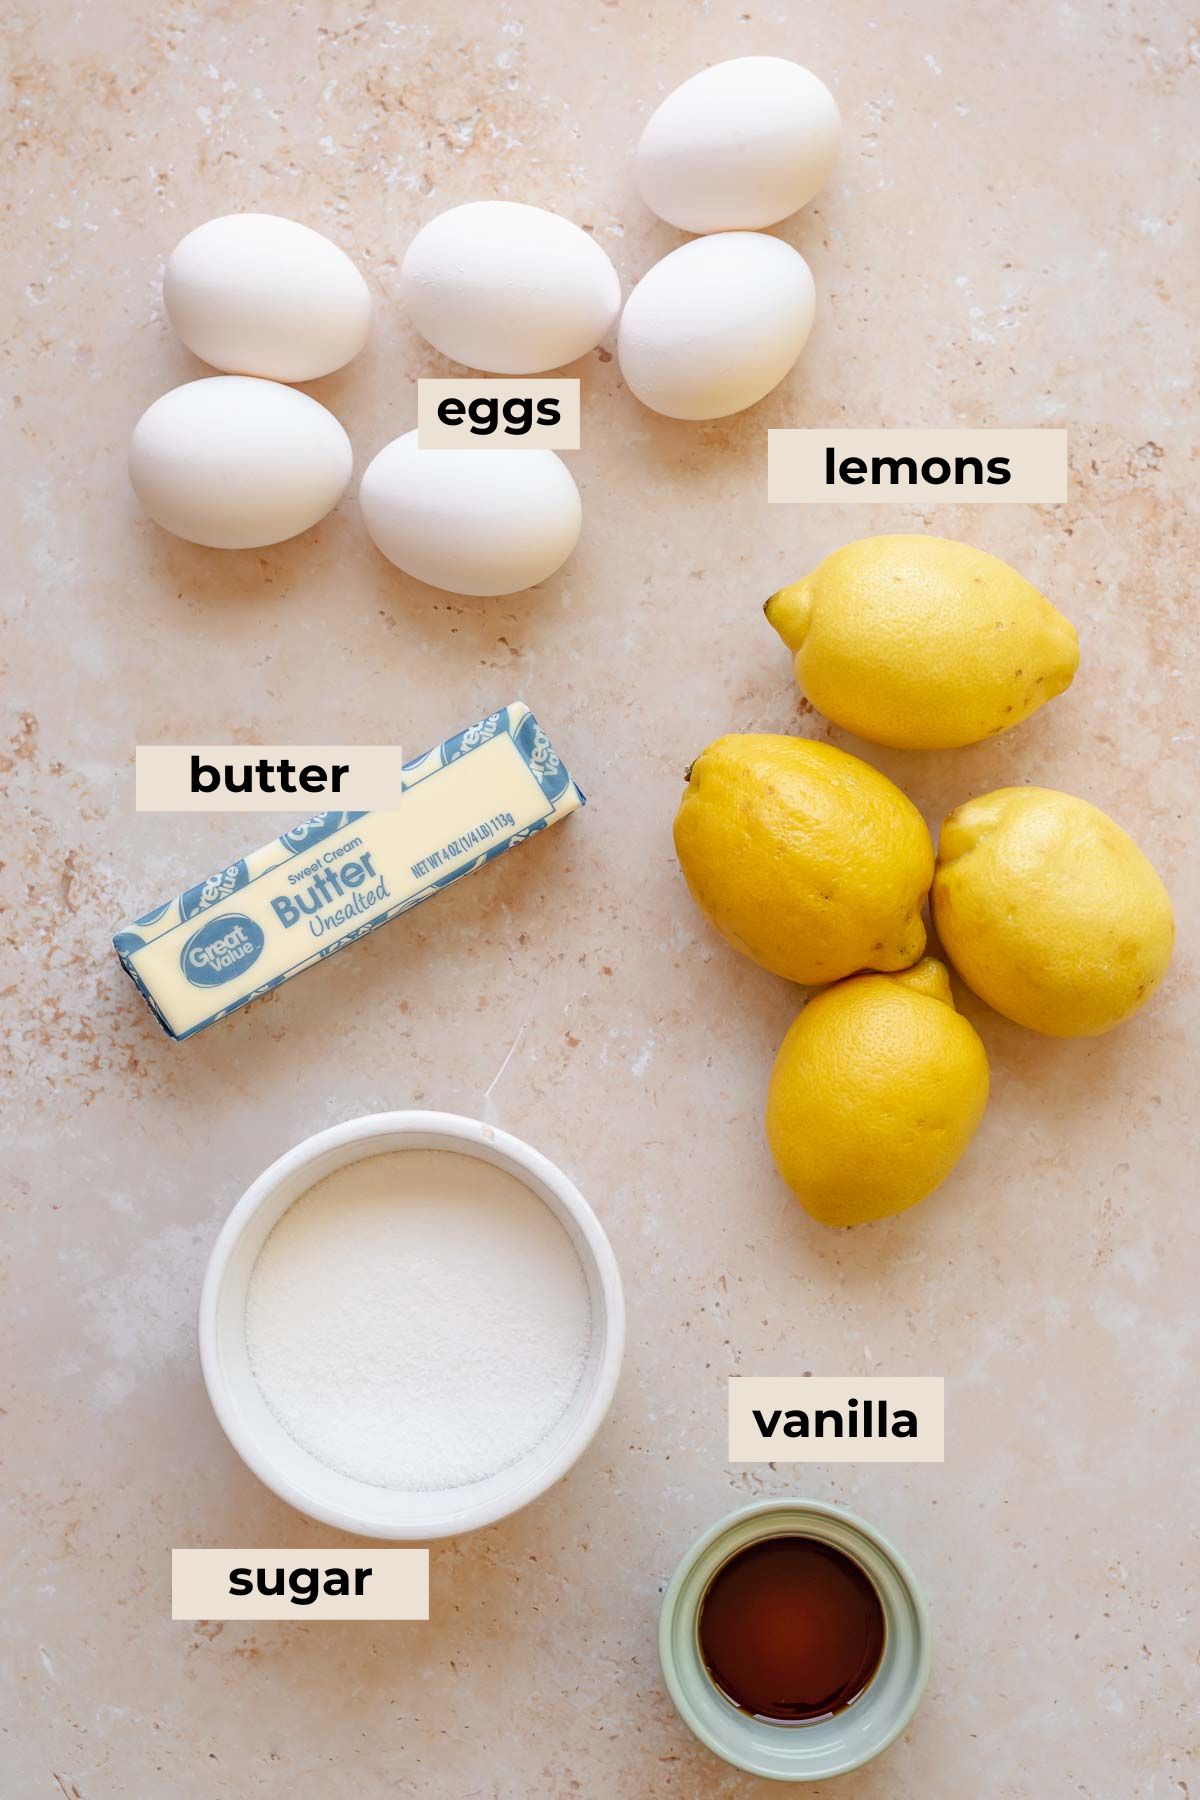
- Lemons. Both the lemon zest and lemon juice are used in this recipe, and are needed for the cake and lemon curd.
- Eggs. Whole large eggs are required for the lemon curd, cake, and egg whites are needed for the Swiss meringue.
- Granulated sugar. Standard sugar is used in every component of this recipe.
- Cornstarch. This ingredient helps to make the lemon curd extra thick for the cake filling and also mixes into the flour to make the vanilla cake extra tender.
- Butter. Unsalted butter at room temperature is needed for the lemon curd and cake portions.
- Dairy. Sour cream and whole milk get mixed into the cake for added moisture and fat.
- Neutral oil. Canola oil, vegetable oil, or grapeseed oil can be used in this cake.
See recipe card for full ingredients list and quantities.
Substitutions and Variations
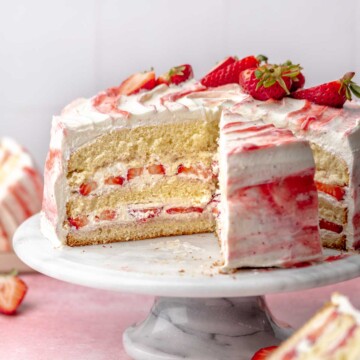
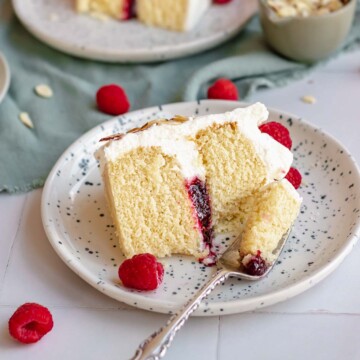
- Nestle fresh blueberries, raspberries, or sliced strawberries into the lemon curd filling.
- Go for a swirled filling like in these cranberry lemon bars!
- Add a tangy yet sweet blueberry curd to the center of the cake in place of lemon curd.
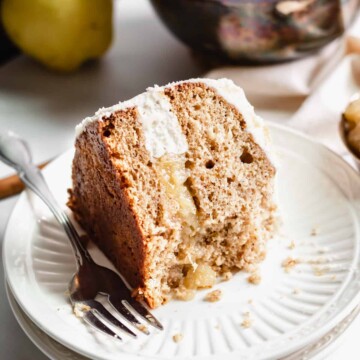
- Make the lemon cake with cream cheese frosting for a different version.
- Top the cake with candied lemon slices for additional decoration.
How to Make This Recipe
Before starting the cake, make the Lemon Curd with Whole Eggs and place it in the fridge. Note that this specific cake recipe has the addition of cornstarch to make an ultra-thick curd for the cake filling, but use the linked blog post above for guidance.
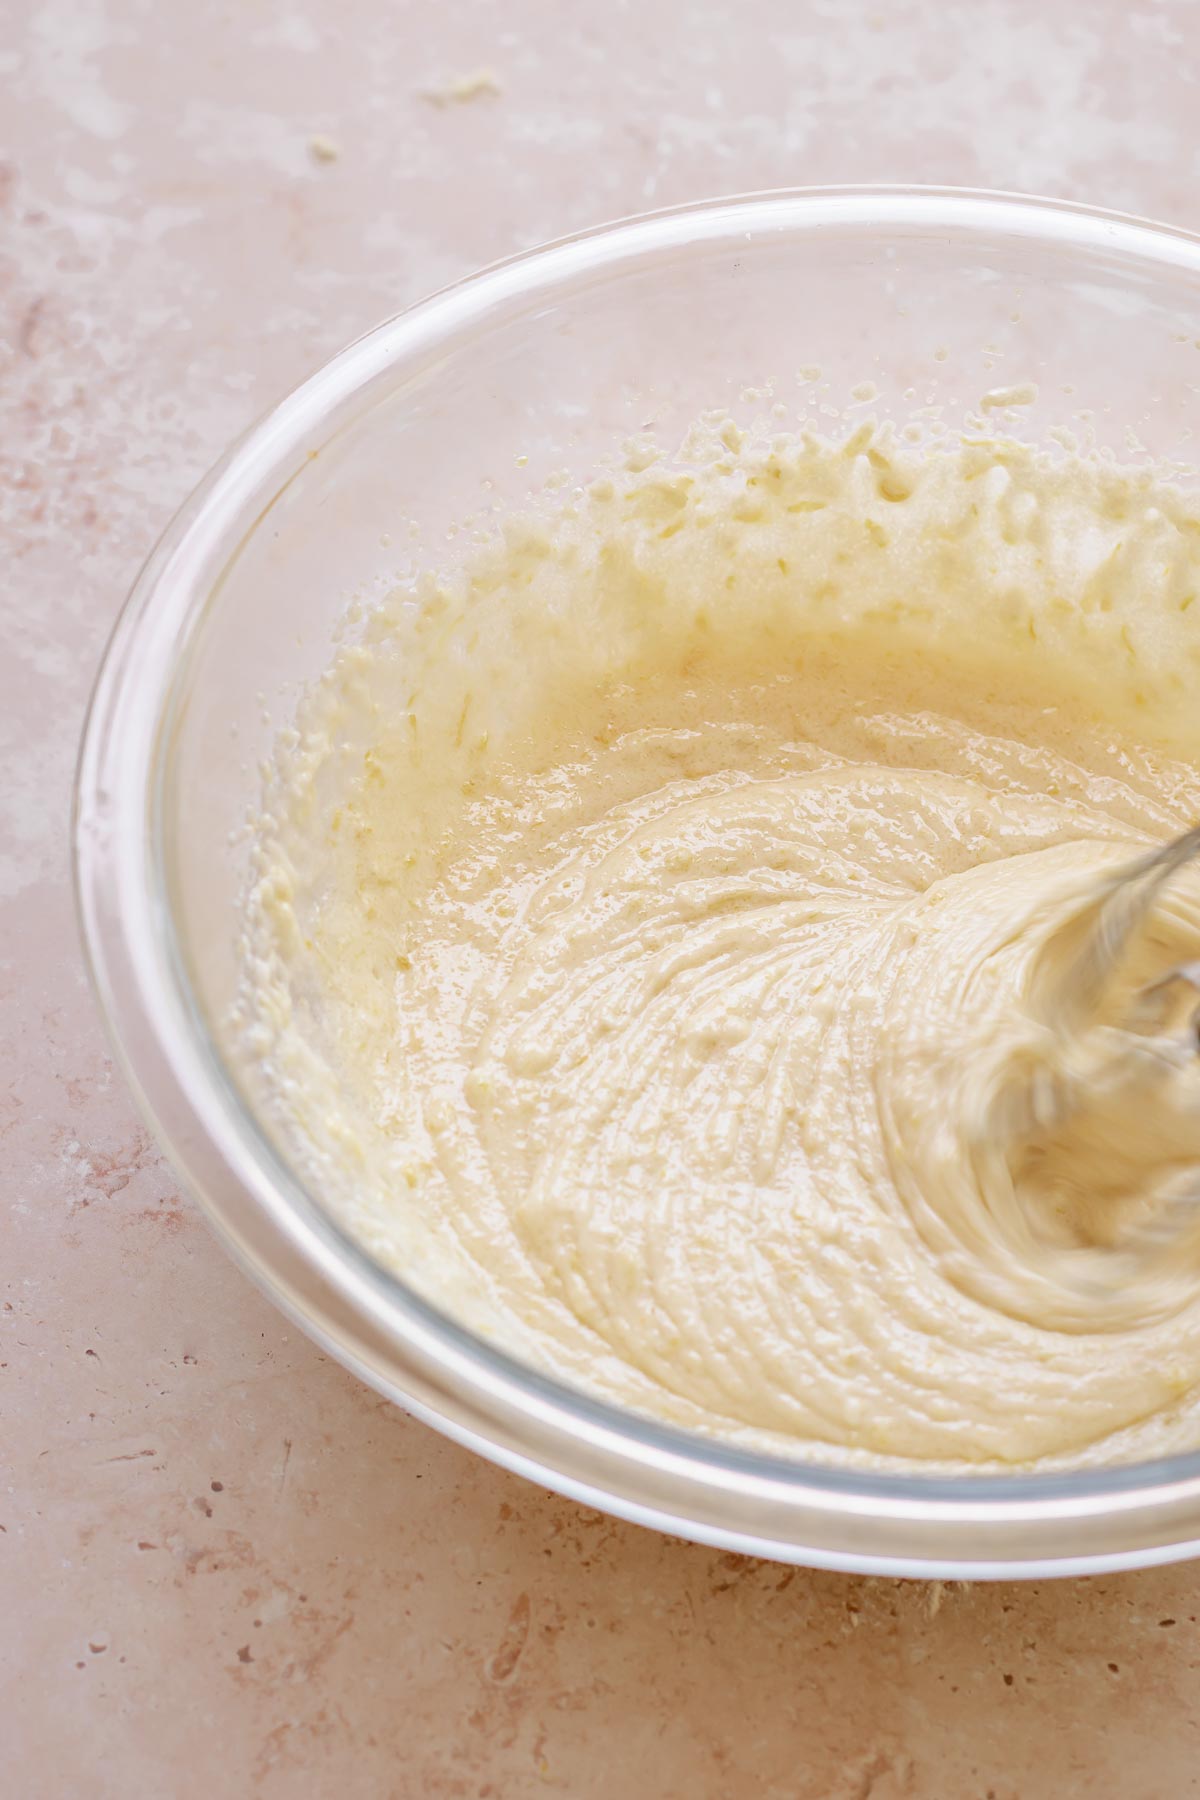
One: Cream together the butter, sugar, and oil, then add the egg until combined.
Two: Add half of the dry ingredients until thickened.
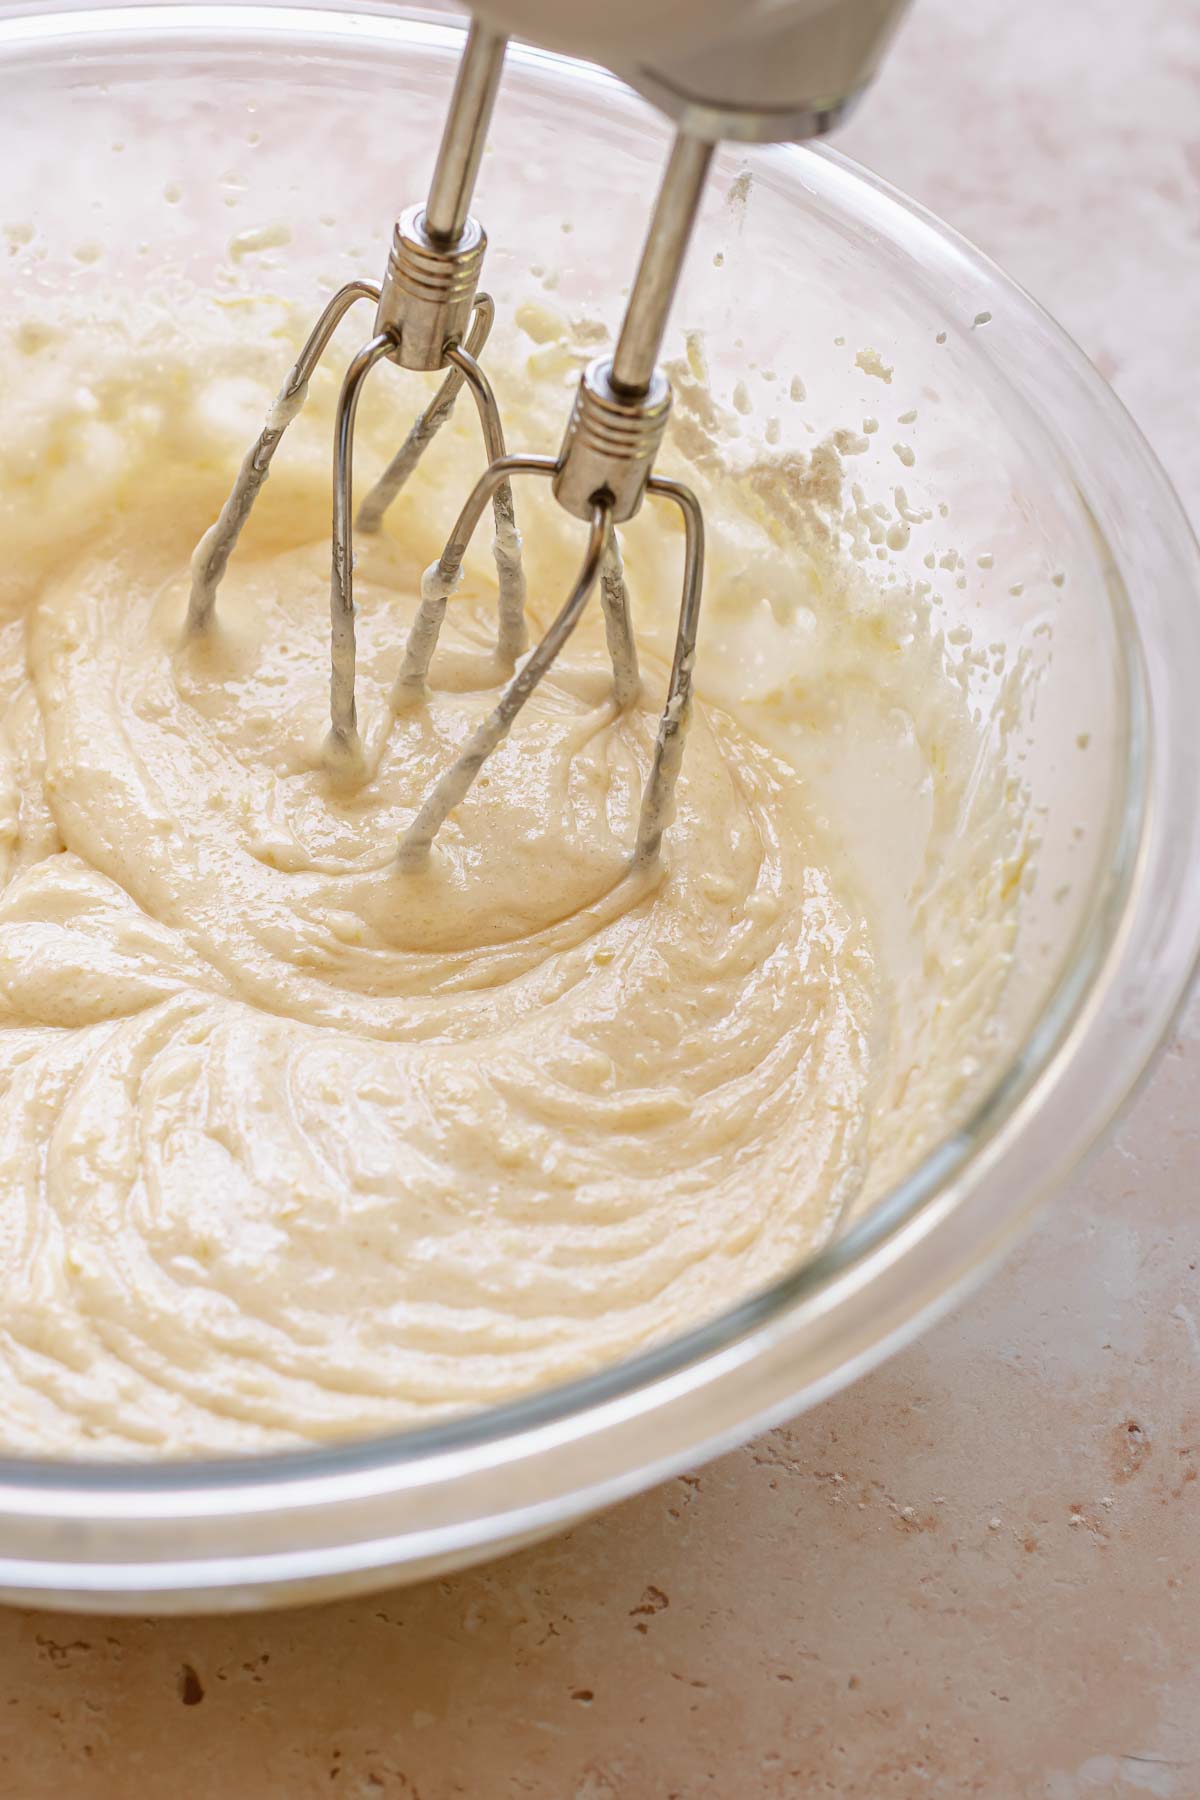
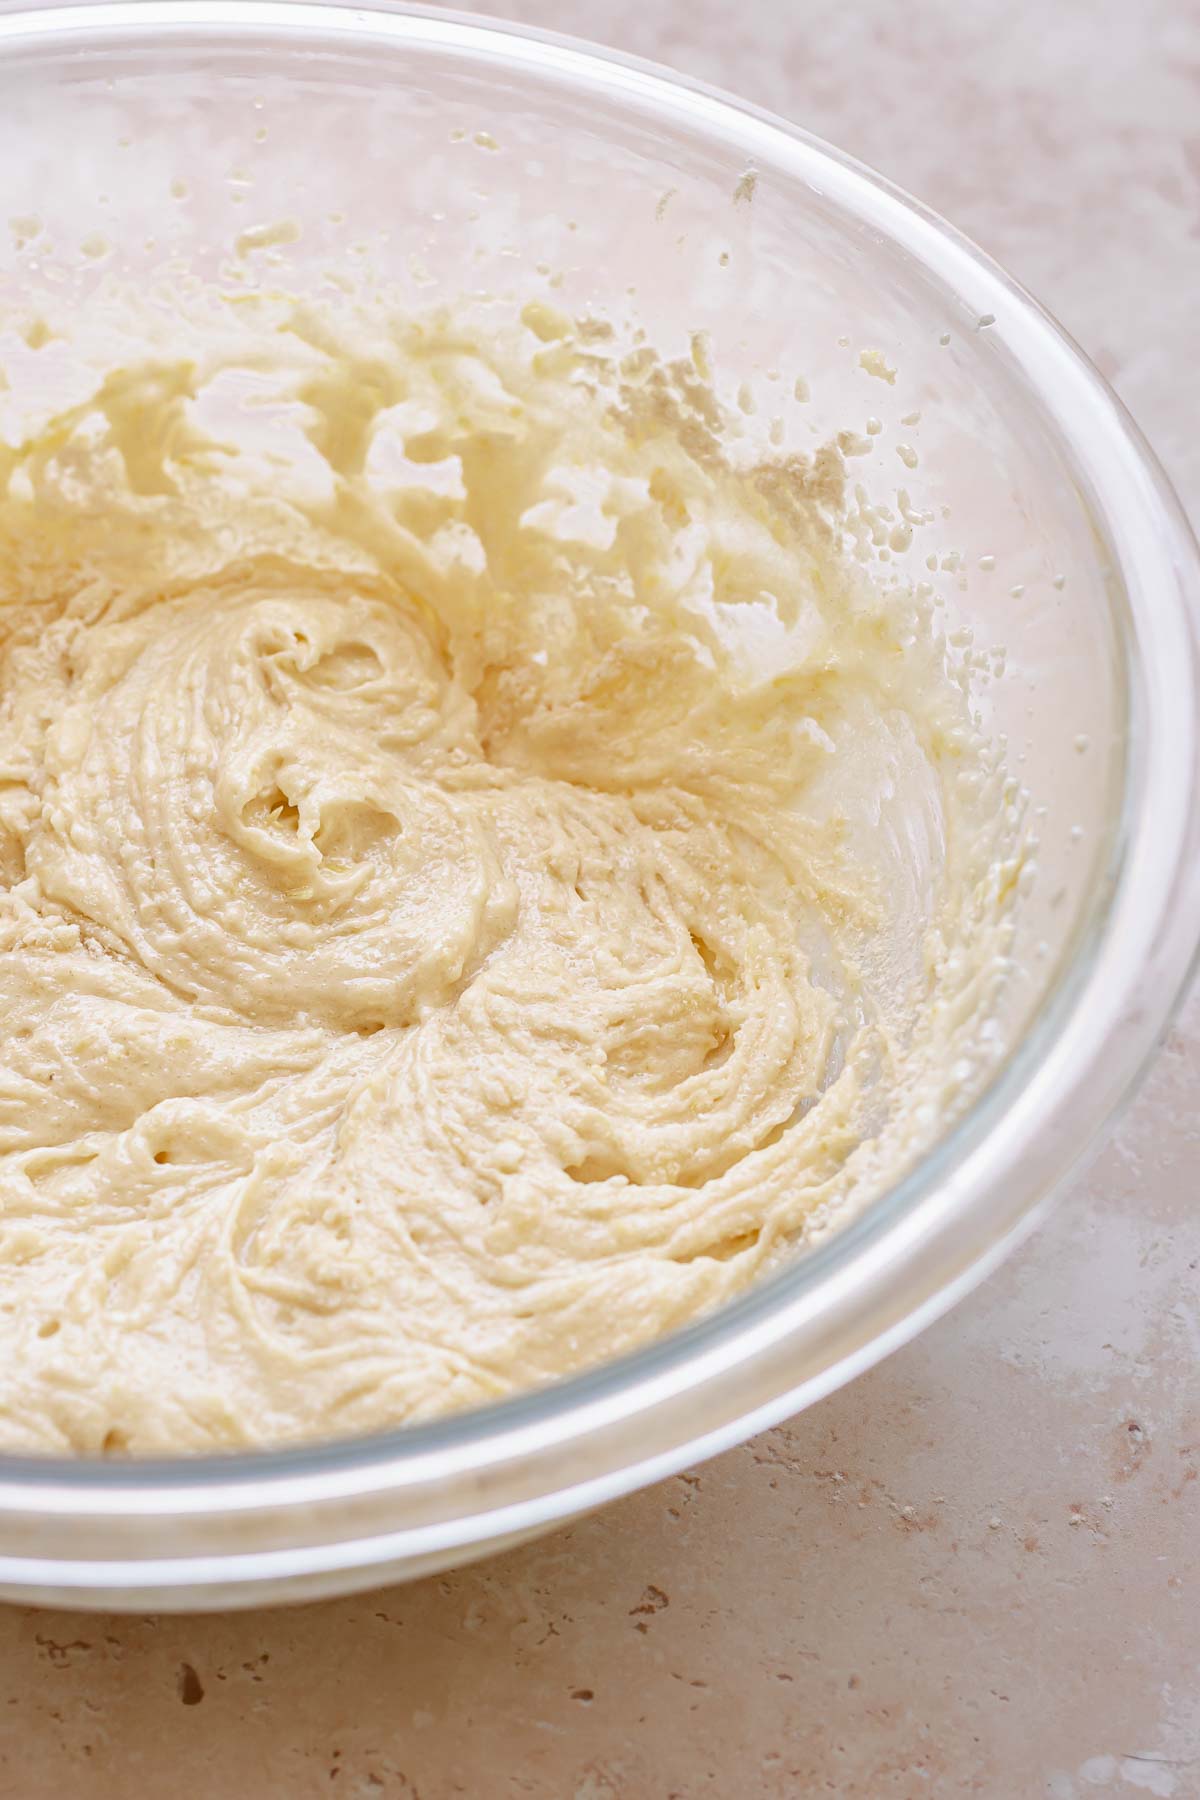
Three: Add the sour cream and milk and combine until a smooth batter forms. Repeat with the remaining dry and wet ingredients.
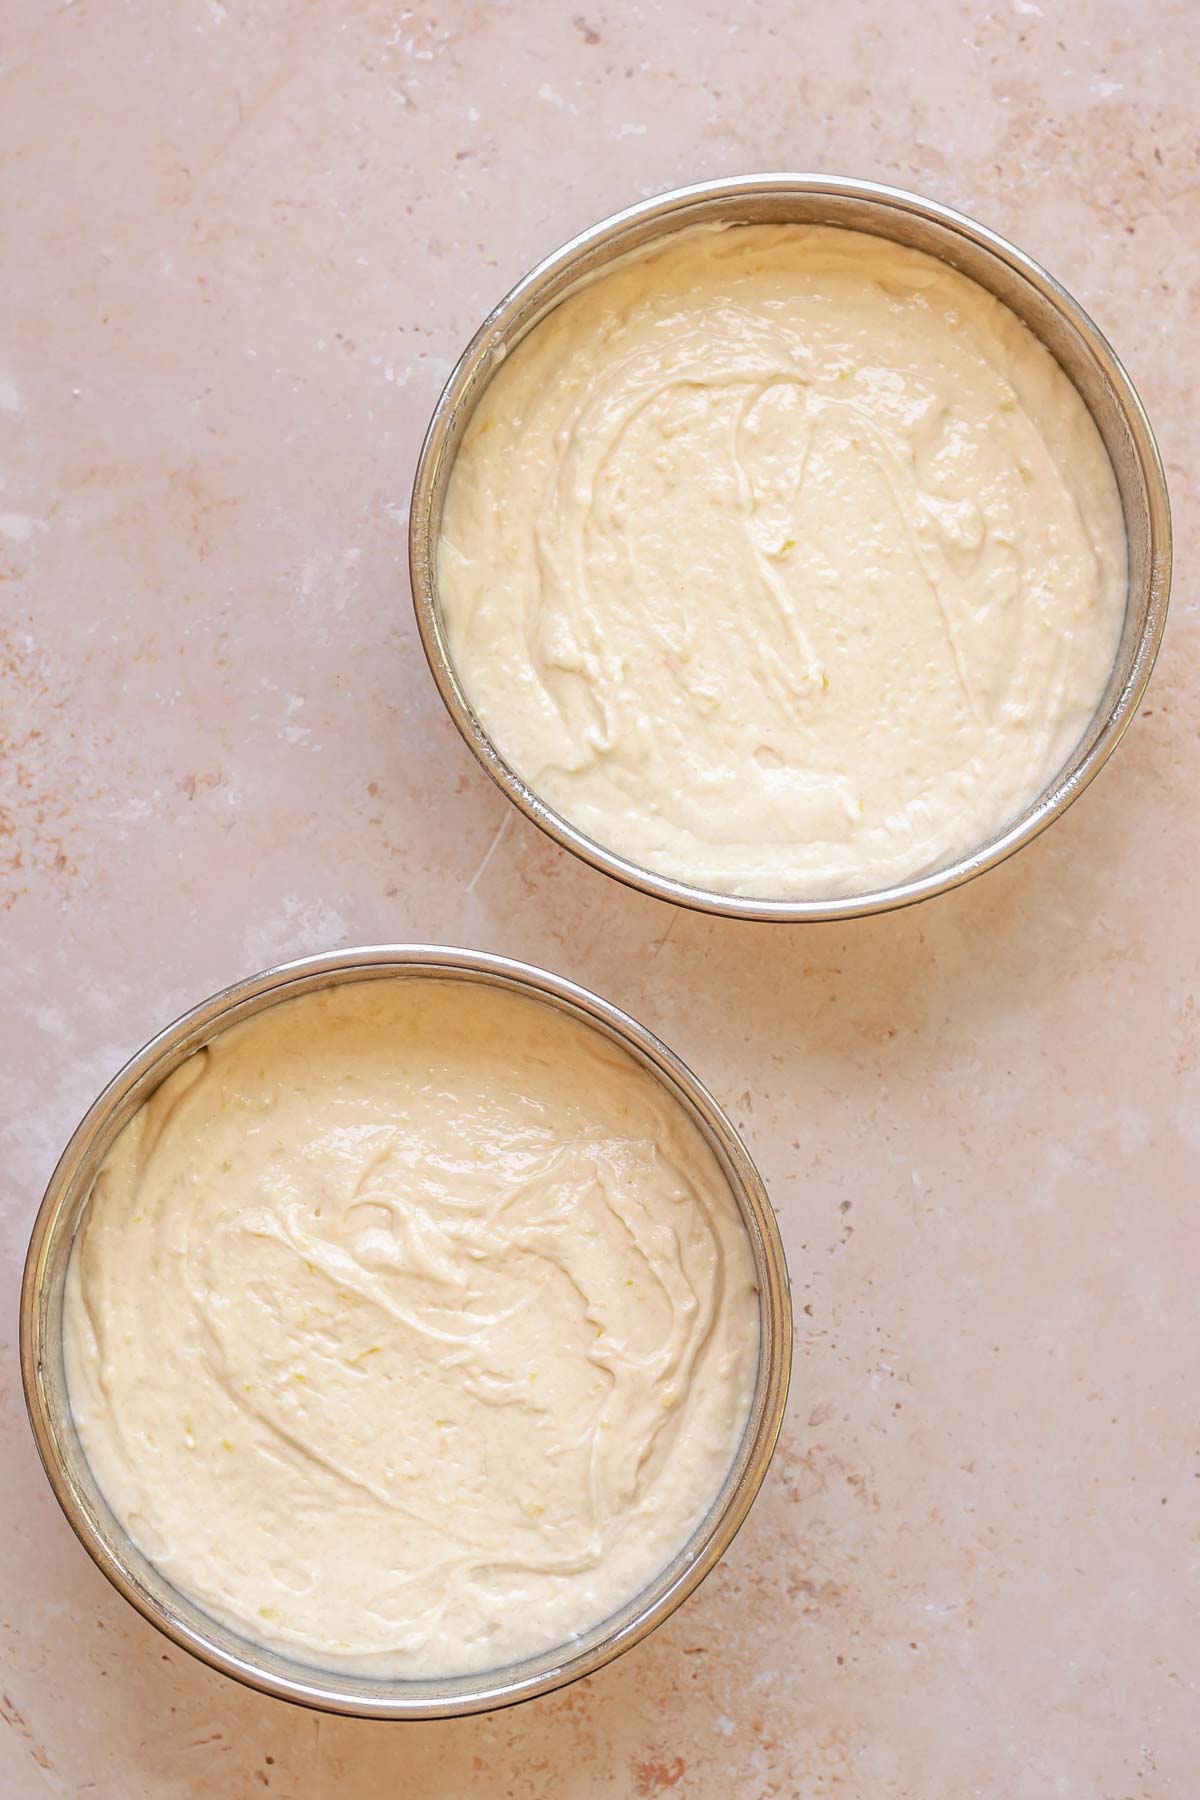
Four: Split the batter evenly in between two prepared cake pans then bake and cool completely.
Swiss Meringue and Assembly
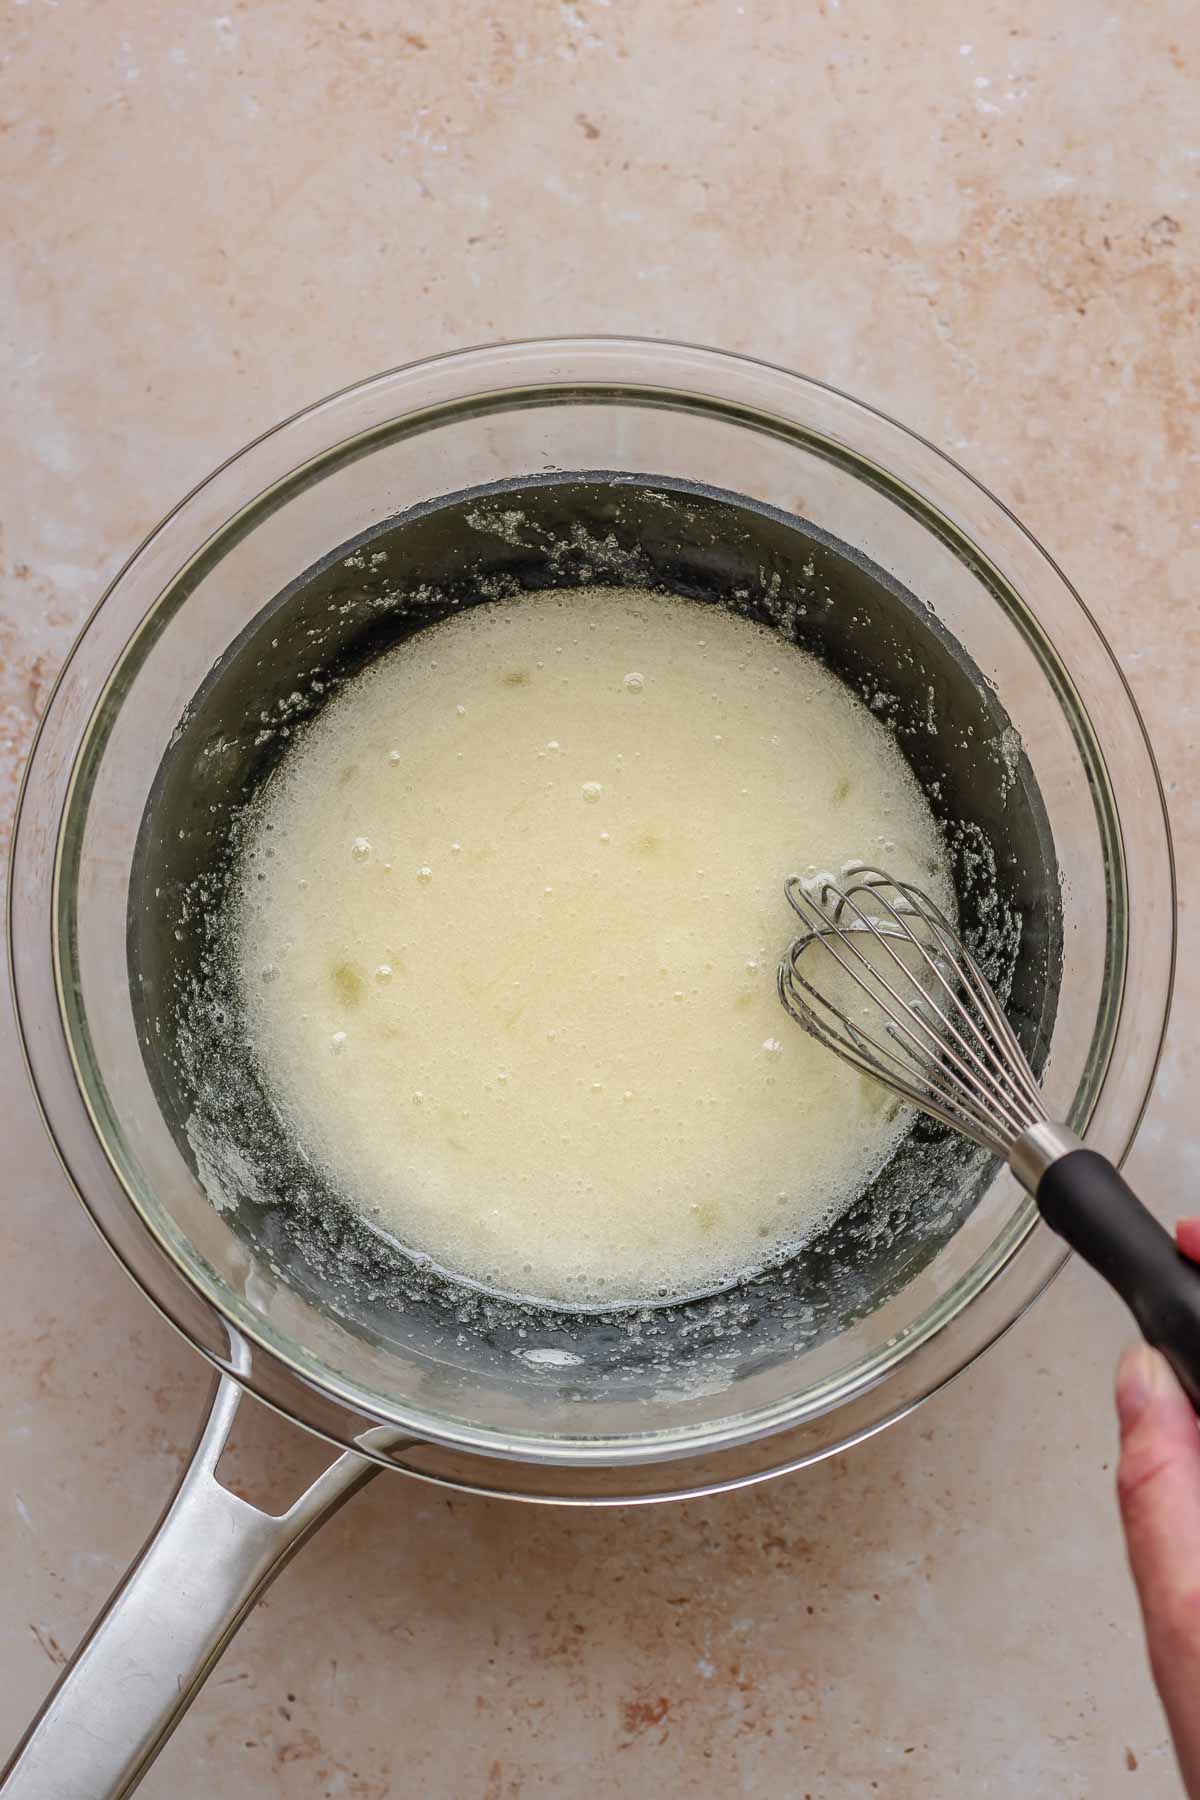
Five: Whisk together the egg whites and sugar over a Bain Marie over medium high heat.
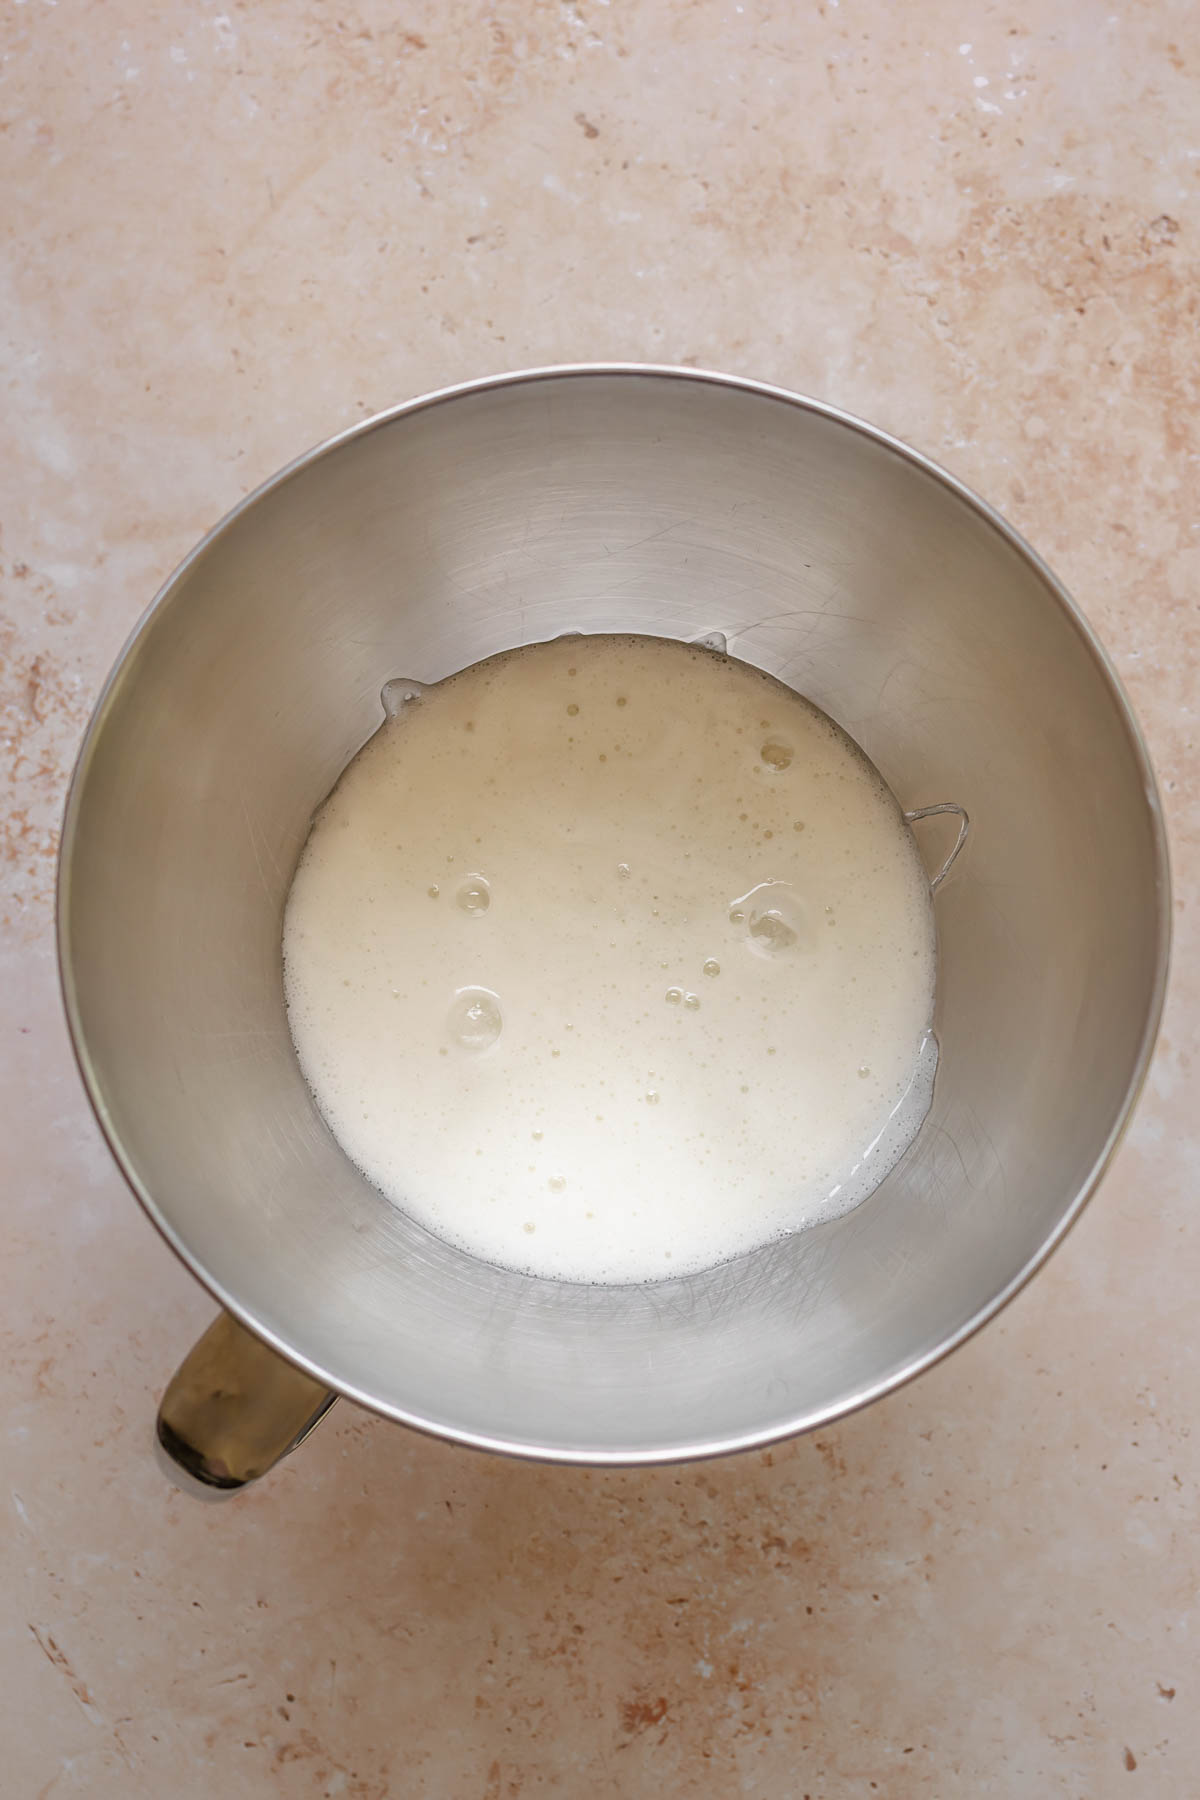
Six: Whisk constantly until the sugar is completely dissolved, then transfer to the bowl of a stand mixer.
Hot tip! Rub some of the warmed egg whites in between your fingers. If you can still feel sugar granules, continue heating and whisking.
💌 Save This Recipe
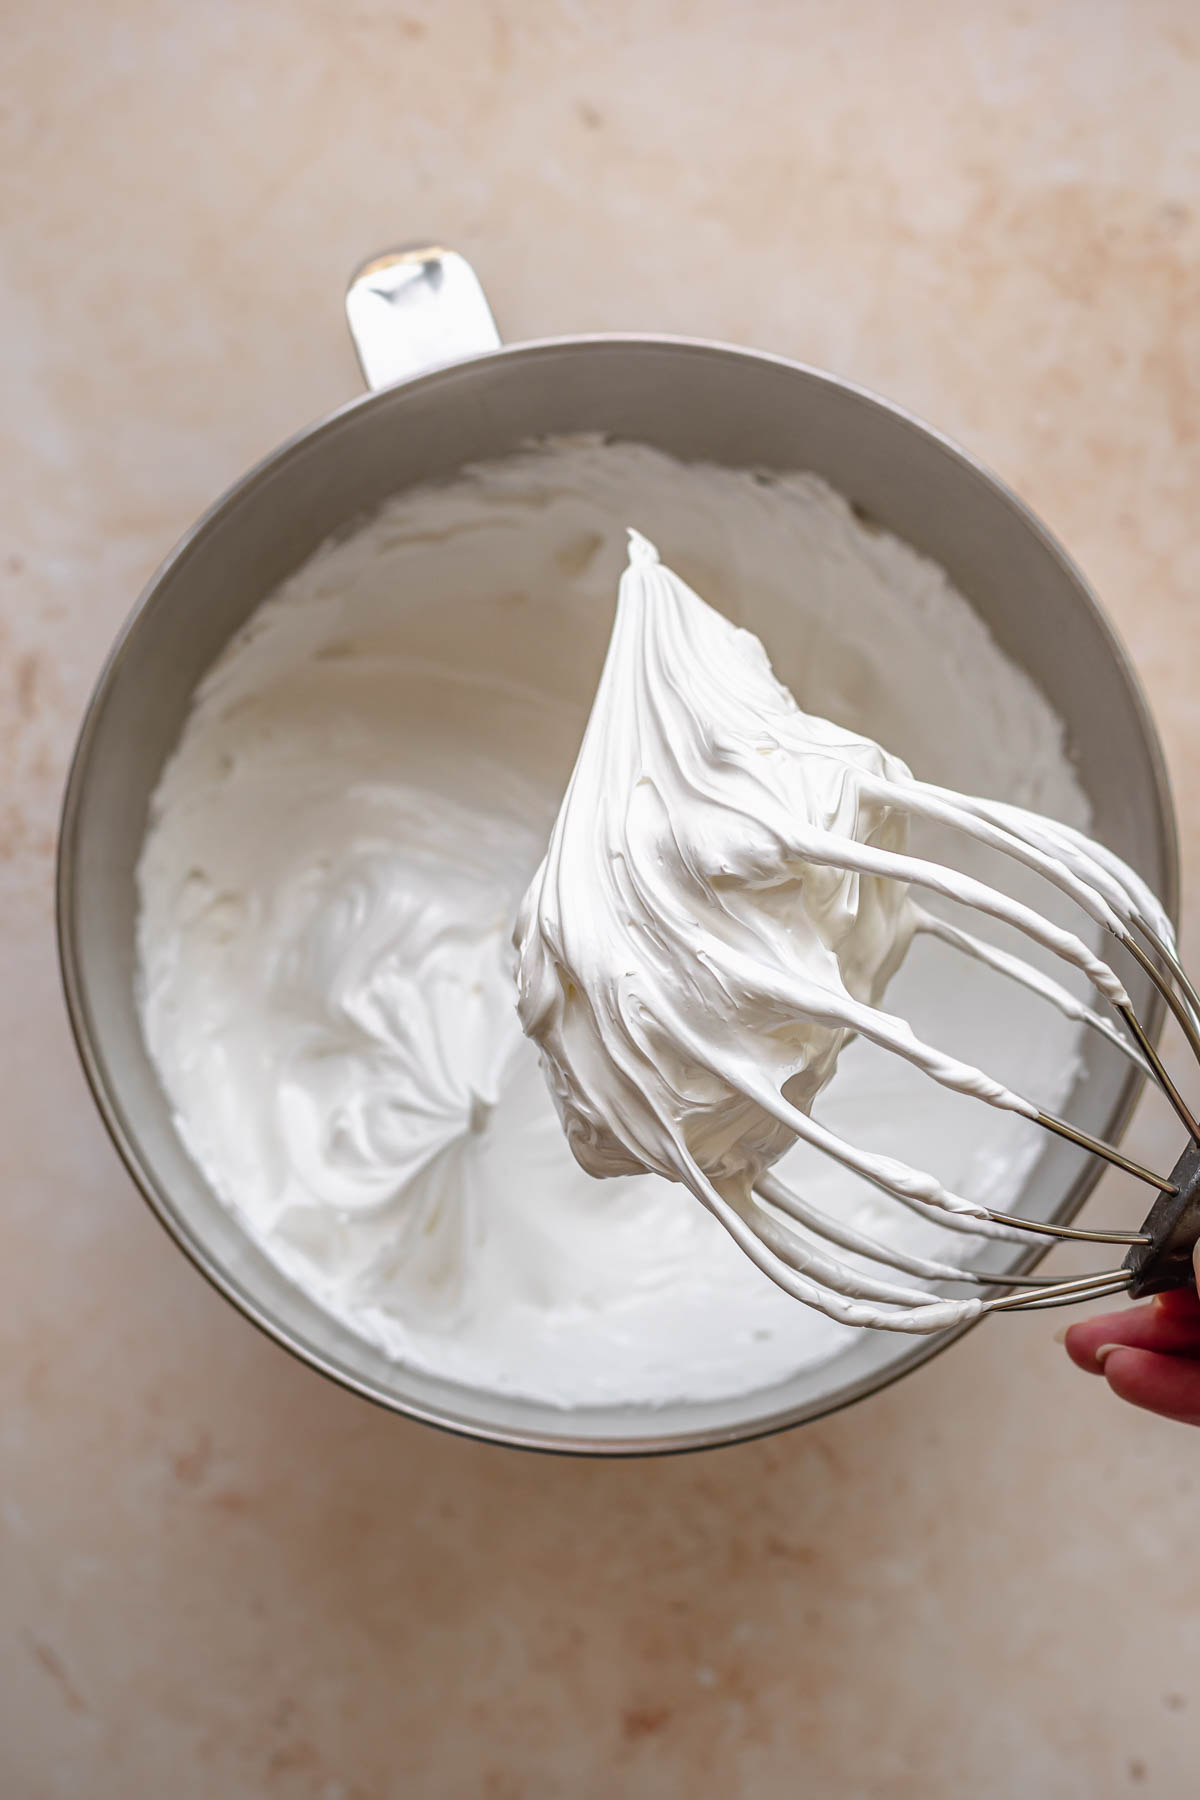
Seven: Whisk on high speed until very stiff, glossy peaks form. Add the vanilla at the very end.
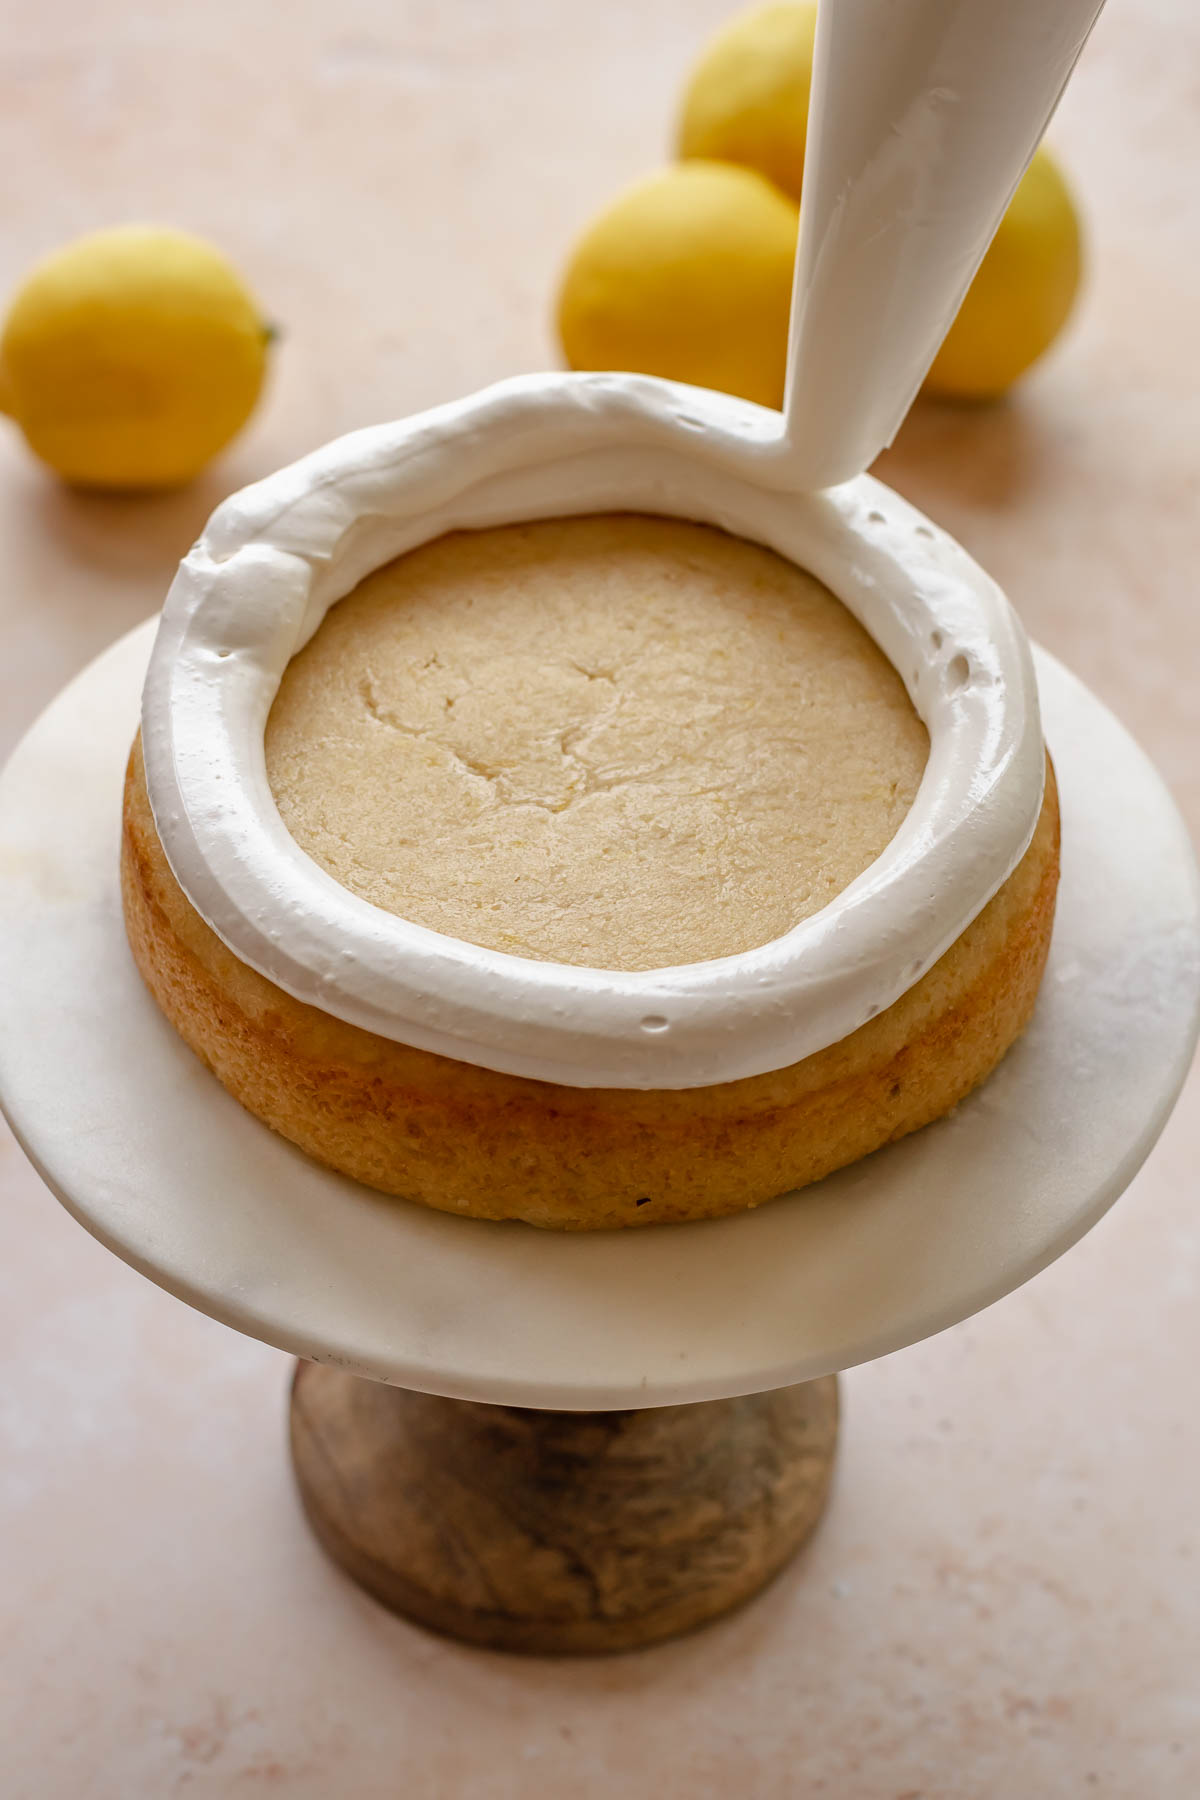
Eight: Pipe two borders around the edge of the cake to hold in the lemon curd filling.
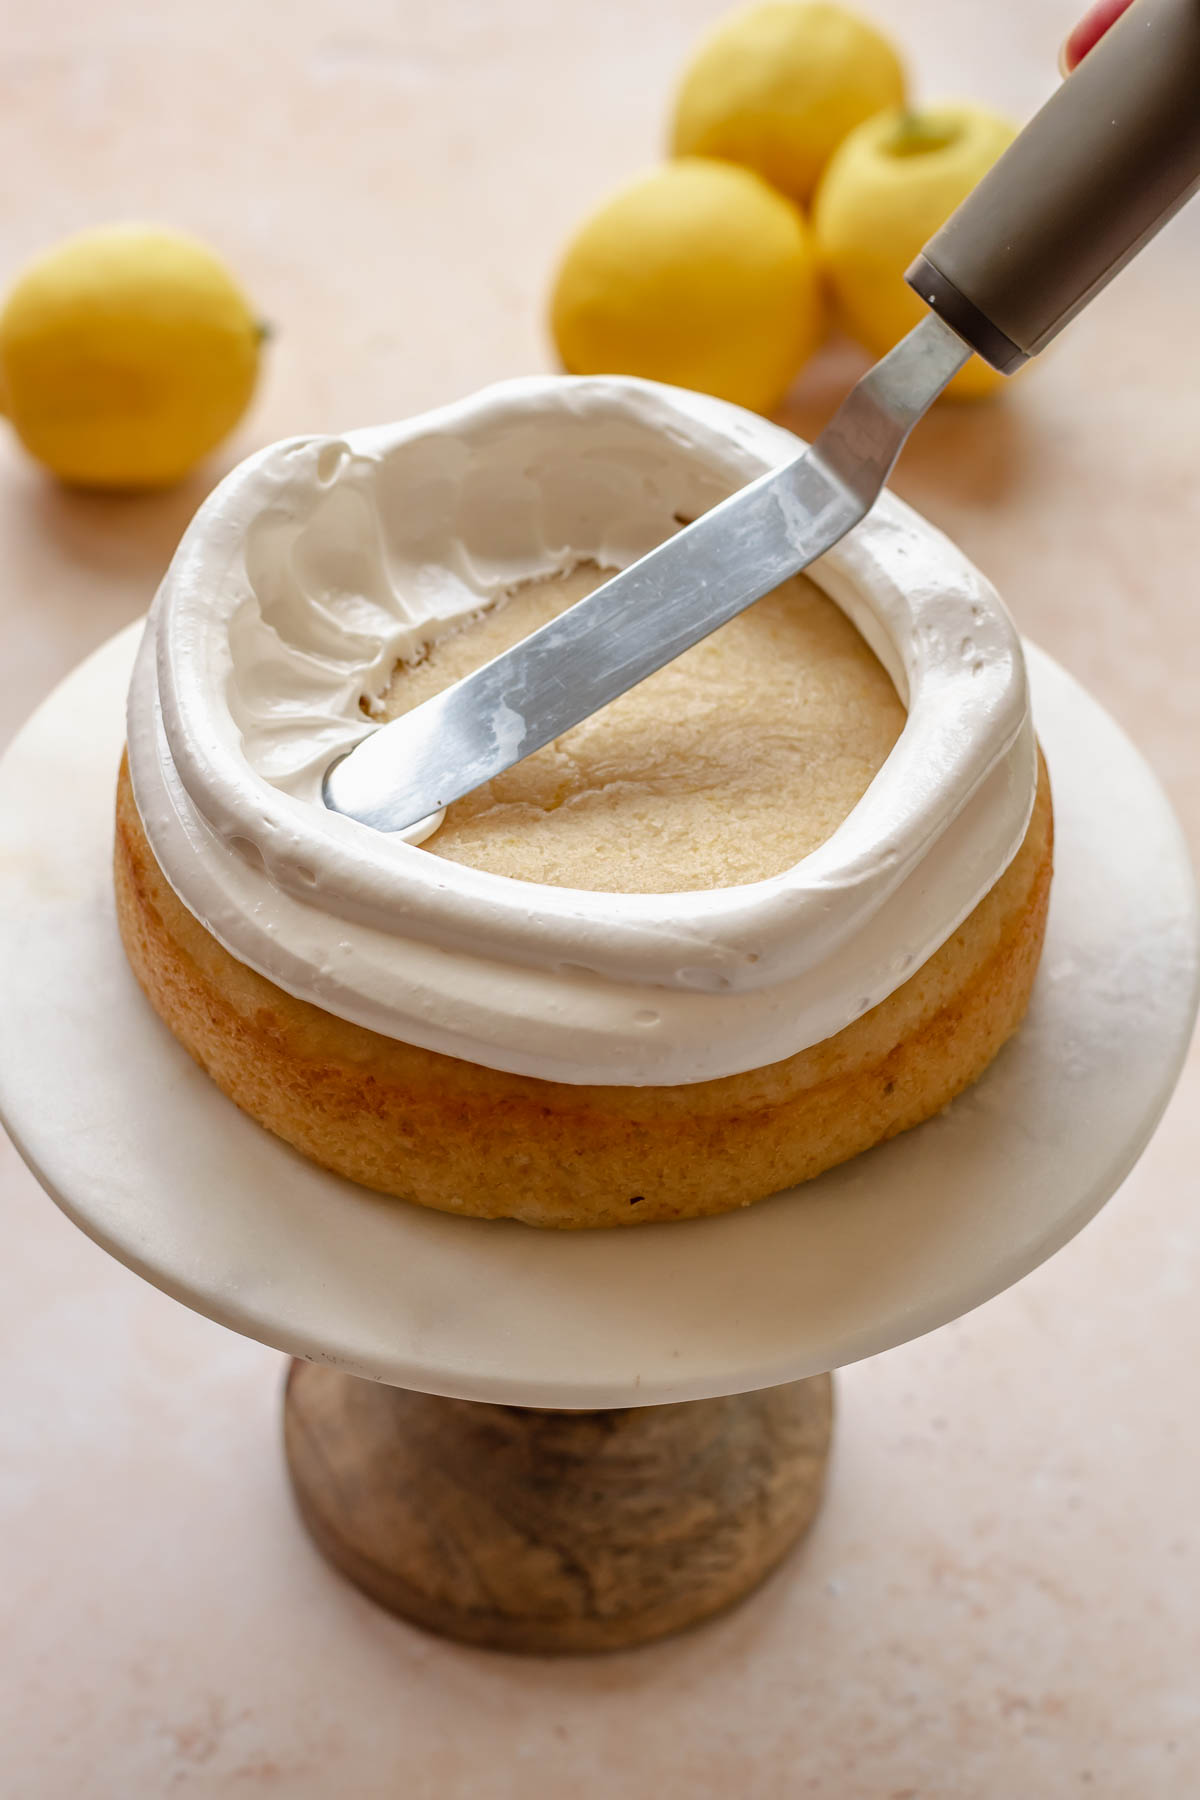
Nine: Use a spatula to seal the insides completely to be sure the lemon curd doesn't seep out.
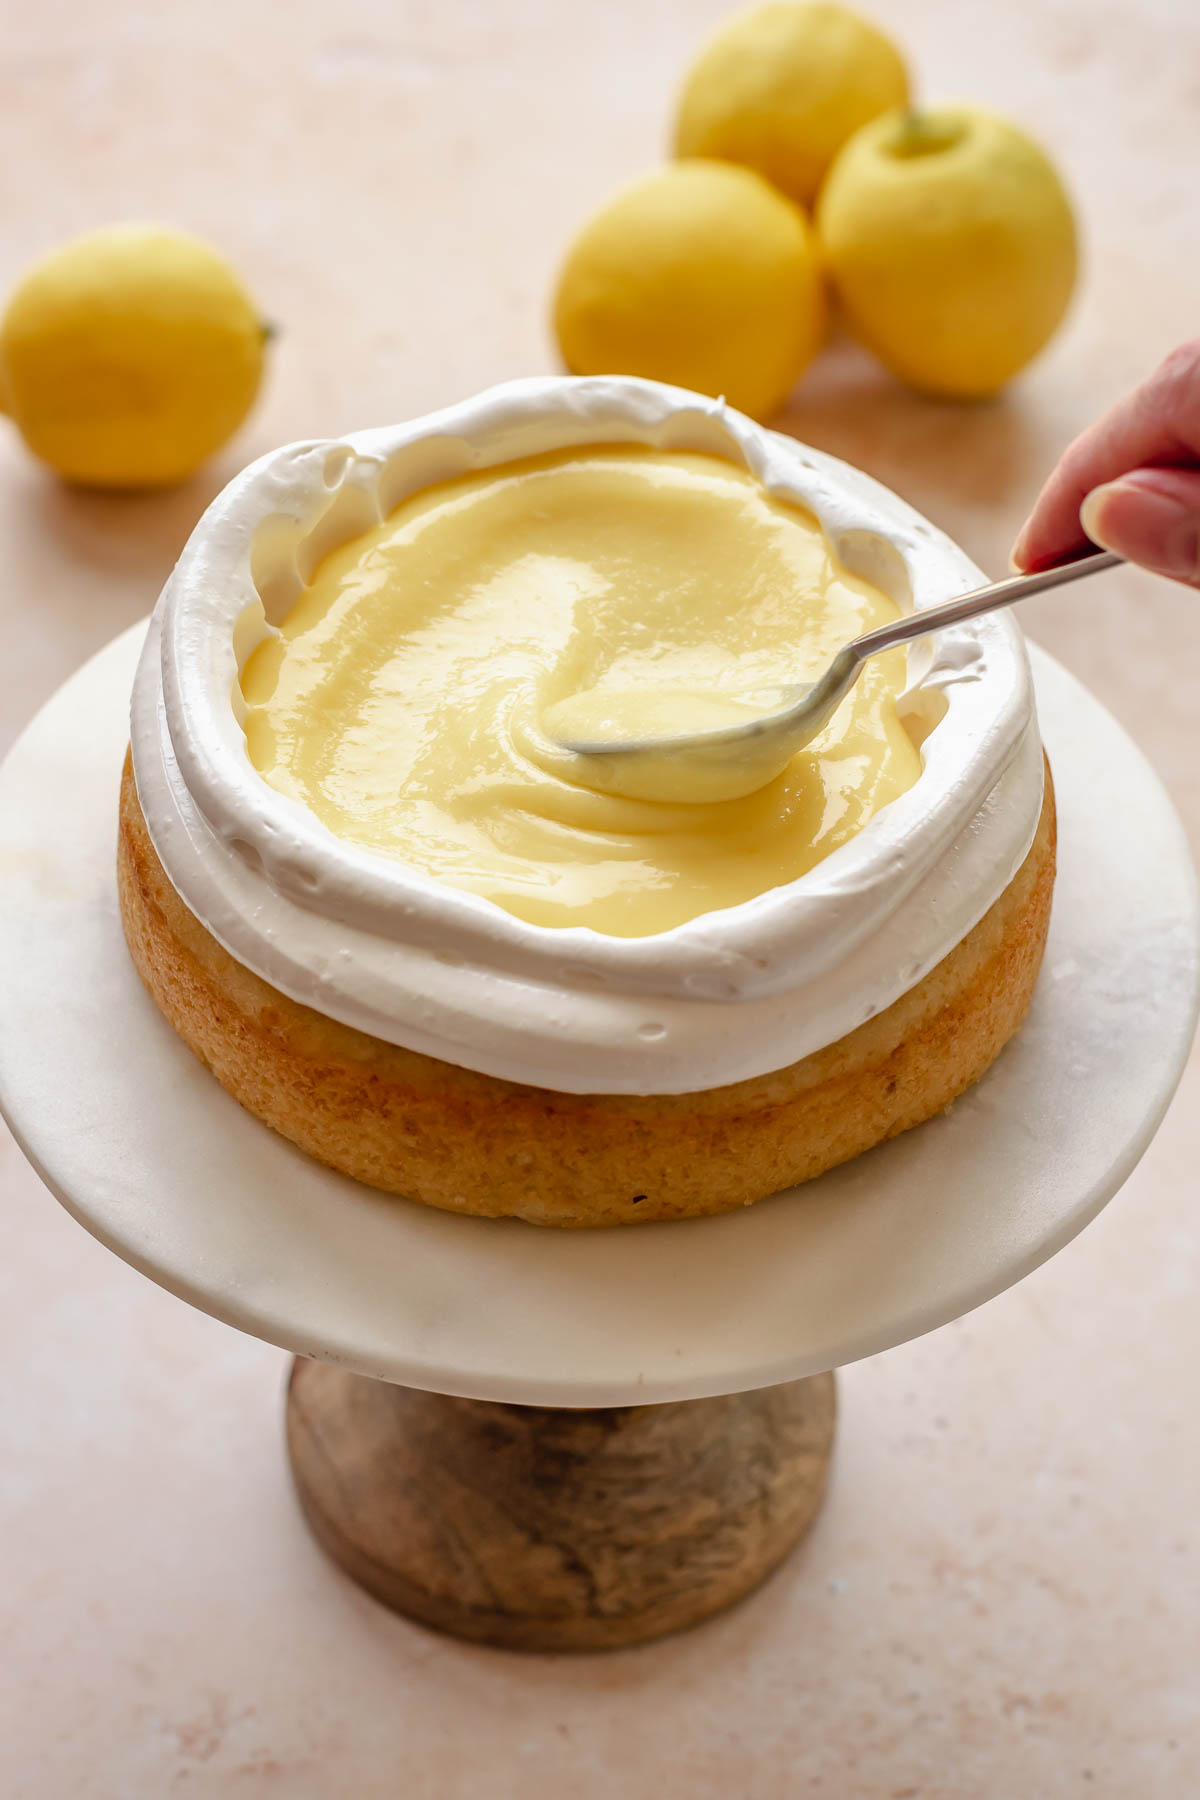
Ten: Add the lemon curd, being sure it's not filled higher than the meringue dam.
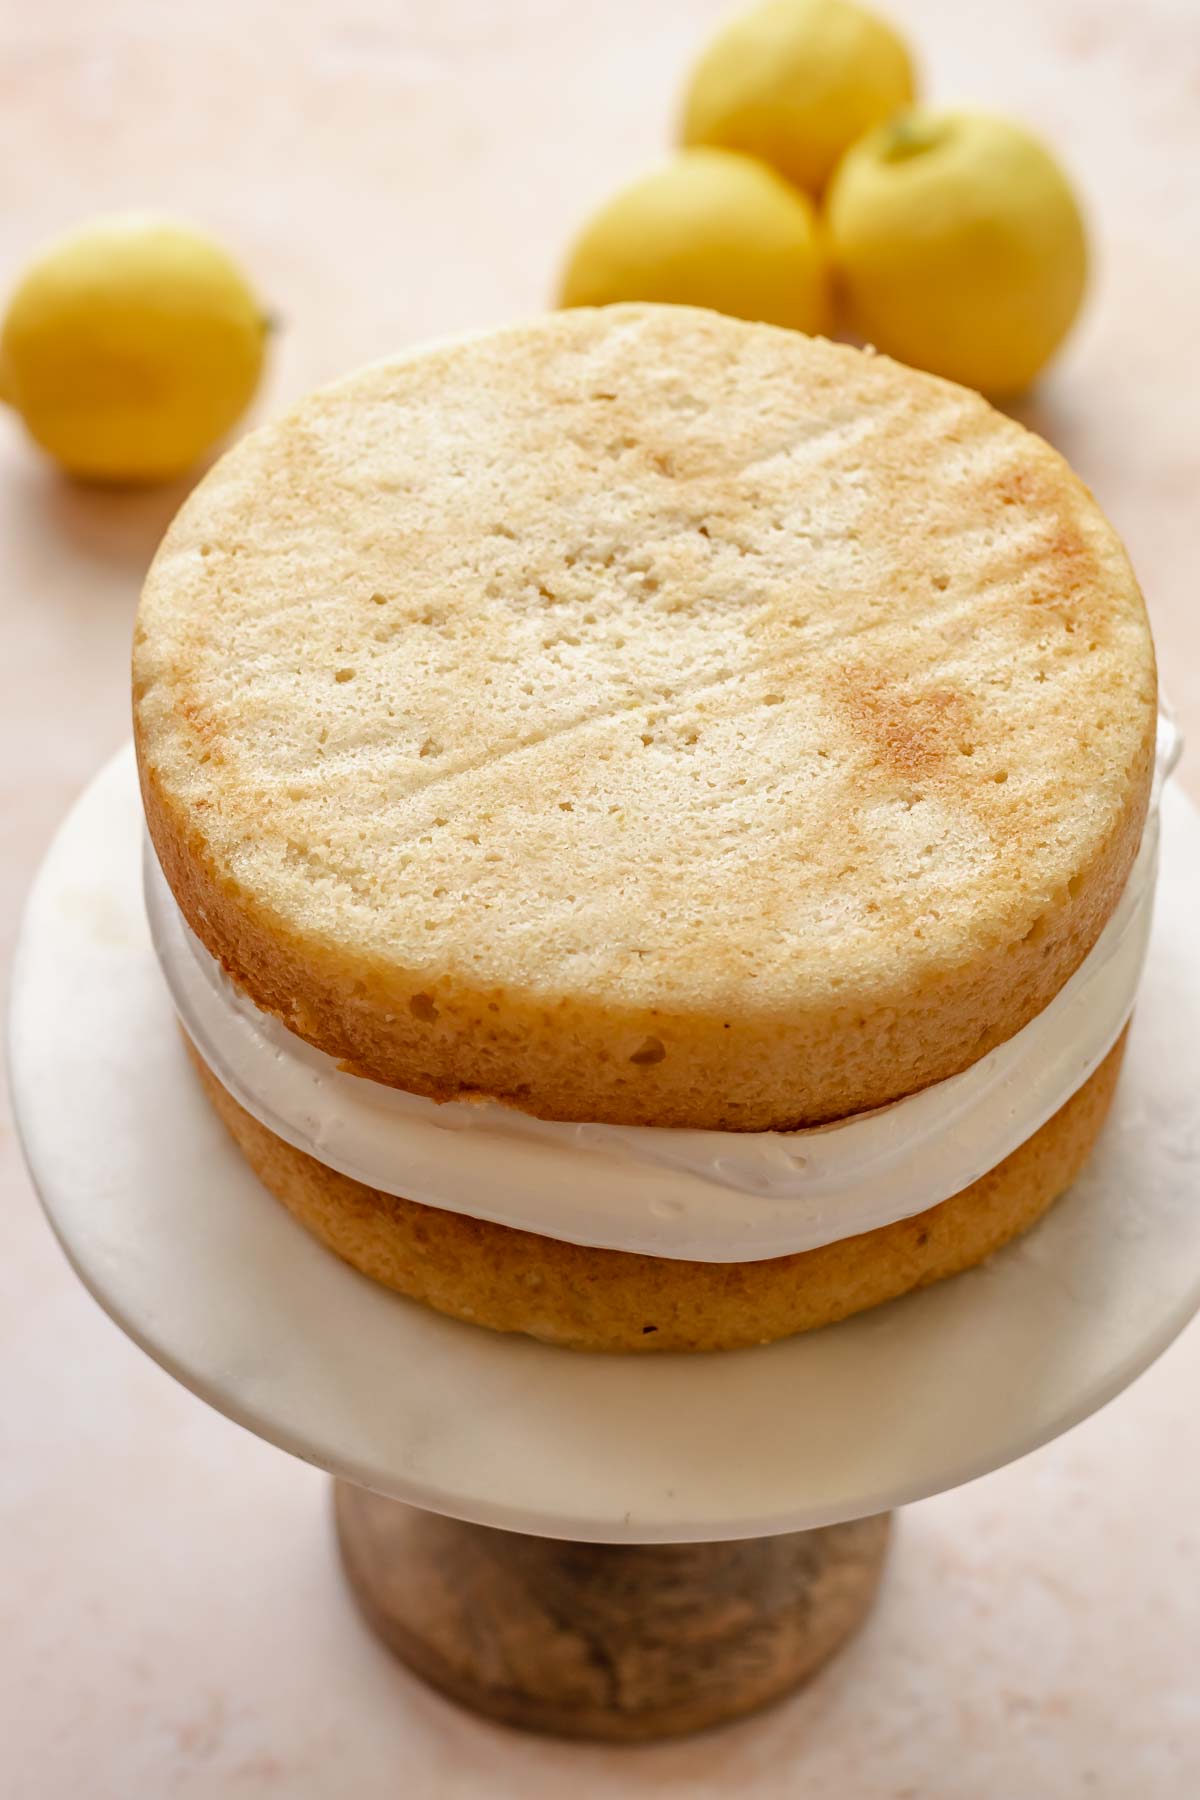
Eleven: Gently add the second cake layer (don't press it down), then smooth the meringue out to cover all seams.
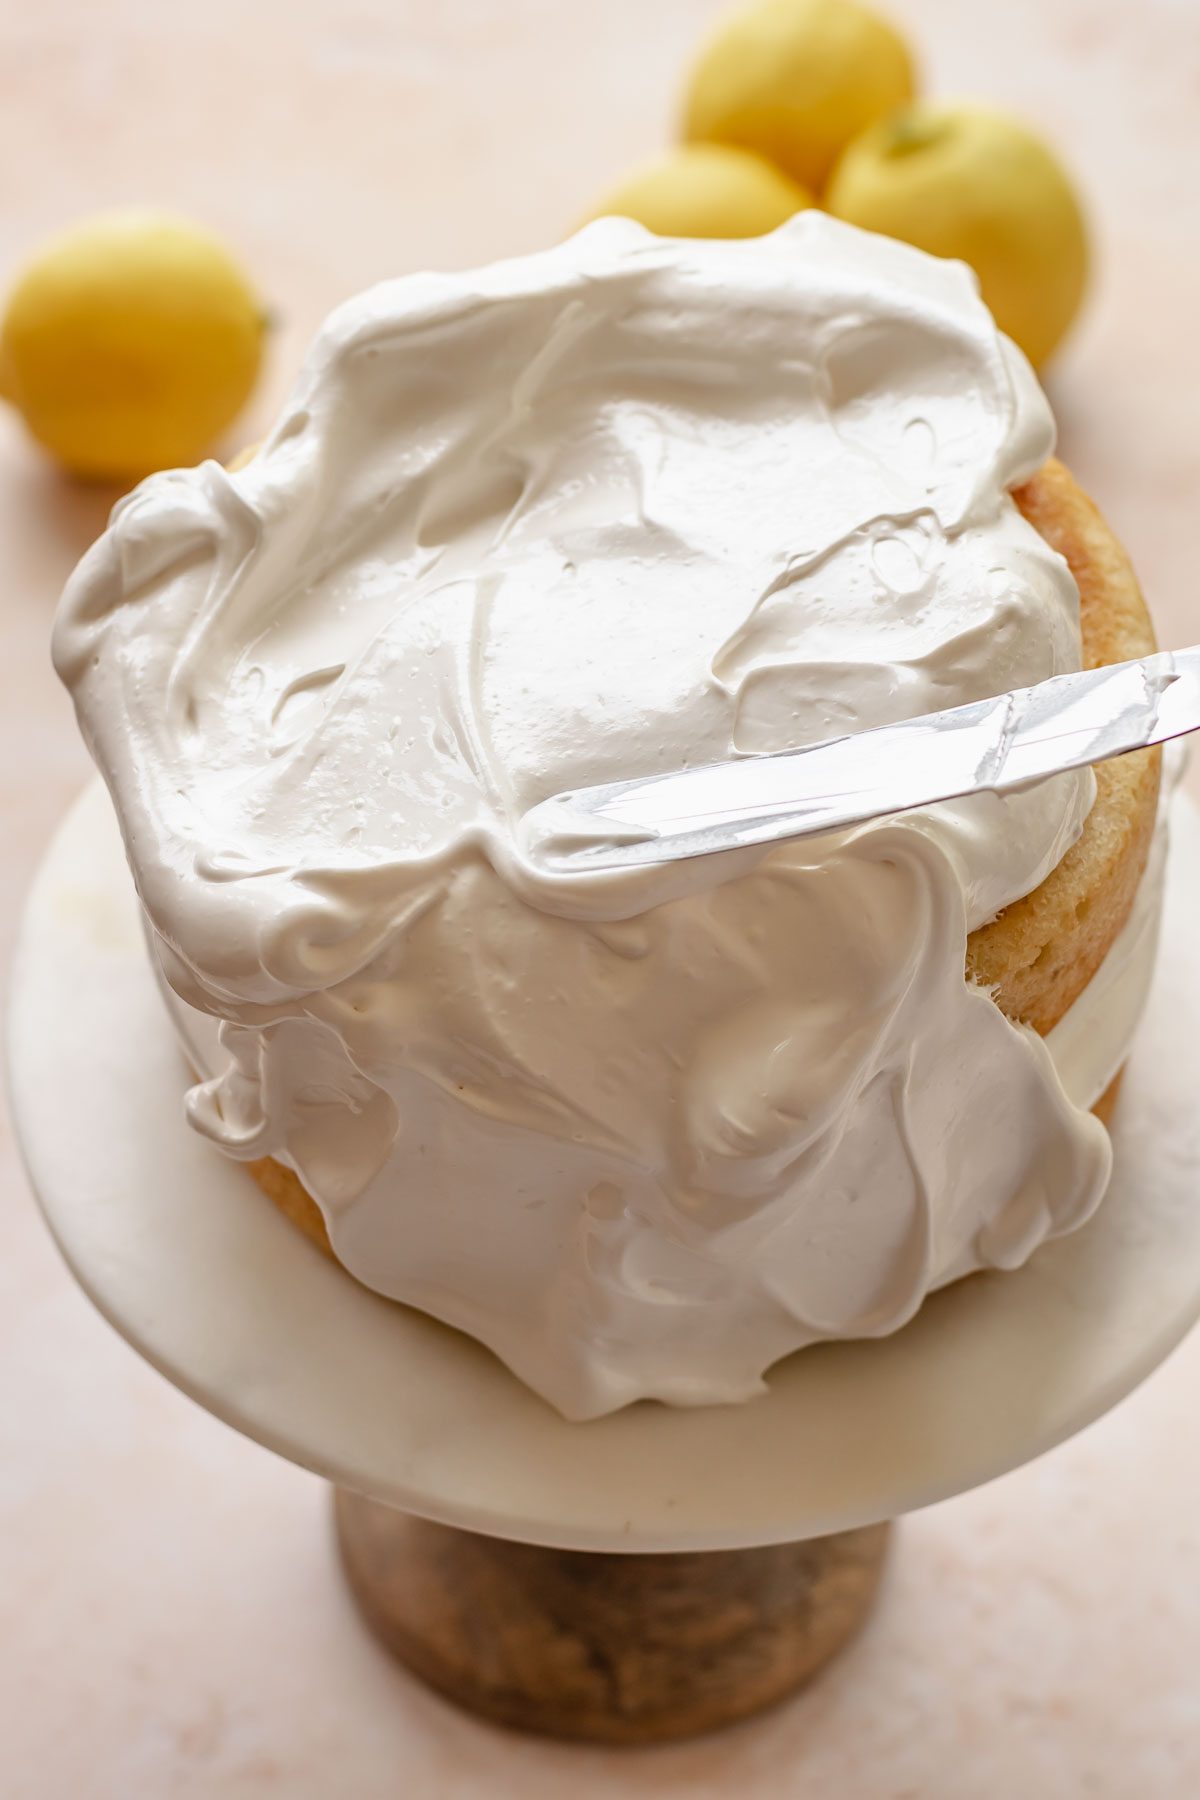
Twelve: Add the additional meringue in rustic swoops so it completely covers the cake. The layer will be rather thick.
Hot tip! Add two to three dowels to the center of the cake to prevent it from sliding during the frosting process and any lemon curd from seeping out.
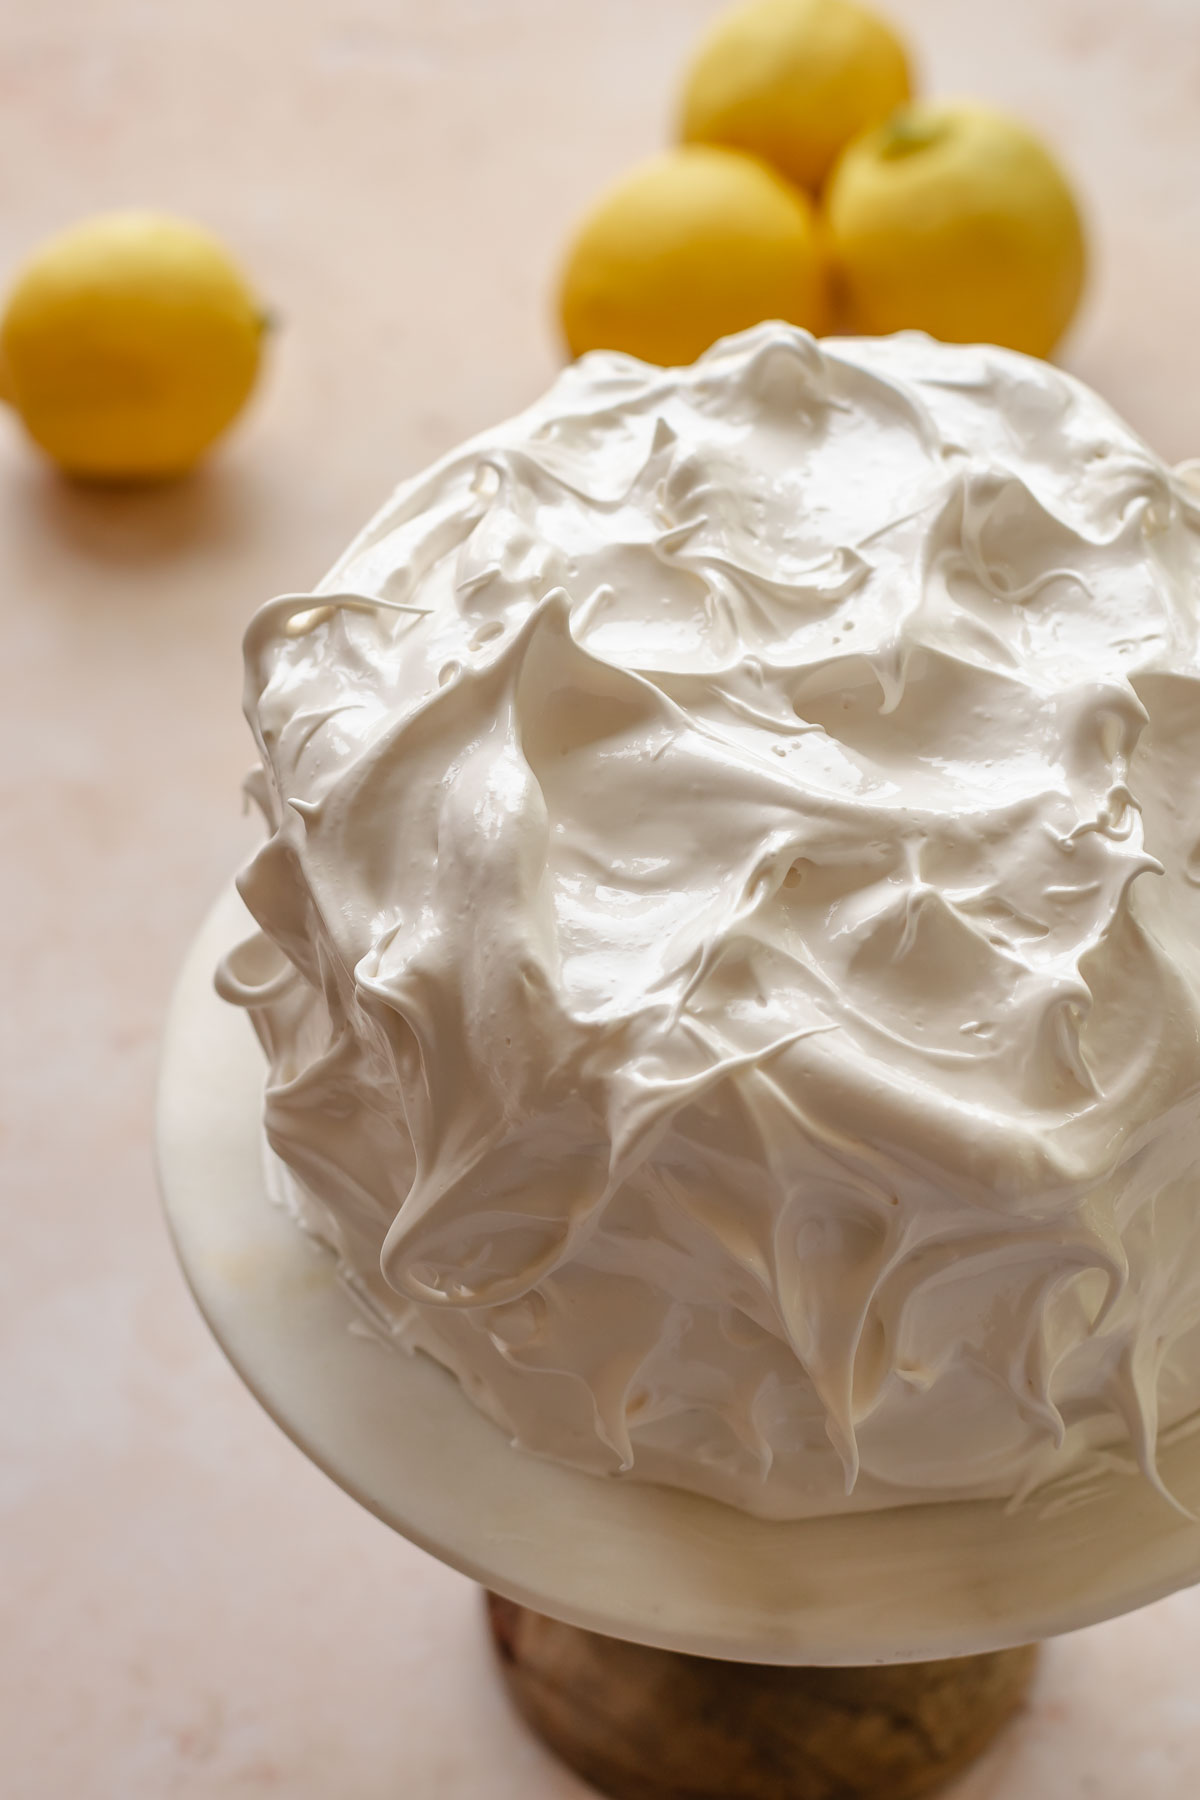
Thirteen: Use the back of a spoon to pull up in areas all over the meringue to create peaks.
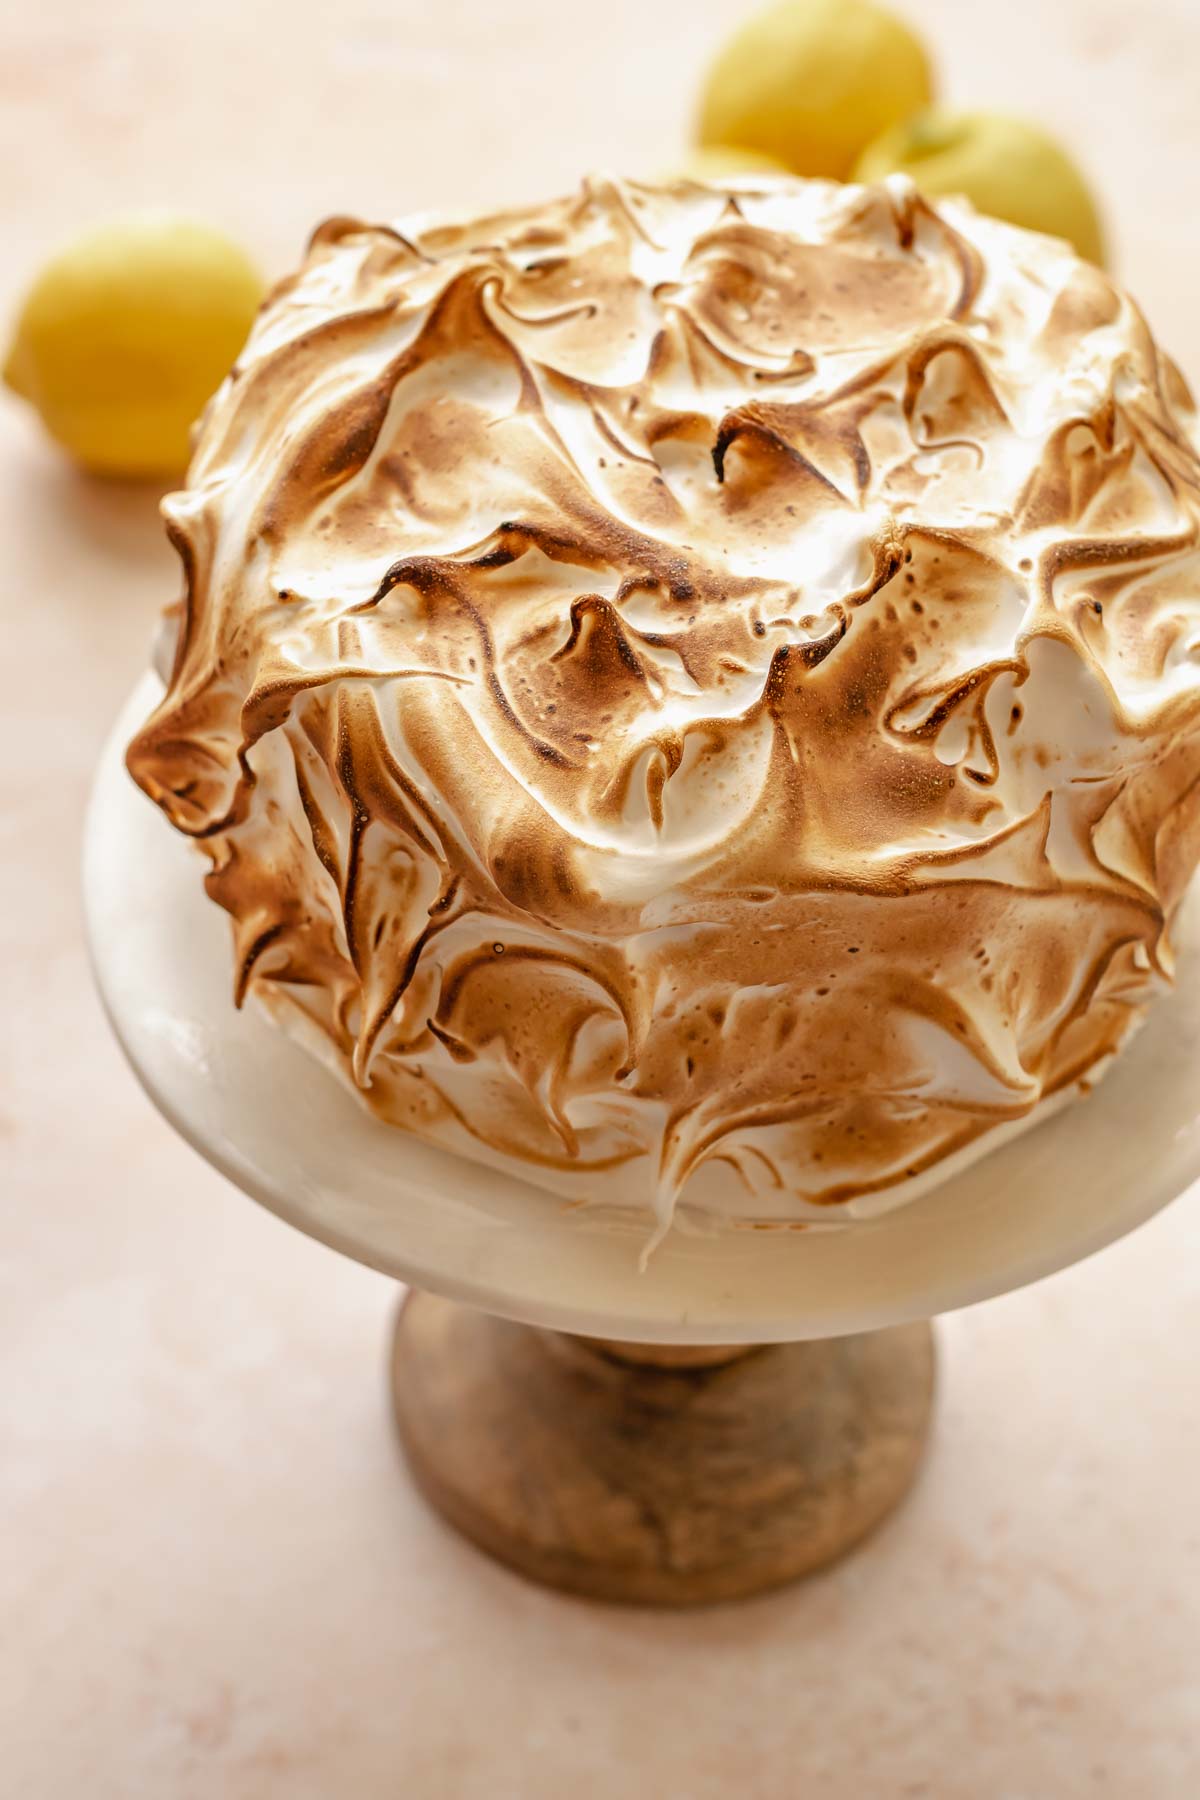
Fourteen: Toast the meringue all over with a kitchen torch until the desired color is reached.
Expert Tips
- Make the lemon curd and cake layers the day before assembly.
- Serve the cake within 1-2 hours of assembly.
- Measure the flour with a digital scale for best results. Over-measuring can lead to a dry, stogy cake.
- Use room temperature ingredients (butter, eggs, sour cream, and milk) for the cake batter.
- Whisk the lemon curd constantly so it doesn't turn chunky and scramble.
- A frosting dam must be created with the Swiss meringue before adding the lemon curd to the center. Otherwise, it will seep out the sides through the meringue.
Recipe FAQs
Lemon curd is traditionally made of lemon juice, lemon zest, sugar, egg yolks, and butter. This version uses whole eggs to remove an egg-like taste and produce a thicker end result.
Due to the lemon curd filling in the middle of the cake, yes this cake needs to be refrigerated. Cover any cut sides with plastic wrap and refrigerate for up to two days.
Sure! Note that store-bought lemon curd is typically a bit thinner, so it may ooze out of the cake more than the original recipe.
Lemon curd can last up to two weeks in the fridge and one month in the freezer. I like to store any leftover lemon curd in a lass jar with a tightly sealing lid for best results.
Storage
Store the lemon meringue cake in the fridge for one additional day after assembly. Place plastic wrap on any cut areas of the cake to prevent it from drying out and keep the lemon curd inside. The rest of the cake will remain protected by the Swiss meringue.
Did you make this recipe? Share it with us! Tag @thecozyplum on Instagram & Facebook and leave a star rating ⭐️ below!
📖Recipe
Lemon Curd Cake with Meringue Topping
Equipment
- 2 6-inch pans
- Stand mixer with paddle and whisk attachment (or hand mixer)
- Whisk
- Kitchen torch
Ingredients
Lemon Curd
- 3 tablespoons lemon zest
- ½ cup lemon juice freshly squeezed
- 6 tablespoons unsalted butter room temperature
- ½ cup granulated sugar
- 2 tablespoons cornstarch
- 3 large eggs
Cake
- 1 ½ cups all-purpose flour
- ¼ cup cornstarch
- 2 teaspoons baking powder
- ¼ teaspoon kosher salt
- ¾ cup granulated sugar
- ¼ cup lemon zest
- 6 tablespoons unsalted butter room temperature
- ⅓ cup vegetable oil
- 1 large egg room temperature
- 2 teaspoons vanilla paste or extract
- ½ cup full-fat sour cream room temperature
- ½ cup whole milk room temperature
Swiss Meringue
- 4 large egg whites
- 1 cup granulated sugar
- ½ teaspoon kosher salt
- ½ tablespoon vanilla paste or extract
Instructions
Lemon Curd
- Zest two to three lemons until you have 3 tablespoons of zest.3 tablespoons lemon zest
- Cut and juice the lemons until there is ½ cup of lemon juice - remove any seeds.½ cup lemon juice freshly squeezed
- Cut the butter into tablespoon pieces and place a fine mesh sieve on top of a bowl.6 tablespoons unsalted butter
- Rub together the sugar and lemon zest until it turns pale yellow and very fragrant. Whisk in the cornstarch until evenly distributed.2 tablespoons cornstarch, ½ cup granulated sugar
- Transfer the sugar mixture to a medium saucepan and add the eggs and lemon juice and place over medium-low heat.3 large eggs
- Whisk constantly until the curd thickens considerably and coat the back of a spoon. About 5 minutes.
- Transfer the curd to the fine mesh sieve and pass it through into the bowl using a rubber spatula or wooden spoon. Scrape the underside of the sieve to remove all curd.
- Add in the pieces of butter and whisk until completely melted, incorporated, and smooth.
- Cover the lemon curd with plastic wrap, placing the wrap directly onto the curd to prevent a skin from forming.
- Chill in the refrigerator for at least 2 hours before using or eating.
Cake
- Preheat oven to 350℉, grease and parchment line the bottom of two six-inch cake pans.
- Whisk together flour, cornstarch, baking powder and salt and set aside.1 ½ cups all-purpose flour, ¼ cup cornstarch, 2 teaspoons baking powder, ¼ teaspoon kosher salt
- Using fingertips, mix together sugar and lemon zest until pale yellow and very fragrant.¾ cup granulated sugar, ¼ cup lemon zest
- Cream together the butter, sugar, and oil until pale in color, about 5 minutes. Add the egg and vanilla and beat again for one minute. Scrape down the sides.6 tablespoons unsalted butter, ⅓ cup vegetable oil, 1 large egg, 2 teaspoons vanilla paste or extract
- Whisk together the sour cream and whole milk.½ cup full-fat sour cream, ½ cup whole milk
- With the mixer running on low speed, add half of the flour mixture, then half of the milk mixture. Scrape down the sides and repeat until the batter is completely moistened.
- Divide the batter evenly between the two cake pans then bake in the center rack for 28-32 minutes or until a toothpick inserted into the center comes out clean with no wet batter.
- Cool in the pan for 10 minutes, then remove the cake from the pan and finish cooling for another 30 minutes, or until no longer warm to the touch.
- If storage is needed, wrap the cake layers tightly in plastic wrap and store at room temperature for 24 hours, or in the freezer if storage is needed for longer.
Swiss Meringue
- Fill a saucepan with about two inches of water and turn to high heat. Add a heat proof bowl over top that fits securely. You don’t want any of the water touching the bottom of the bowl.
- To the bowl, add the egg whites, sugar, and salt and whisk to combine. Continue lightly whisking until the mixture is rather warm and the sugar granules have dissolved. Check this by rubbing your fingers together in the mixture. If you can still feel sugar granules, continue cooking.4 large egg whites, 1 cup granulated sugar, ½ teaspoon kosher salt
- One the mixture is ready, add it to the bowl of a stand mixer fitted with the whisk attachment and whip on medium speed for about a minute. Add the vanilla, then turn to high speed and whip until stiff peaks form and the meringue gets caught in the middle of the whisk. The peak of the meringue should stand up to a point when you pull the whisk out.½ tablespoon vanilla paste or extract
Assembly
- If needed, use a serrated knife to cut off the domed tops of the cake rounds so it’s a nice, even cake layer.
- Add one large dollop of meringue to a piping bag or ziptop bag and cut off a ½” tip.
- Add one layer of cake to a cake stand and pipe a border around the edge of the cake. Use an offset spatula or butter knife to pull the insides down to touch the cake. This ensures none of the filling will escape.
- Fill the inside of the border with lemon curd (not allowing it to go over the border), then very gently place the second cake layer evenly on top. Do not press down.
- Add 2-3 dowels to the cake to help prevent it from sliding around.
- Add a large amount of meringue to the top of the cake and begin working it down the sides, fully covering the cake.
- Add the remaining meringue, and use the back of a spoon to create swoops all over.
- Use a hand torch to lightly toast the meringue, then slice and serve.
Alexandra Gerdzhikova says
Hello! I was wondering if I can omit the dowels or the cake will be completely ruined without them?
Callan Wenner says
Hey there! I've tried making this without the dowels and the layers slid. Because of the curd and since the meringue isn't a super stable frosting, the dowels are needed to keep the cake layers in place!
Taylor A says
Before this recipe, I had never attempted a layer cake, a curd of any kind, or making my own simple syrup or cream cheese frosting... It took me most of a day, but serving this cake for dessert to rave reviews at my boyfriend’s birthday dinner was absolutely worth it! I think my second pass at this would go a lot faster now that I’ve done each component before and have a better idea of what I’m looking for in each step. The cake was deliciously moist, the curd had a fantastic zing to it, and the cream cheese frosting was so silky! I usually max out before a full piece of cake from it tasting too rich, but this was refreshing to eat and I went for slice #2! Highly recommend this recipe, even to baking beginners like myself.
The Cozy Plum says
Wow - I feel like a proud mama bear after reading this! It's comments like these that make this "job" so fun. So glad you enjoyed it (and nailed it)!