
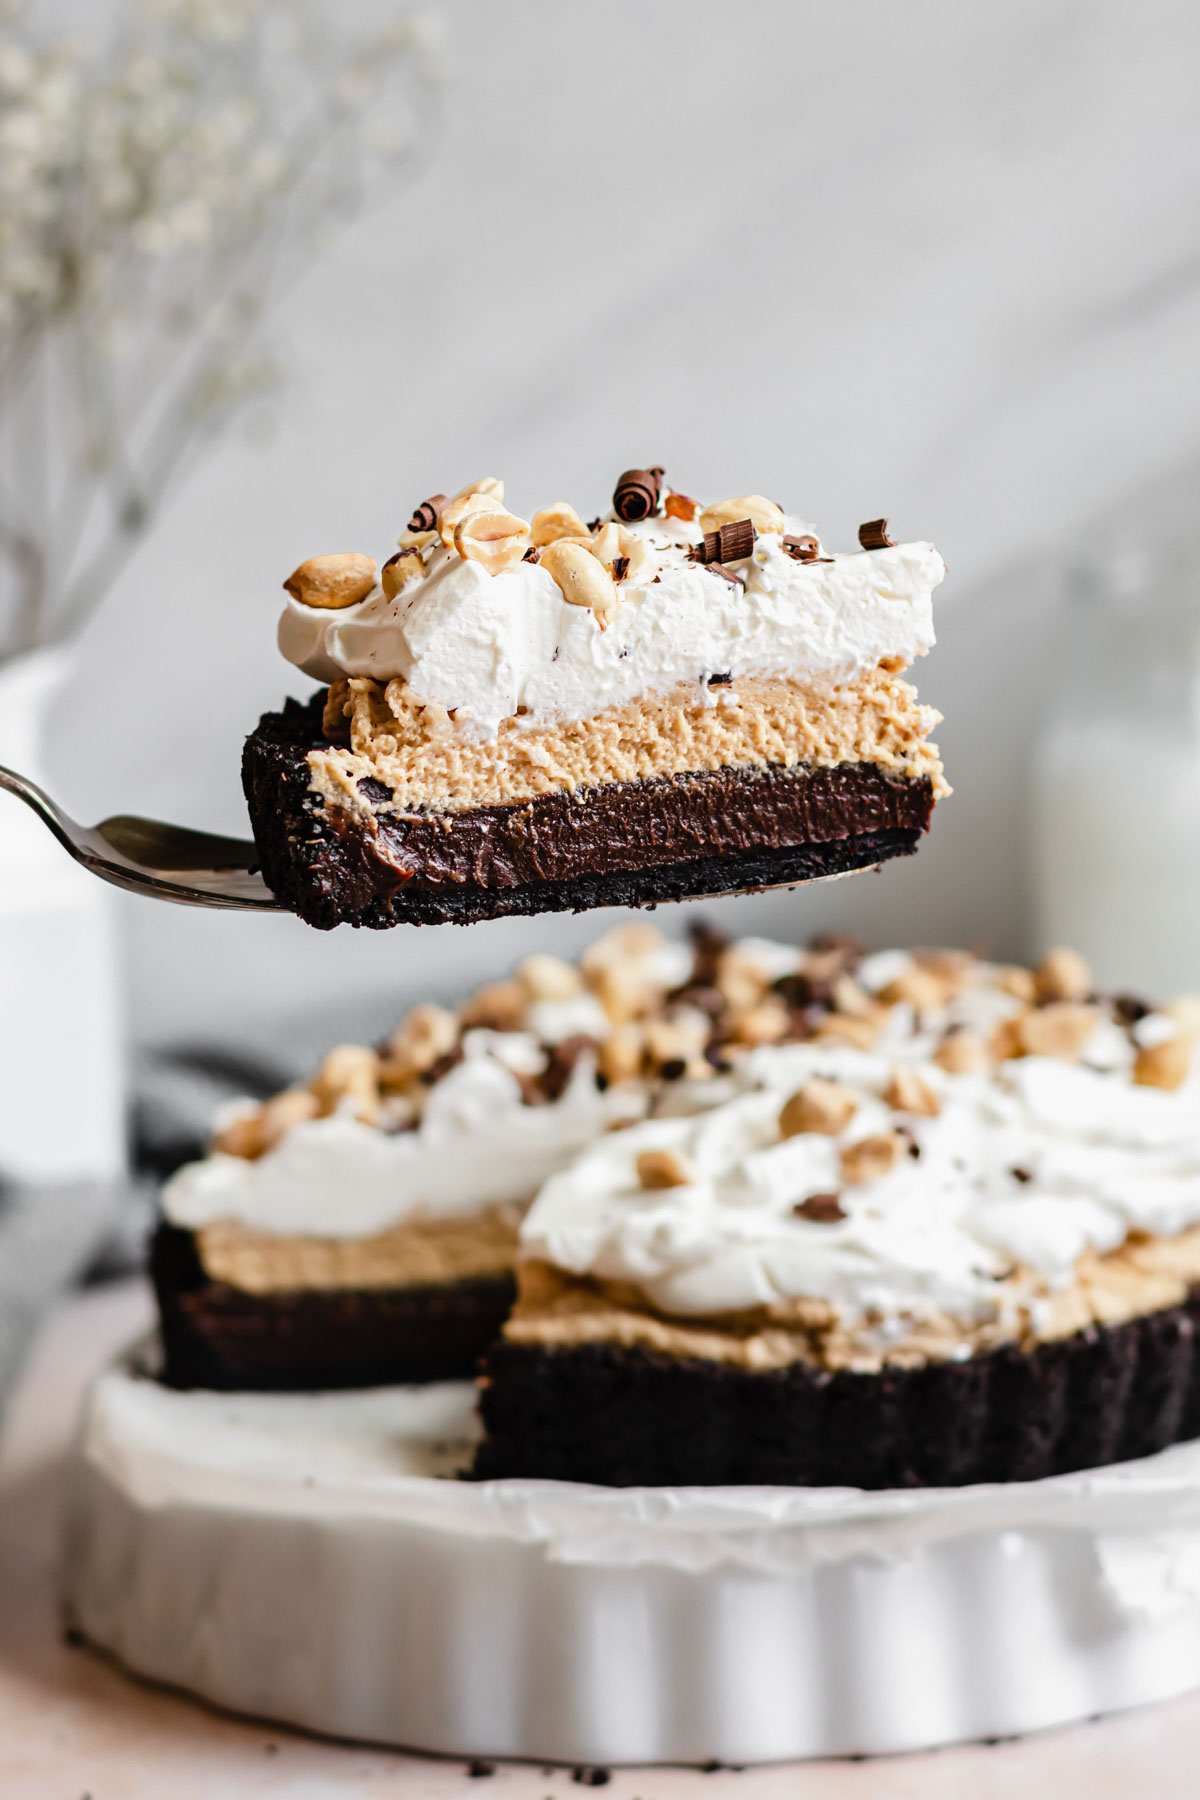
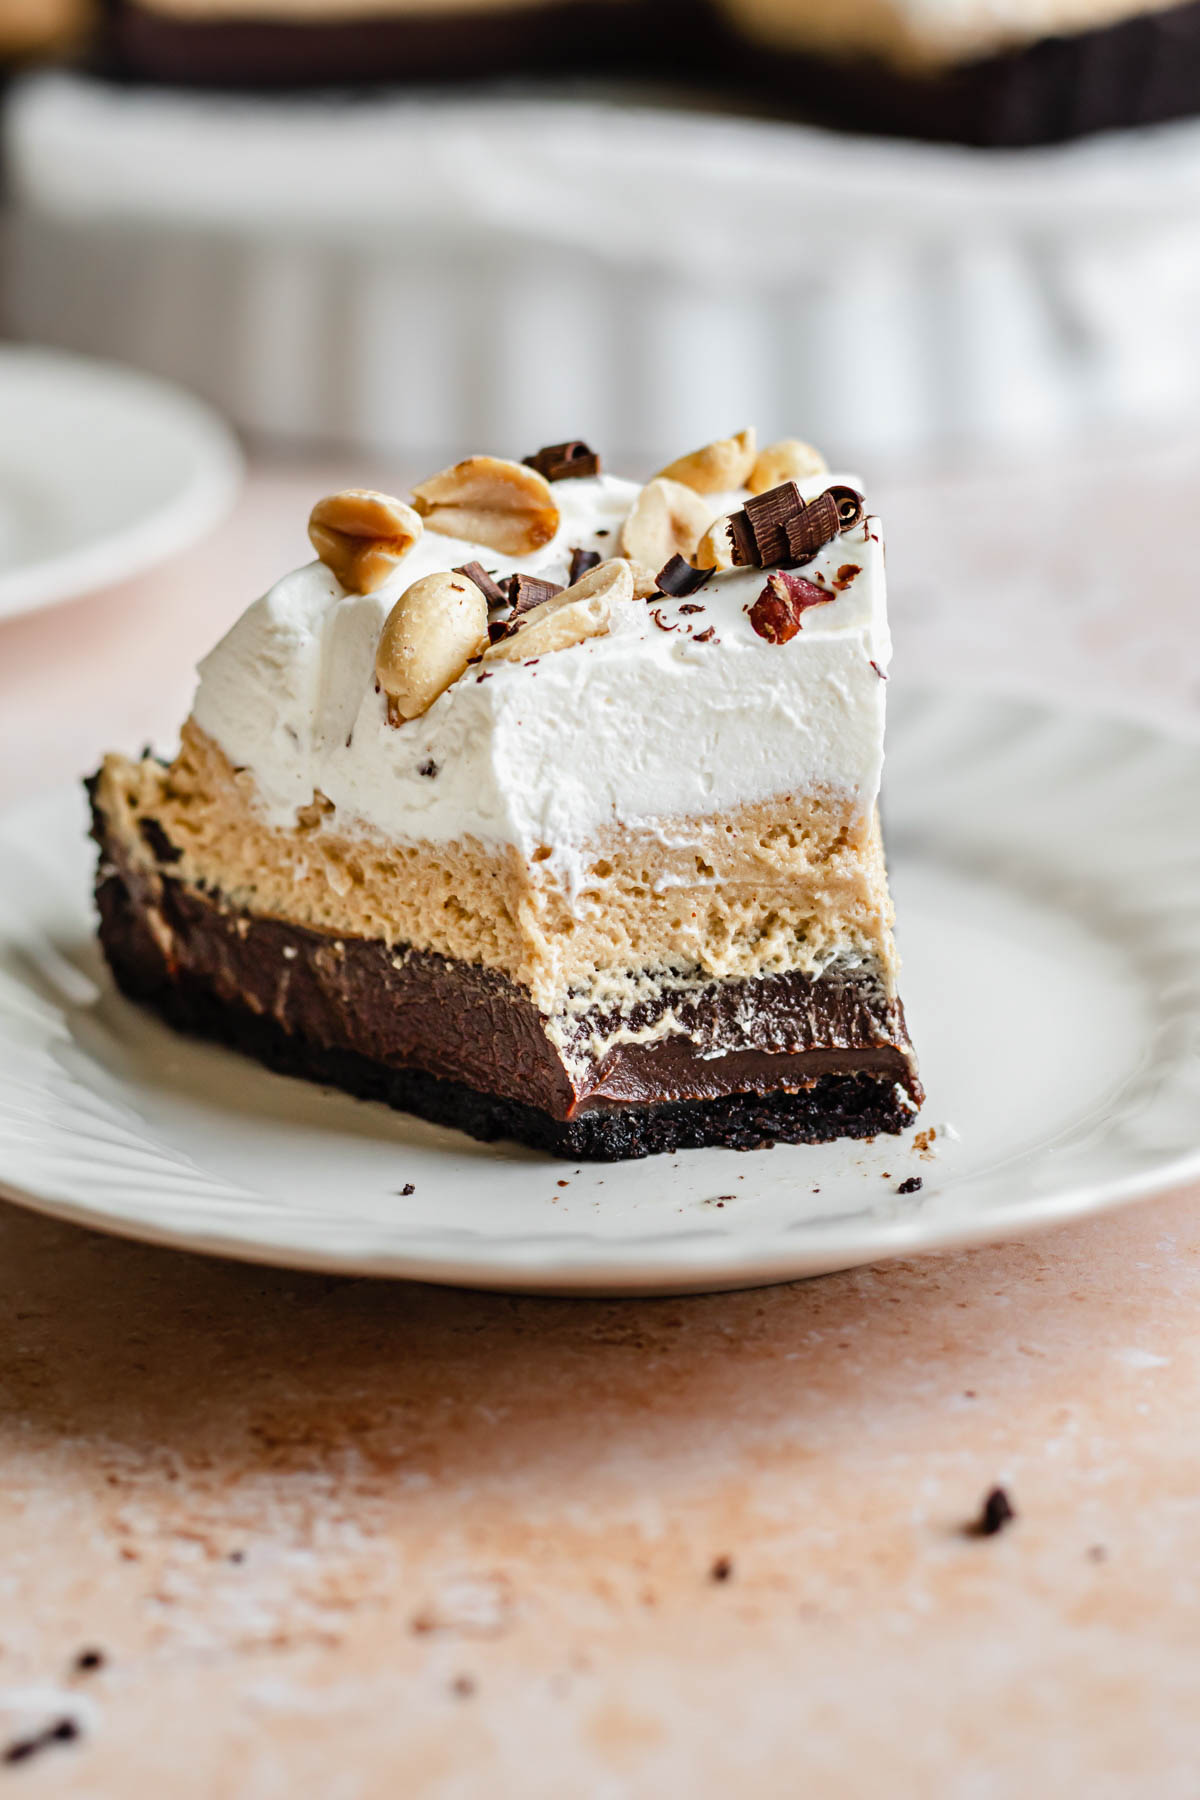
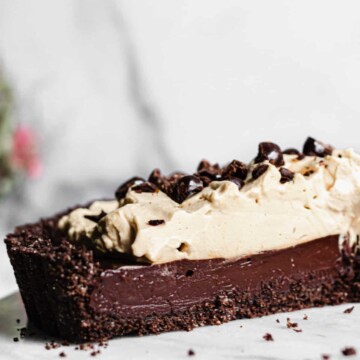
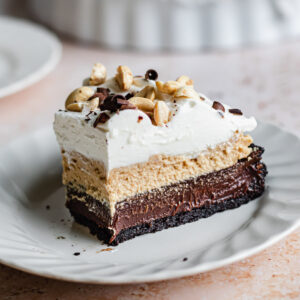
This chocolate peanut butter tart has a crisp oreo cookie crust, a silky chocolate ganache center, and a light, fluffy peanut butter filling that’s finished with a topping of homemade whipped cream. Every bite is rich, smooth, perfectly balanced, and just the right amount of indulgent.
This is the kind of dessert that looks impressive but is secretly very simple to make. It’s a no-bake peanut butter pie if you skip the crust bake, and it sets beautifully in the fridge for easy slicing and serving.
For a deeper peanut butter flavor, try this similar oreo peanut butter pie. For a non chocolate lover - an amish peanut butter pie!
Jump to:
Why You'll Love This Recipe
Classic flavor pairing - There's a reason why everyone loves a chocolate and peanut butter combination...becuase it's truly the best! That's why these peanut butter cookie dough bites are a fan favorite!
Easy to prep ahead - Each layer sets in the fridge, making it perfect for parties or make-ahead desserts.
Showstopper - The distinct layers make this look like a dessert that came from a bakery! It's sleek and beautiful, but each step is quite simple.
Ingredients
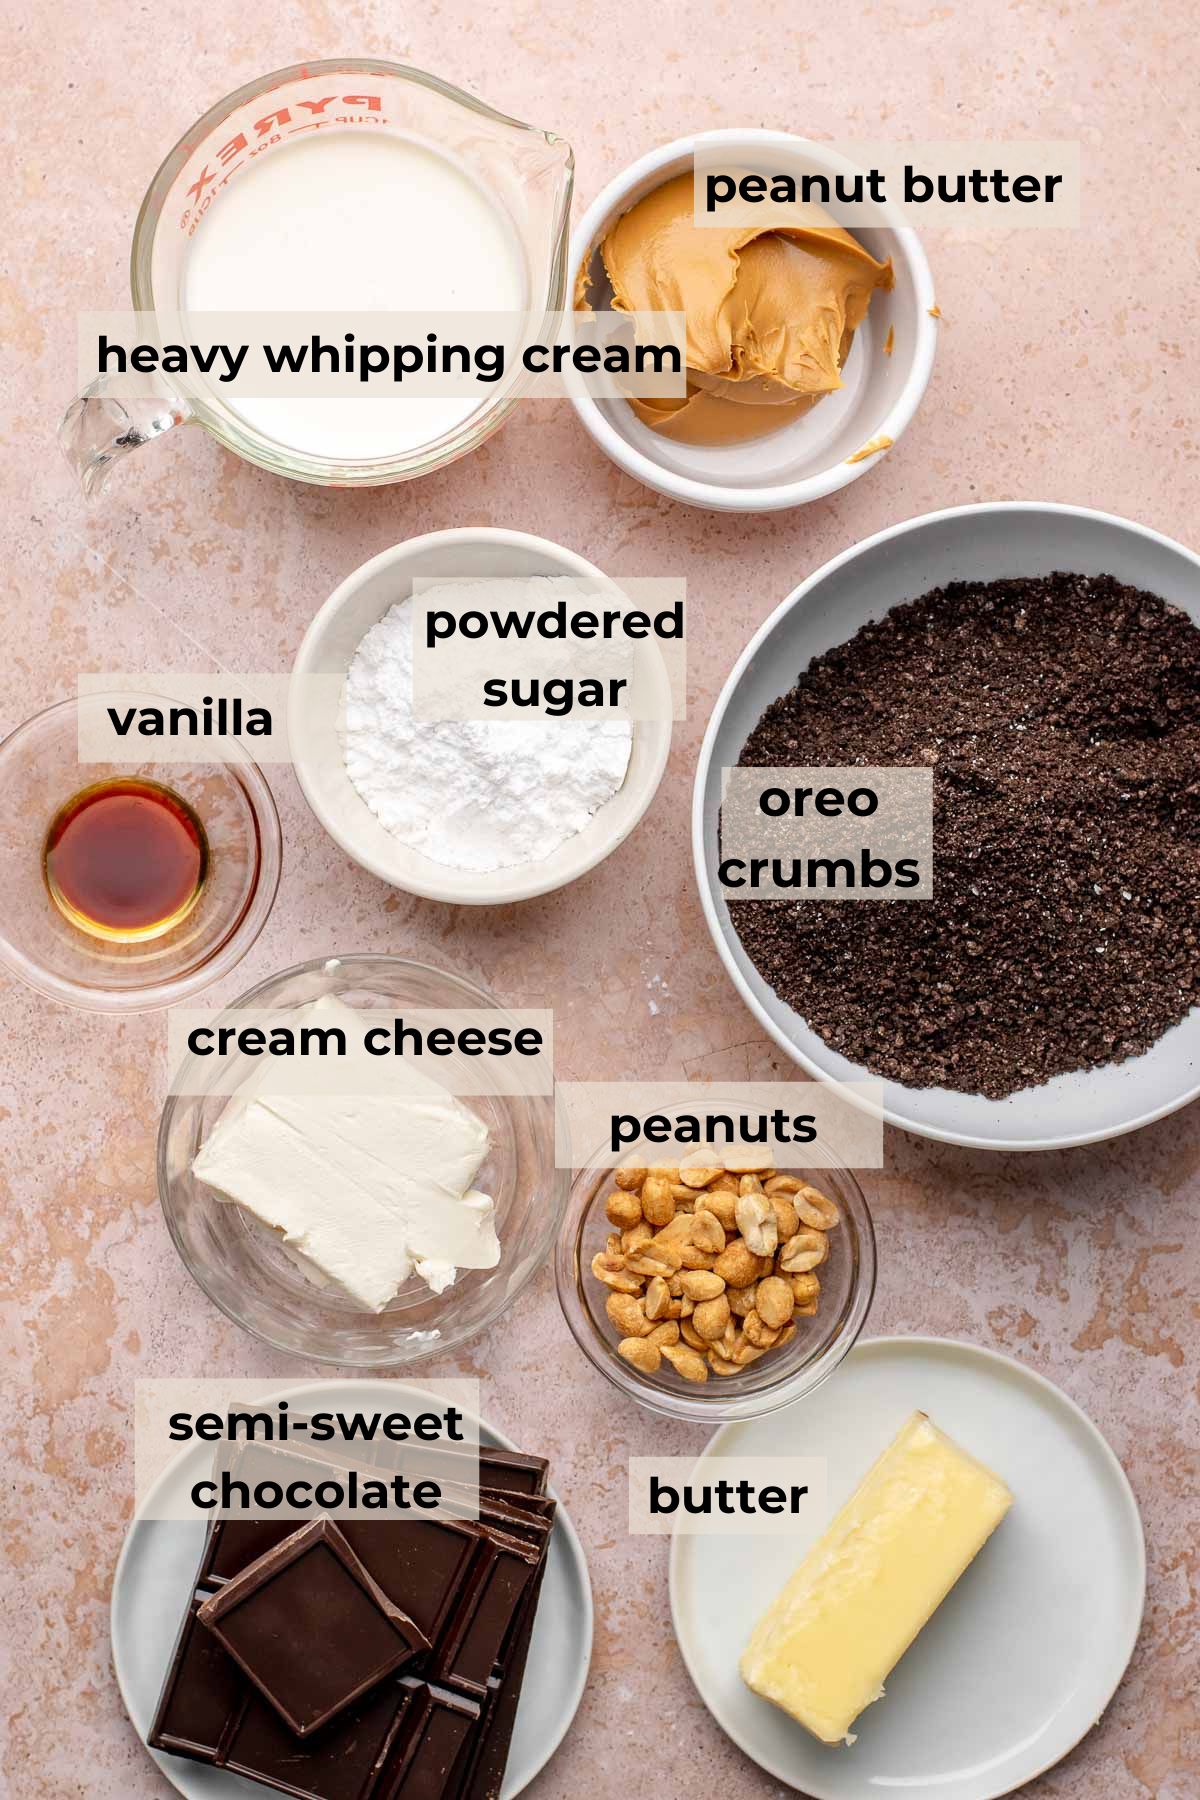
- Oreos. Pulverized into a fine crumb! Use the listed amount in weight.
- Good quality chocolate (60-70% cacao). A baking bar is best, but chunks or chips can be used as a last resort.
- Cream cheese. Brick-style, full-fat cream cheese (we love Philadelphia brand) is used to stabilize the peanut butter layer and add a slightly tangy balance to the tart.
- Heavy whipping cream. This needs to be at least 36% milk fat.
- Creamy peanut butter. Use a non-natural peanut butter like Jif, Skippy, or Peter Pan. Natural peanut butter has too much separated oil.
- Roasted salted peanuts. For the topping, and I don't suggest skipping! The peanuts add texture and the salt really helps to cut the richness.
See recipe card for full ingredients list and quantities.
Substitutions and Variations
- Use normal or chocolate graham crackers in place of Oreos (make the swap by weight).
- Use a chocolate sweet tart crust for a non-cookie base.
- Make the tarts mini by splitting everything into smaller tart pans.
- Use a 9" pie dish if you don't have a tart pan.
- Skip baking the crust and make it totally no-bake. Baking helps to solidify the crust, makes it really crisp and is easier to remove from the pan, but you don't have to do it.
How to Make This Recipe
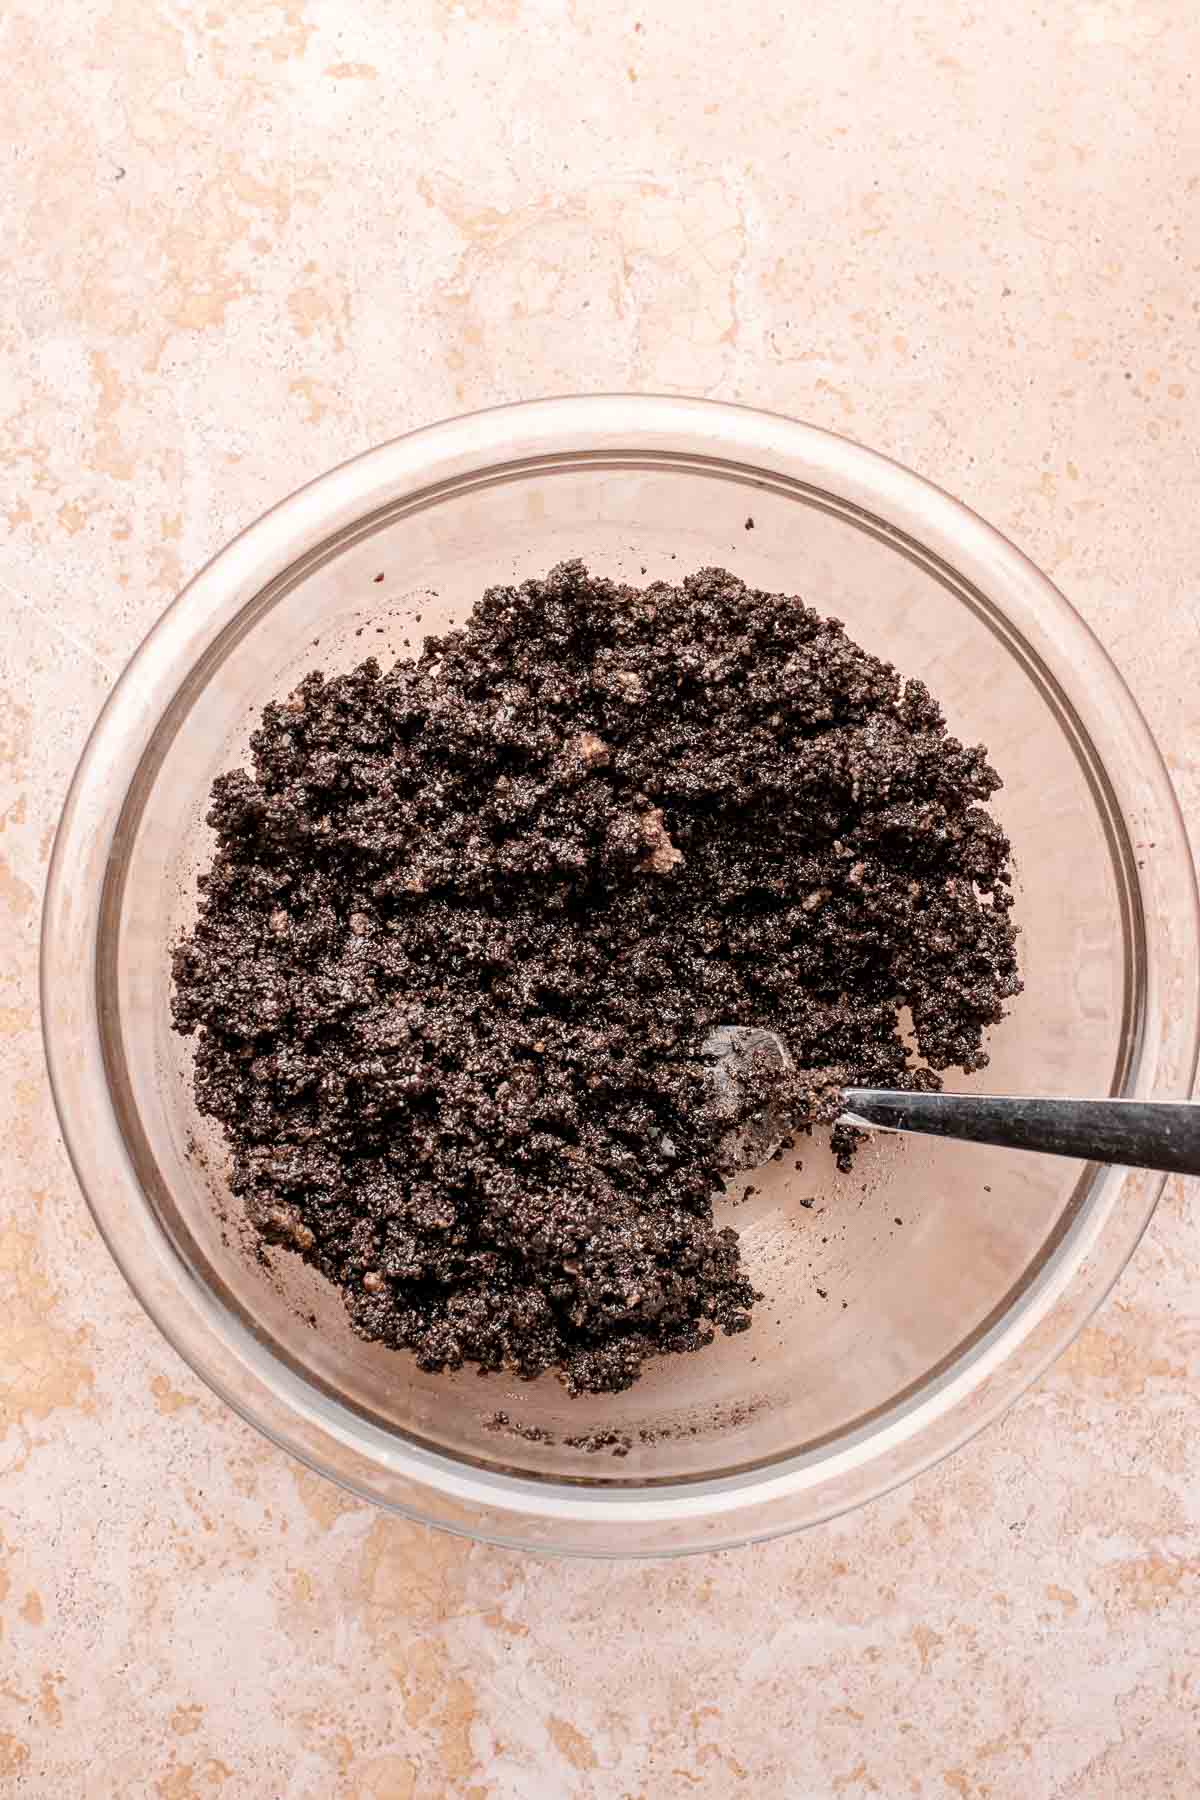
One: Mix together the oreo crumbs, butter and salt until combined.
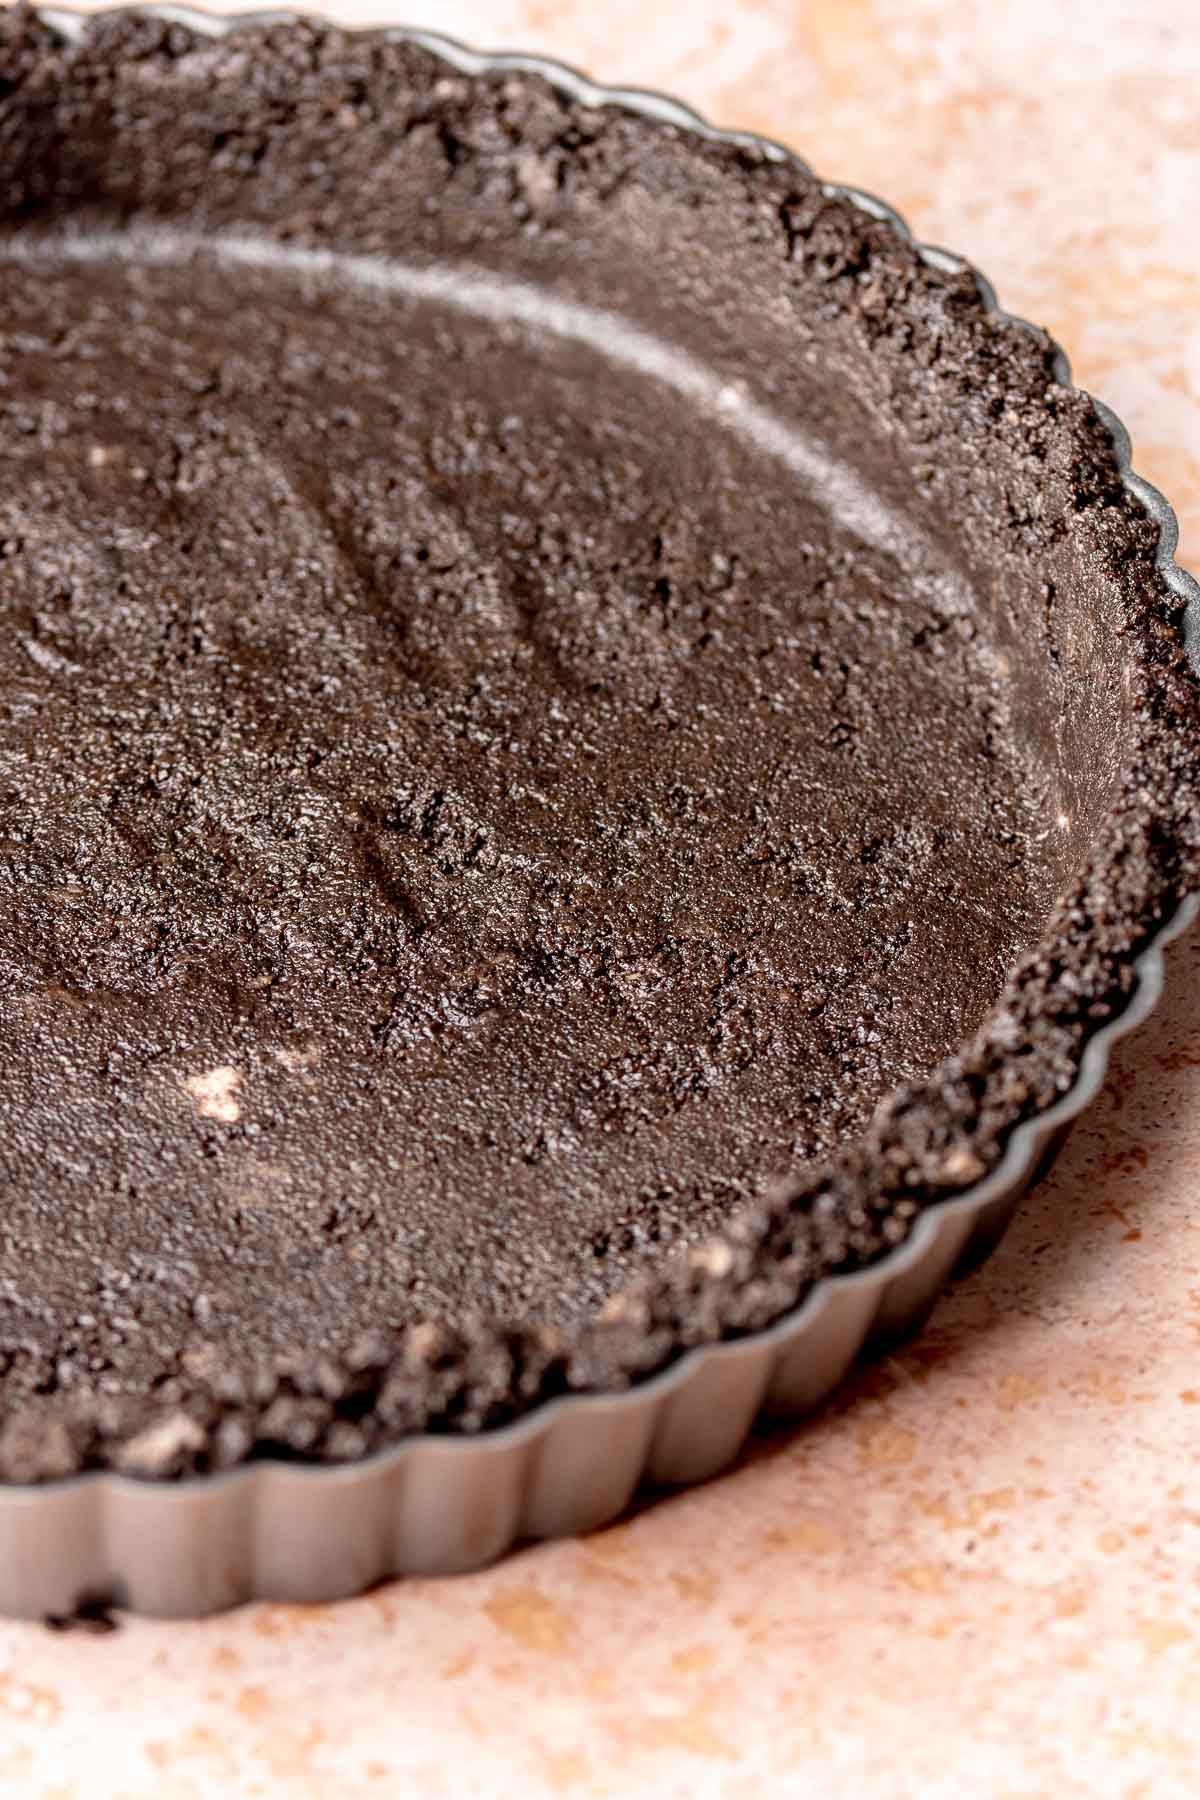
Two: Press the crumbs firmly into a 9" tart pan, going the whole way up the sides. Bake, then cool.

Three: Add hot cream to chopped chocolate and mix together to make the ganache.
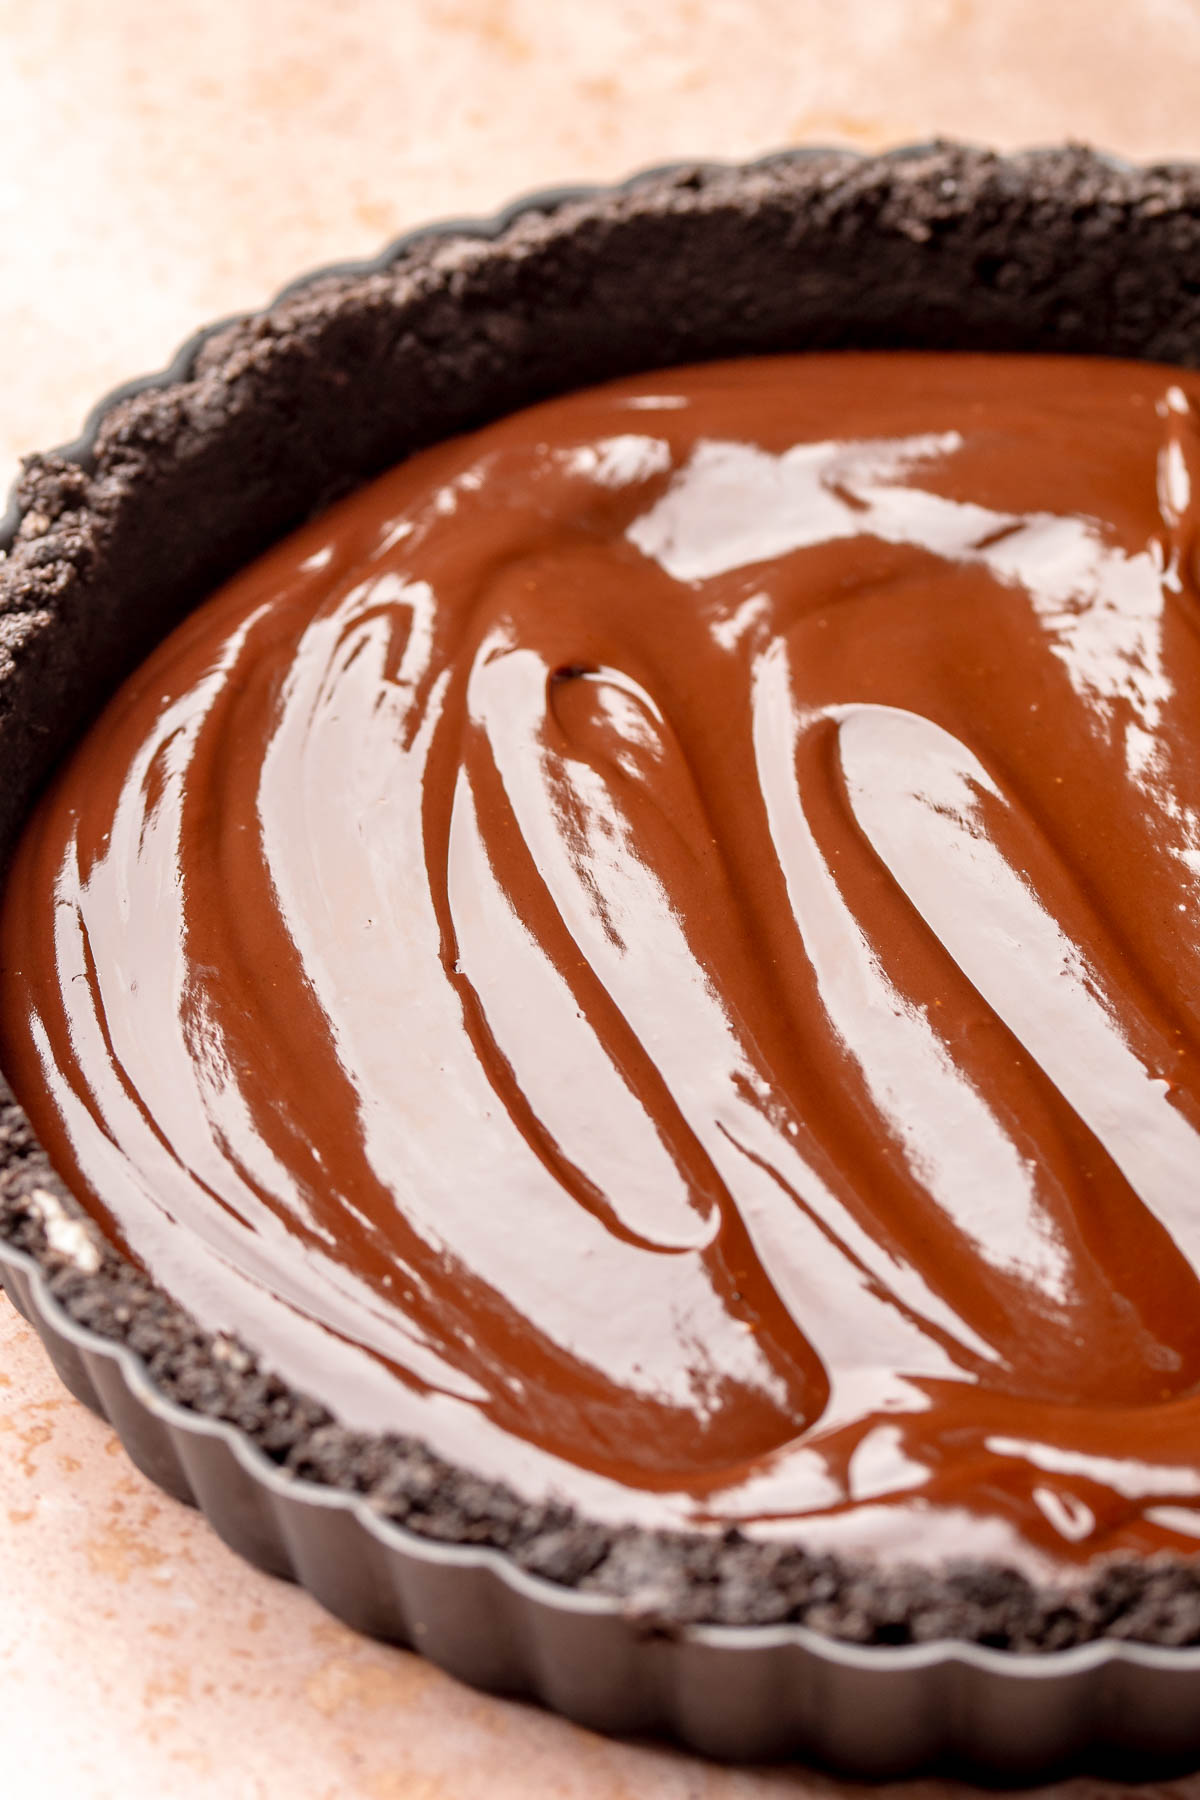
Four: Spread the ganache into the baked tart shell and smooth it out. Refrigerate for about an hour.
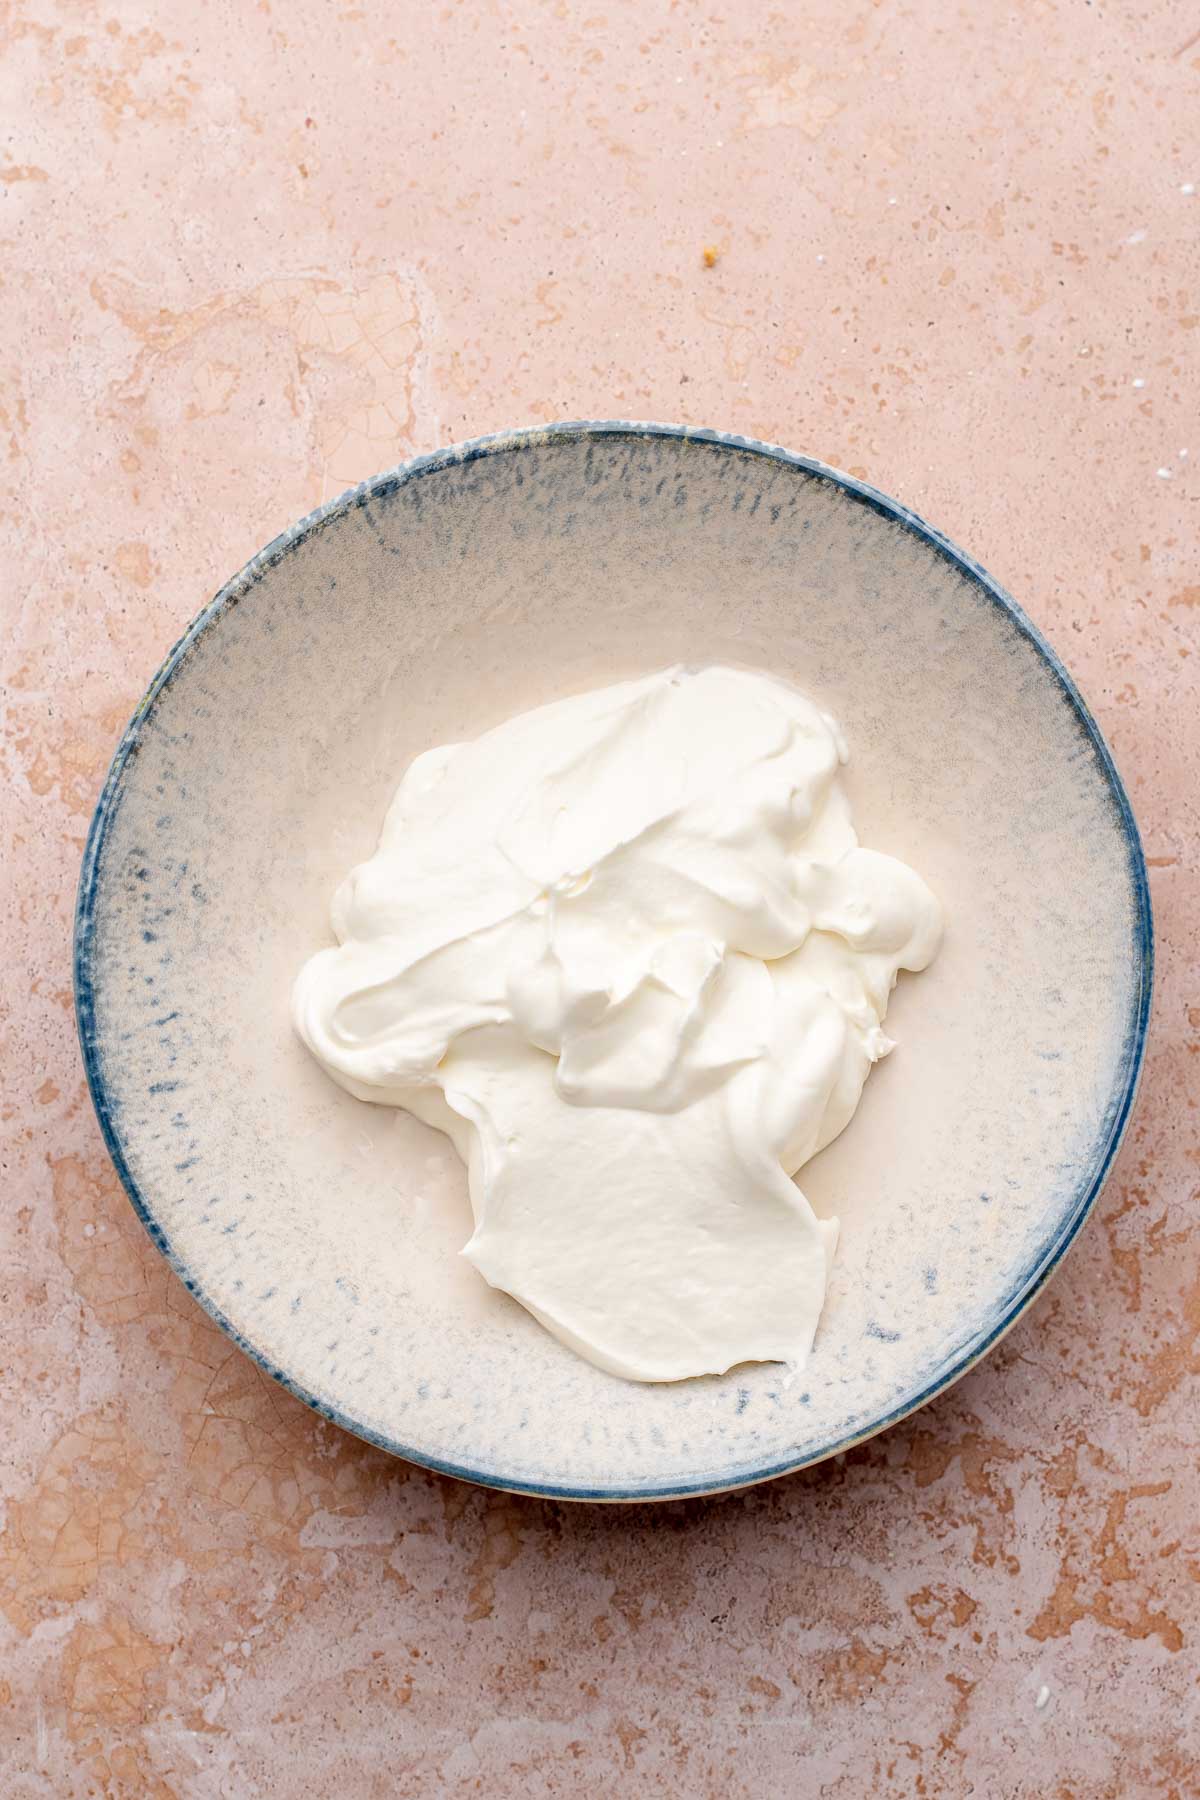
Five: Whip heavy cream until stiff peaks form.
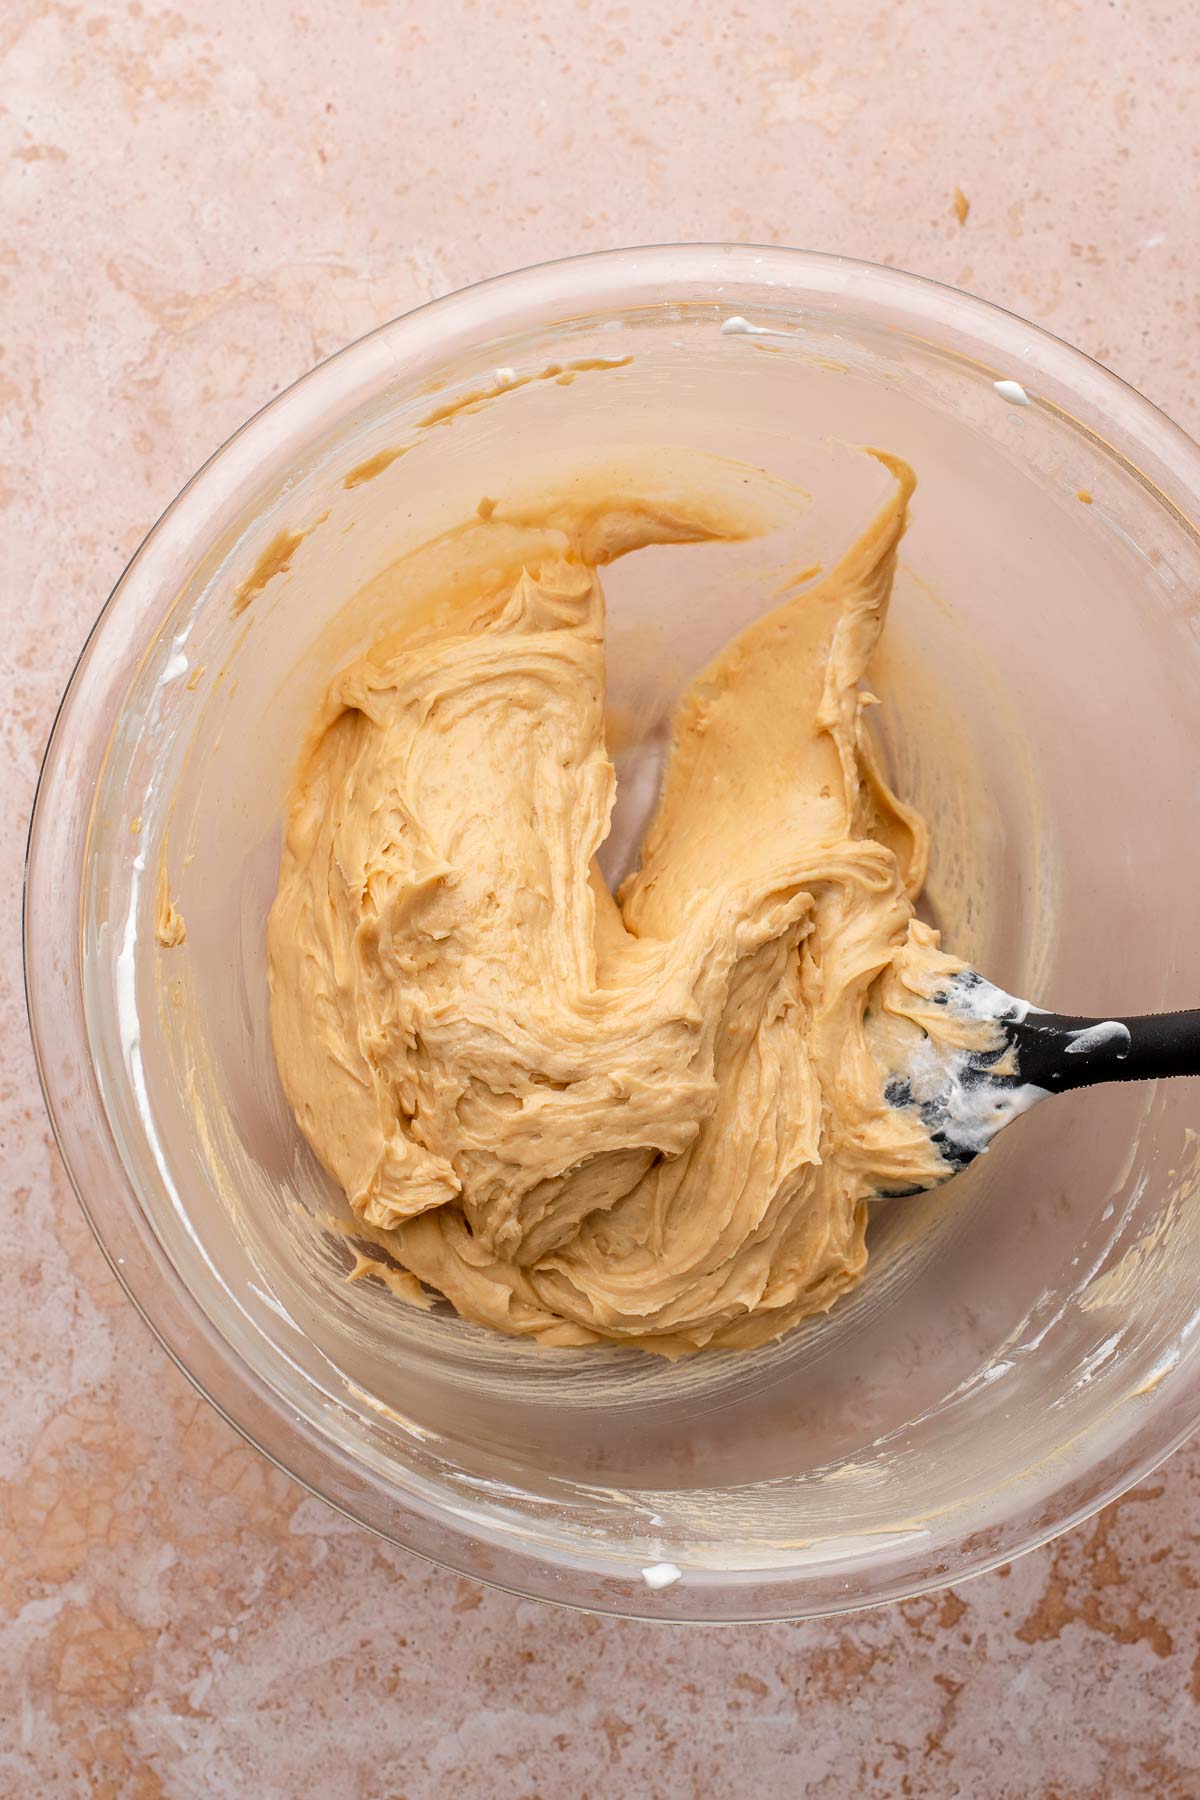
Six: Mix together the cream cheese, peanut butter and powdered sugar, then fold in the whipped cream.

Seven: Spread the peanut butter layer on top of the chilled ganache and refrigerate again.
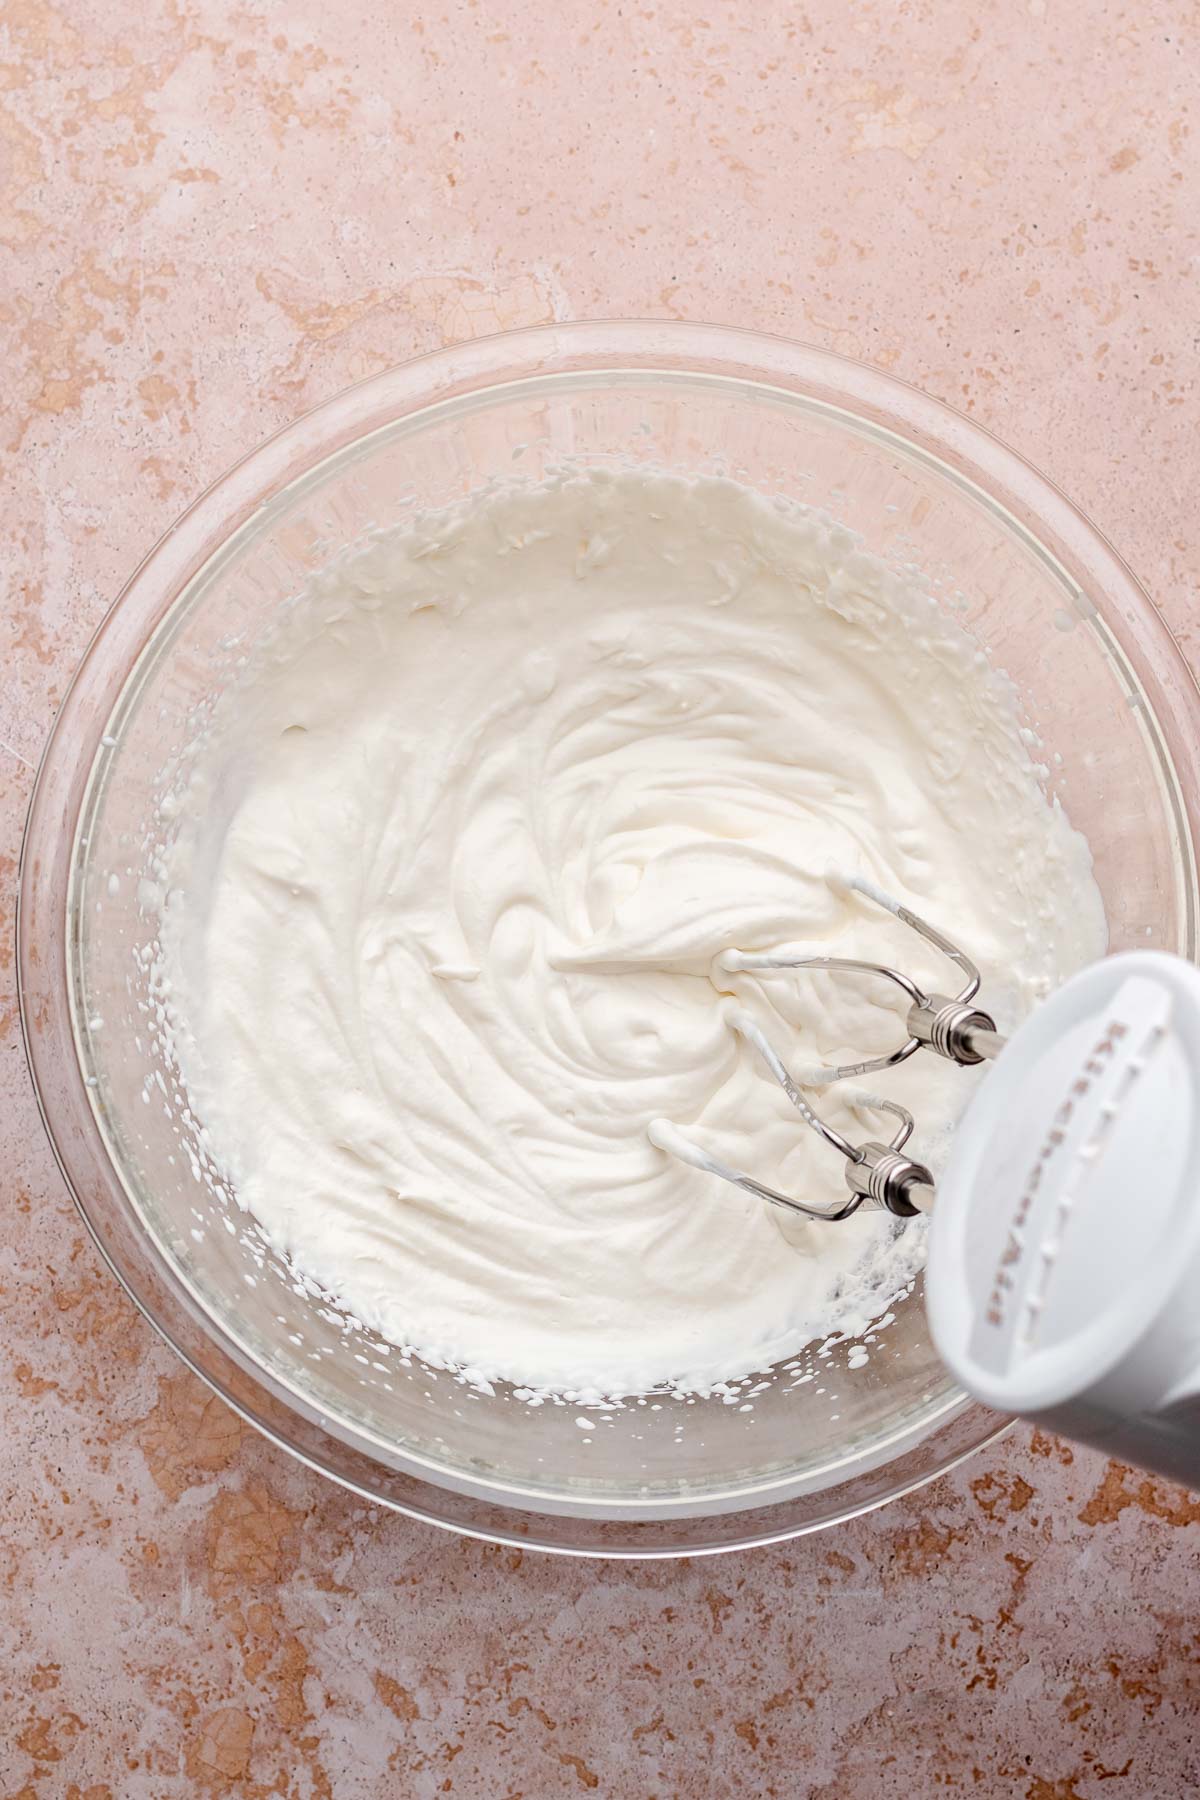
Eight: Beat the heavy whipping cream, powdered sugar, and vanilla until medium or stiff peaks form.
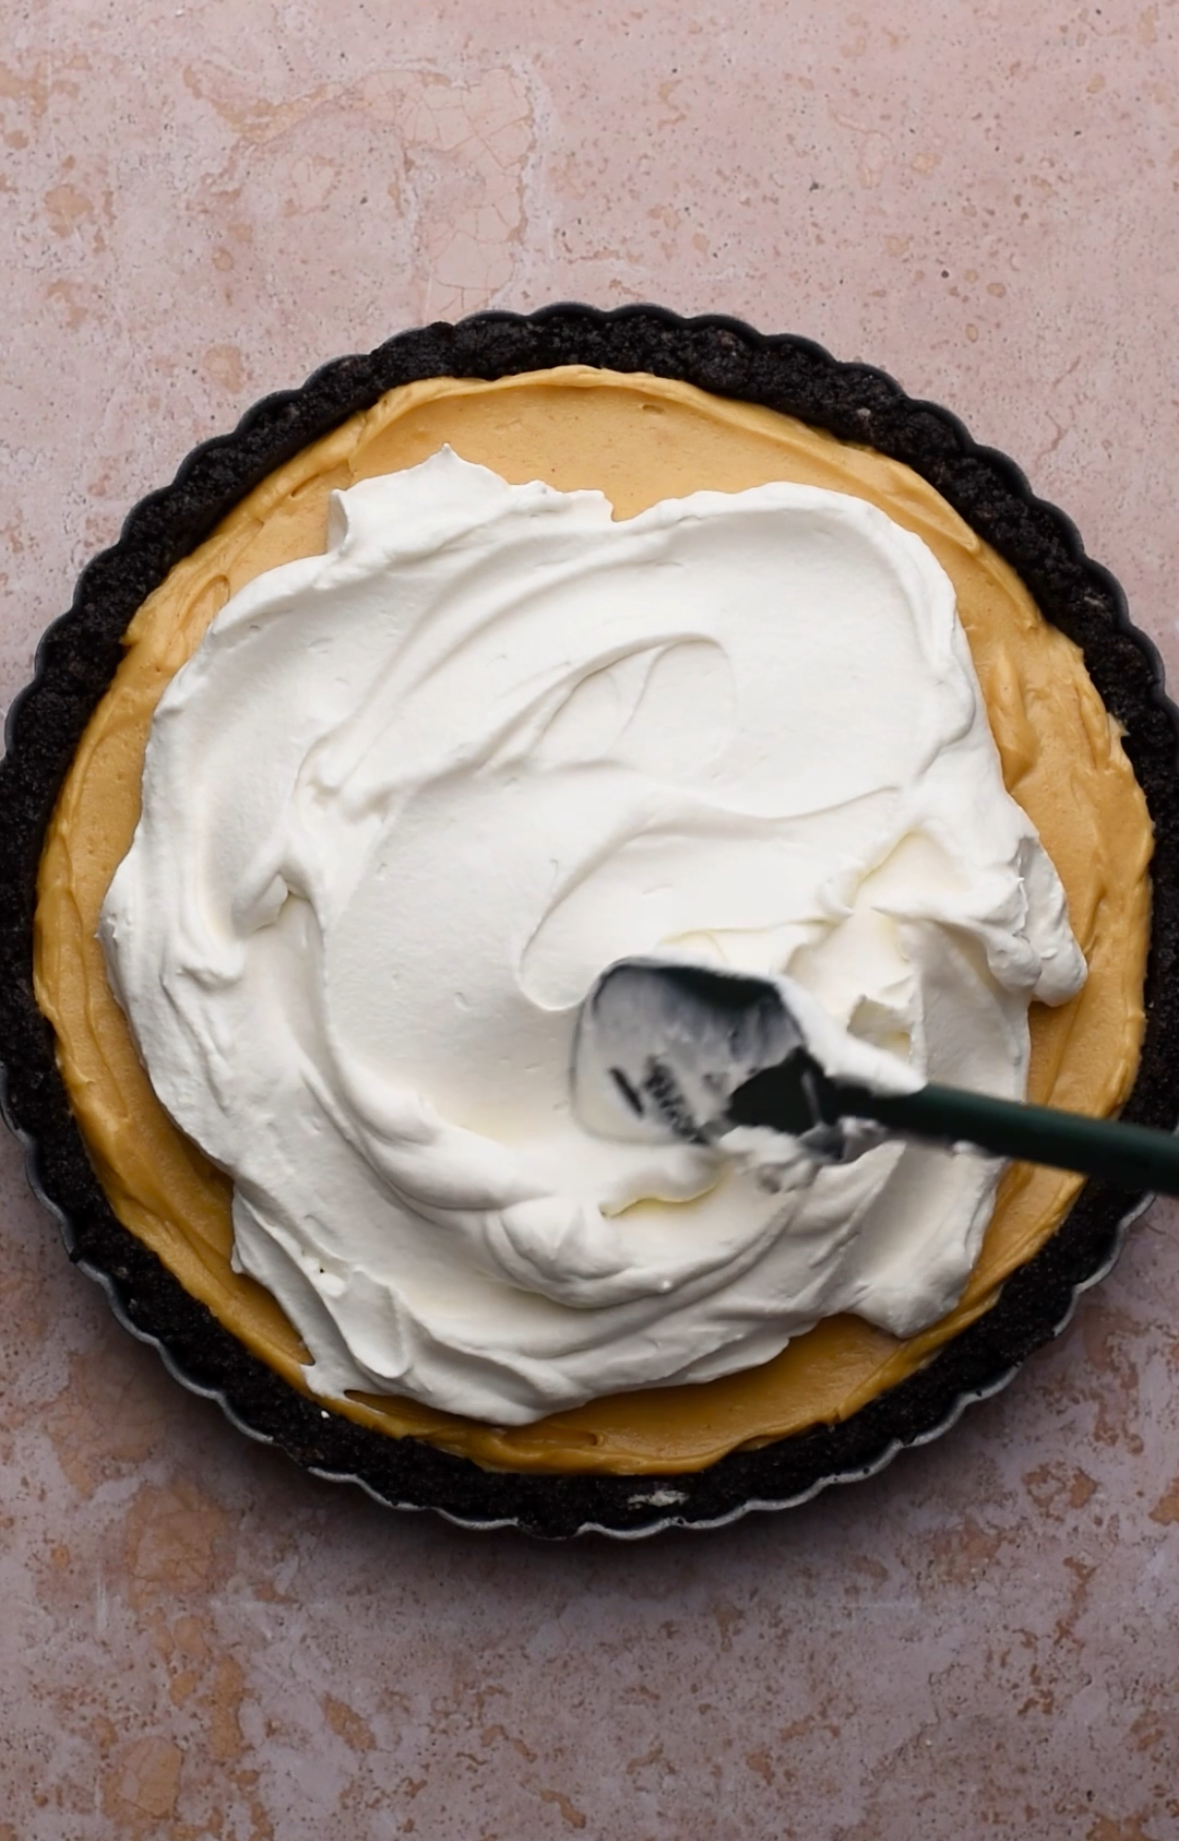
Nine: Spread it on top of the peanut butter layer, leaving some of the edges exposed.
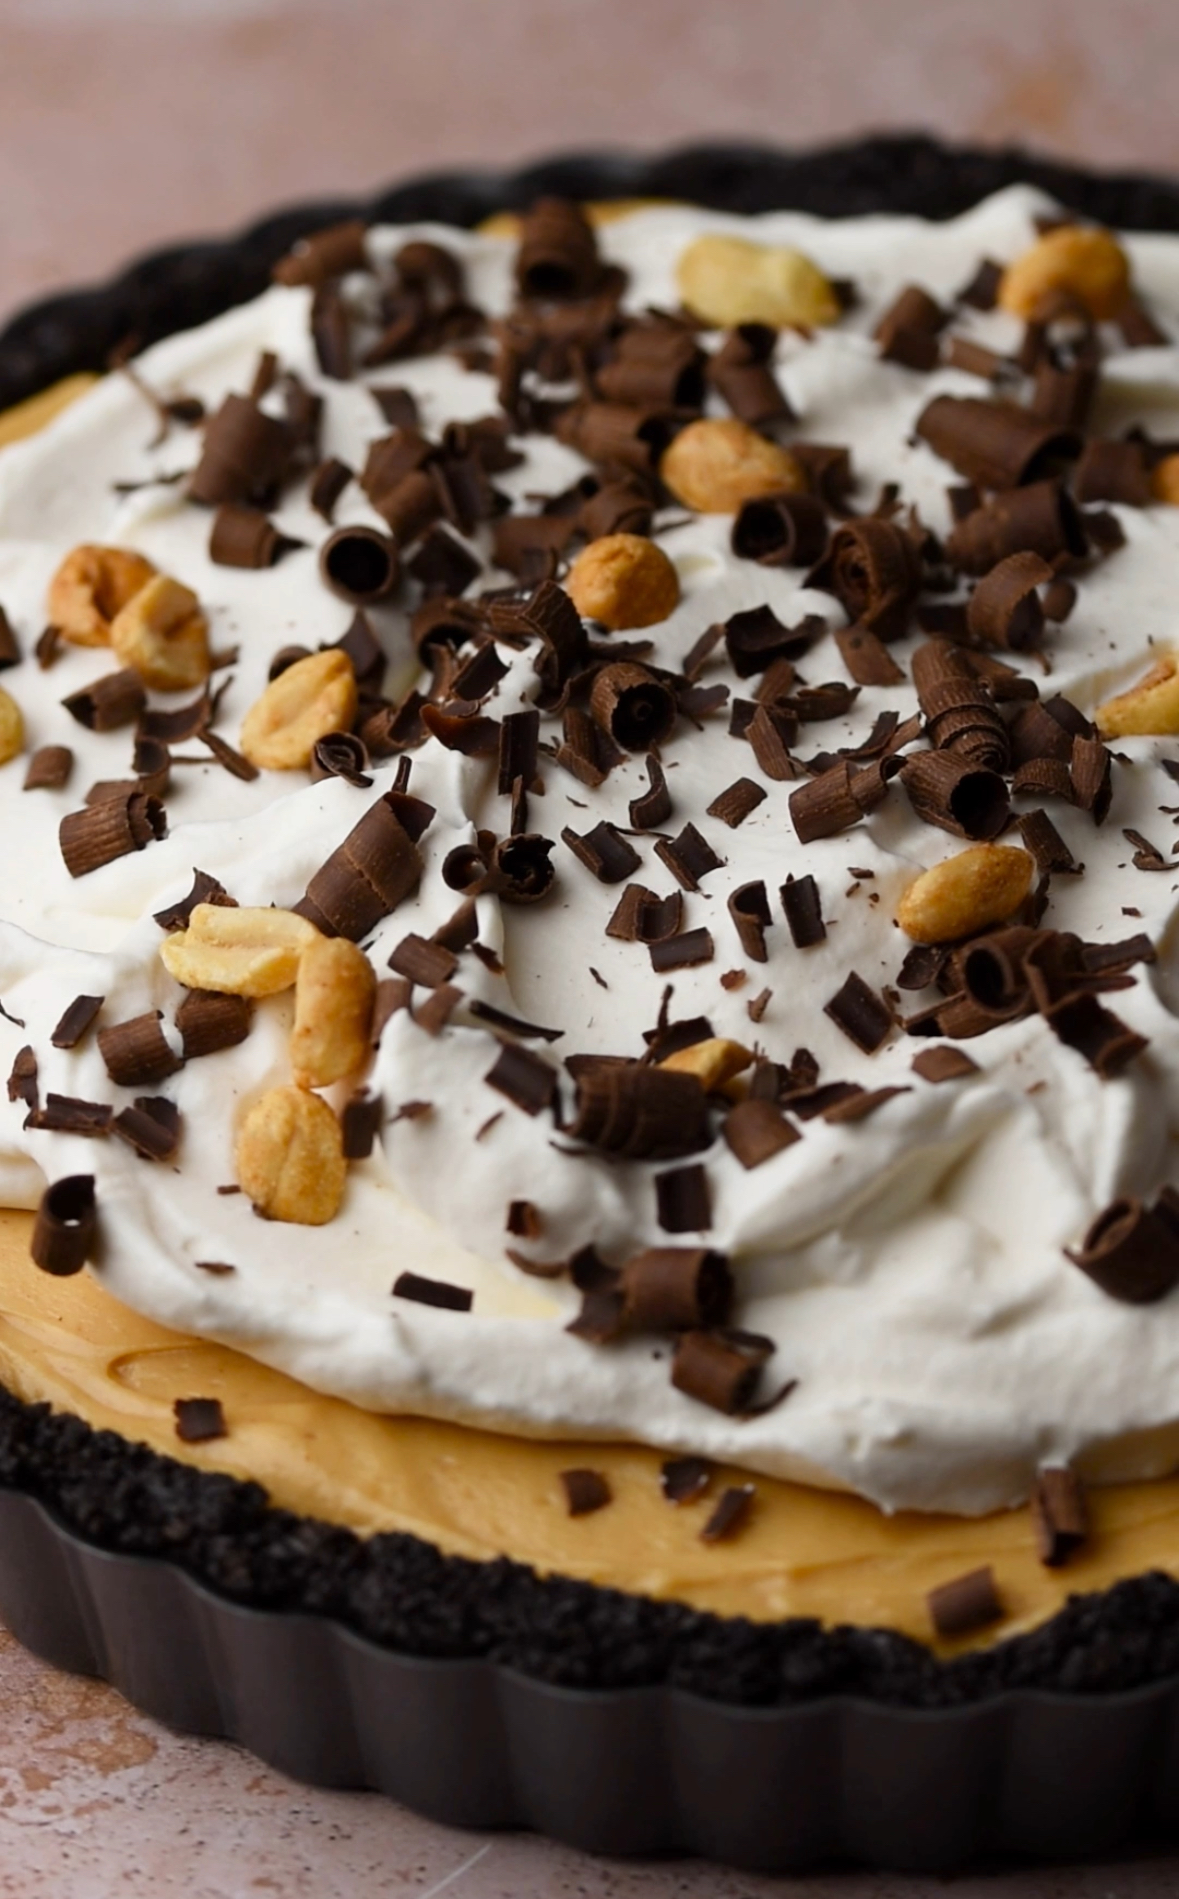
Ten: Finish the tart with chocolate shavings and roasted peanuts. Slice and serve.
How to Make Chocolate Curls
The easiest way to do this is to use a warm, room temperature chocolate bar and a vegetable peeler! A cold chocolate bar will yield shards instead of curls, so we need to warm it up a bit.
Let the edge of the chocolate bar warm up a bit by holding it in your palm (still in the wrapper), then slowly drag a vegetable peeler over the edge to create a nice curl. Repeat holding it and peeling, letting the curls fall onto a plate.
Place the plate in in the fridge or freezer to let the chocolate firm up. This will help them keep their shape before sprinkling them onto your dessert.
💌 Save This Recipe
Expert Tips
- Use a straight-sided measuring cup (⅓ cup is best) to firmly press the crust into the pan.
- Use room-temperature cream cheese for the smoothest peanut butter filling.
- Chill the ganache thoroughly in the tart before adding the peanut butter layer.
- Wipe off the knife in between each cut for clean slices. Push the knife down, and slide it out from the slide (rather than pulling it back up).
Recipe FAQs
Yes! Make it up to 2 days in advance. Add whipped cream and toppings the day of serving.
I recommend using a no-stir variety for the best texture. Natural peanut butters can separate and cause the filling to become grainy or oily.
A 9-inch tart pan with a removable bottom works best for easy slicing and serving.
This means the emulsion of the two ingredients has broken. Be sure the cream measurement was correct, and also that it wasn't fully boiling, but only simmering around the very edges. Too high of heat can split the fats and cause grainy separation
Storage
Store the tart covered in the fridge for up to 4 days. For best texture, enjoy within the first 2 days. The whipped cream will hold its shape well, but you can also wait to add it until just before serving.
To freeze: Skip the whipped cream layer, freeze the tart until solid, then wrap tightly in plastic and foil. Thaw overnight in the fridge before topping and serving.
More Chocolate Recipes You'll Love
What to Know When Cooking with The Cozy Plum
- All recipes are created with Diamond Crystal kosher salt, the least salty variety of kosher salt. If using Morton's, you'll need to cut the amount of salt in half as it's 2x as salty. This will be the same for sea salt. Please do not use table salt.
- Switch between Cups vs Metric using the toggle on the recipe card. Baking by weight using a digital scale will always produce the most accurate results.
- Scale the recipe using the '1X' '2X' '3X' buttons on the recipe card. Note that this does not make an adjustment for baking times, only quantities.
📖Recipe
Chocolate Peanut Butter Tart
Equipment
- 8 or 9 inch tart pan with removable bottom
- Stand mixer with paddle and whisk attachment (or hand mixer)
Ingredients
Chocolate Crust
- 240 grams oreos or chocolate graham crackers finely ground (20 oreos or 14 graham crackers)
- 6 tablespoons unsalted butter melted
- ¼ teaspoon kosher salt
Chocolate Ganache Filling
- 8 oz semi-sweet chocolate 60-70% cacao
- 1 cup heavy whipping cream
Peanut Butter Buttercream
- ½ cup heavy whipping cream
- 4 oz cream cheese brick style, full fat, room temperature
- ⅔ cup creamy peanut butter
- ½ cup powdered sugar
Whipped Cream
- ¾ cup heavy whipping cream
- 2 tablespoons powdered sugar
- 1 teaspoon vanilla extract
- roasted peanuts for garnish
- chocolate shavings for garnish
Instructions
Chocolate Crust
- Preheat the oven to 350℉/180℃. Pulse the cookies or crackers in a food processor until finely ground then transfer to a bowl. Add the salt, and melted butter and use a fork to mix together until all crumbs are moistened.240 grams oreos or chocolate graham crackers, 6 tablespoons unsalted butter, ¼ teaspoon kosher salt
- Distribute evenly in the tart pan and press the crumbs firmly into sides (use a straight sized drinking glass or bottom of a ⅓ cup measure).
- Bake for 8 minutes in the center rack, then remove from the oven and cool on a wire rack for 15 minutes.
- If the tart slouches during baking, use a measuring cup to gently and carefully re-shape it.
Chocolate Ganache Filling
- While the tart shell is cooling, roughly chop the chocolate and place into a heat proof bowl. In a saucepan over medium heat, bring the heavy cream to a low simmer, then pour it over the chopped chocolate.8 oz semi-sweet chocolate , 1 cup heavy whipping cream
- Let stand for about one minute, then stir until smooth and glossy, starting in the center and slowly moving outward to bring the mixture together.
- Pour the ganache into the crust and smooth it out. Allow the tart to set in the fridge for at least one hour before topping it with the peanut butter filling.
Peanut Butter Filling
- Whip the whipped cream in a stand mixer fitted with the whisk attachment (or using a hand mixer) until stiff peaks form. Transfer to another bowl.½ cup heavy whipping cream
- In a stand mixer fitted with the paddle attachment (or using a hand mixer), mix together the cream cheese and peanut butter until smooth.4 oz cream cheese, ⅔ cup creamy peanut butter
- Add in the powdered sugar and mix on low until combined, then fold in the whipped cream until light, fluffy, and no streaks of whipped cream remain.½ cup powdered sugar
- Spread the peanut butter filling on top of the chilled ganache. Refrigerate again.
Whipped Cream & Assembly
- Add the heavy cream, powdered sugar and vanilla to the bowl of a stand mixer fitted with the whisk attachment (oruse a hand mixer). Whip on high speed until stiff peaks form.¾ cup heavy whipping cream, 2 tablespoons powdered sugar, 1 teaspoon vanilla extract
- Spread the whipped cream over top of the peanut butter layer. Top with roasted peanuts and chocolate shavings, if desired.roasted peanuts, chocolate shavings
KB says
If you are a chocolate peanut butter lover this one is for you! It’s a fan favorite at our house! I had trouble finding chocolate gram-crackers so I used chocolate teddy grams and the crust turned out great!
Kaitlyn says
Absolutely delicious! Directions are so easy to follow along with, it makes it so easy to make something so fabulous! We will definitely be making this one again!
The Cozy Plum says
So happy to hear this! Glad you enjoyed it.
Hannah says
So simple, but absolutely delicious! The perfect dessert for when you want something that tastes like you spent hours in the kitchen making it, but really only spent about an hour!
Megan says
Incredible recipe!! So rich and delicious but, not overly sweet.
The Cozy Plum says
Thanks so much, Megan! Totally agree.