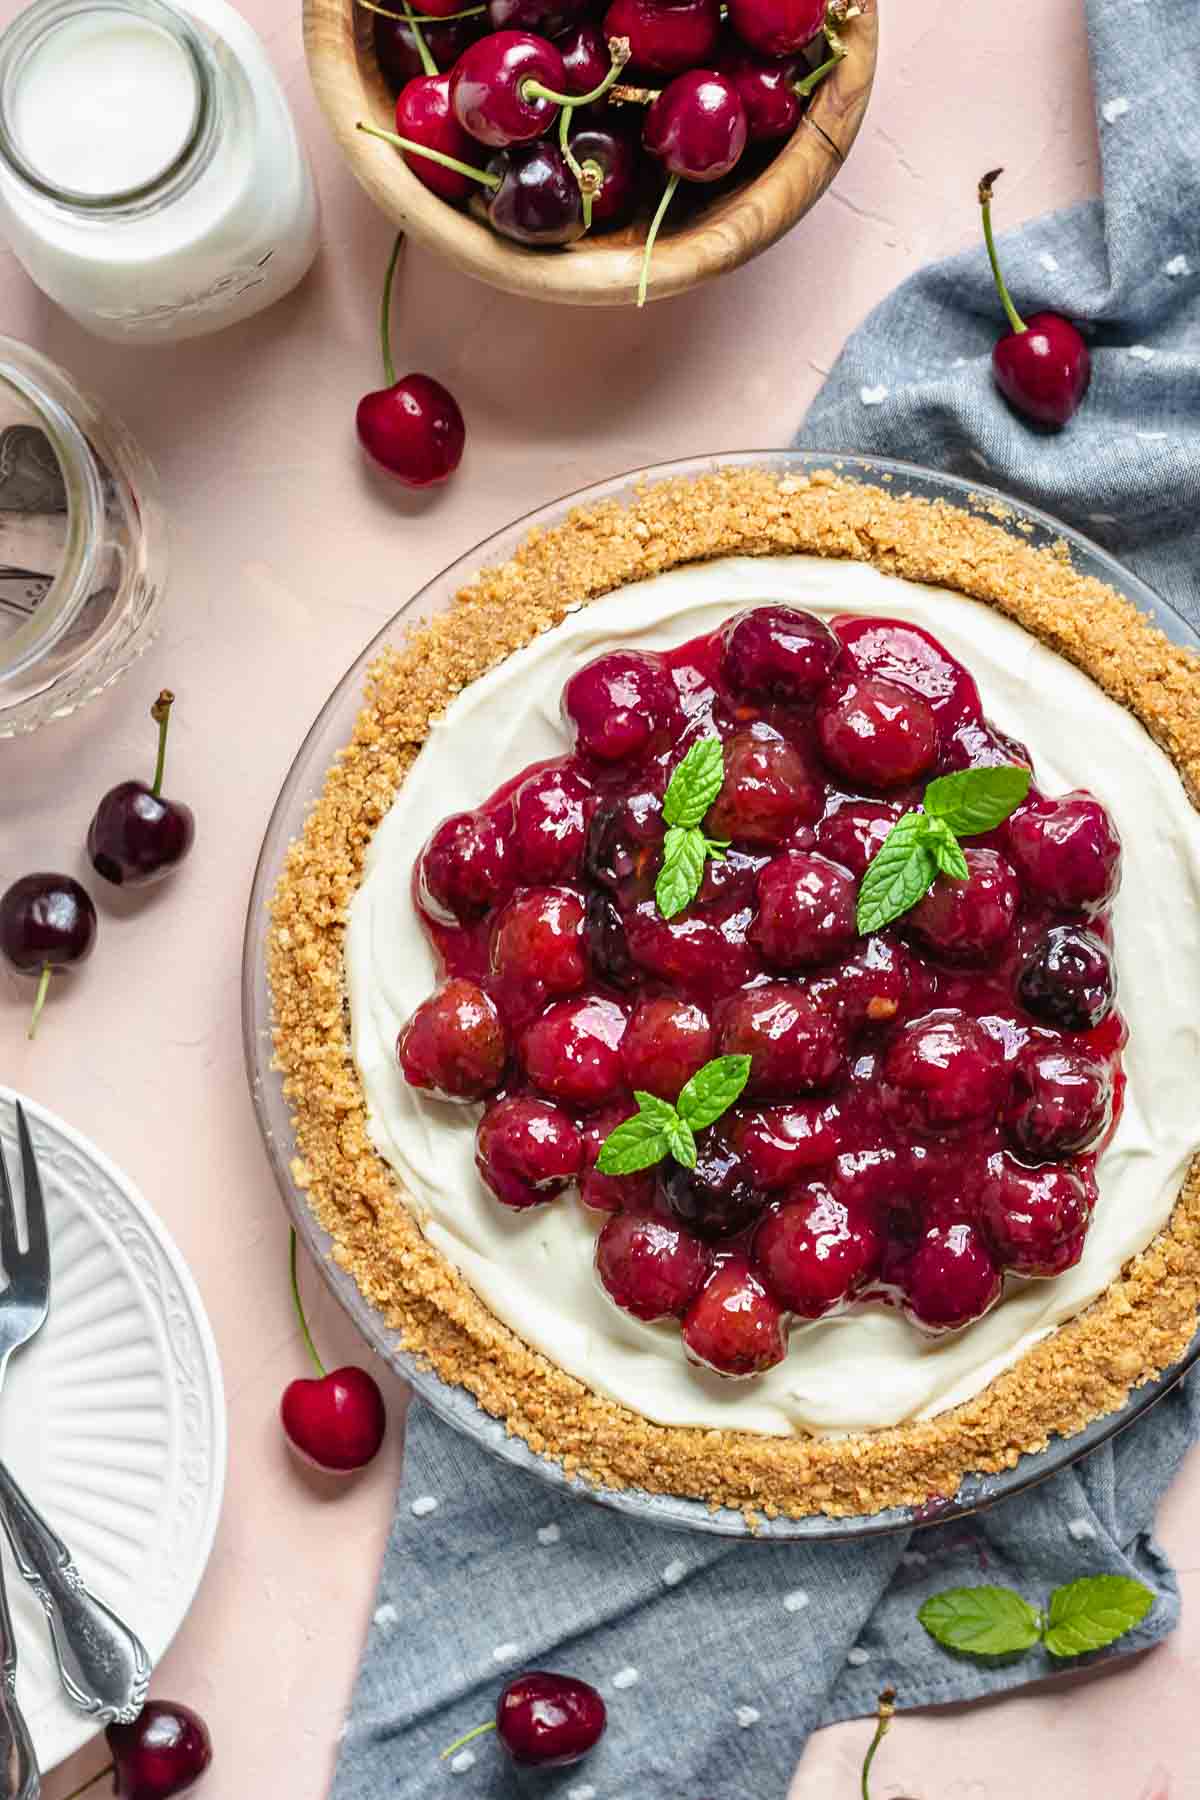
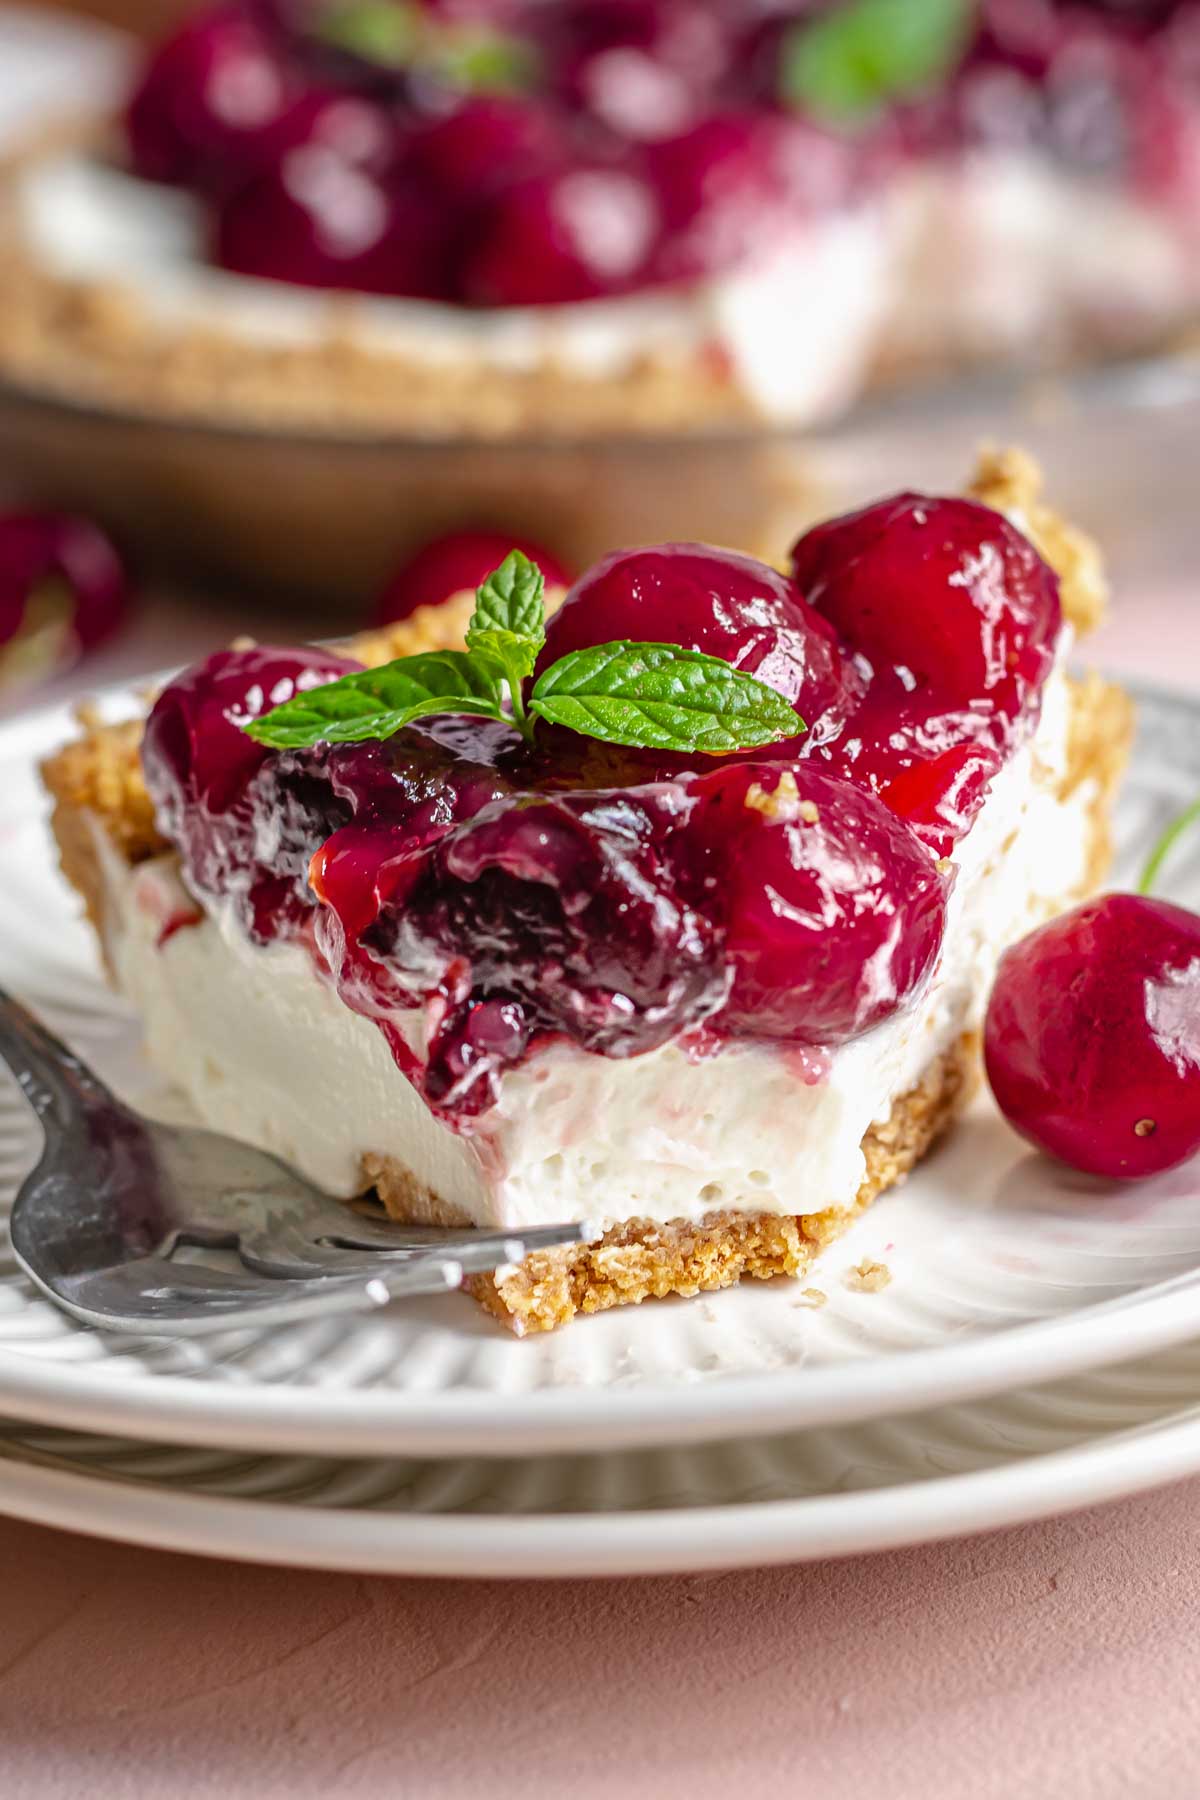
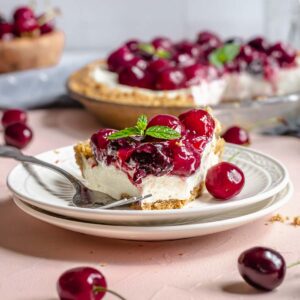
This classic no-bake cheesecake has a creamy cheesecake filling layered into a buttery graham cracker crust and topped with a homemade cherry pie filling. It's the perfect no-bake dessert for special occasions, made with simple ingredients, and will always be a classic crowd-pleaser.
Why You'll Love This Recipe
No bake - this classic dessert is the perfect recipe for summer, and is so quick and easy to bring together! We obviously love that no oven is required, and most of the time is waiting for it to set up in the fridge!
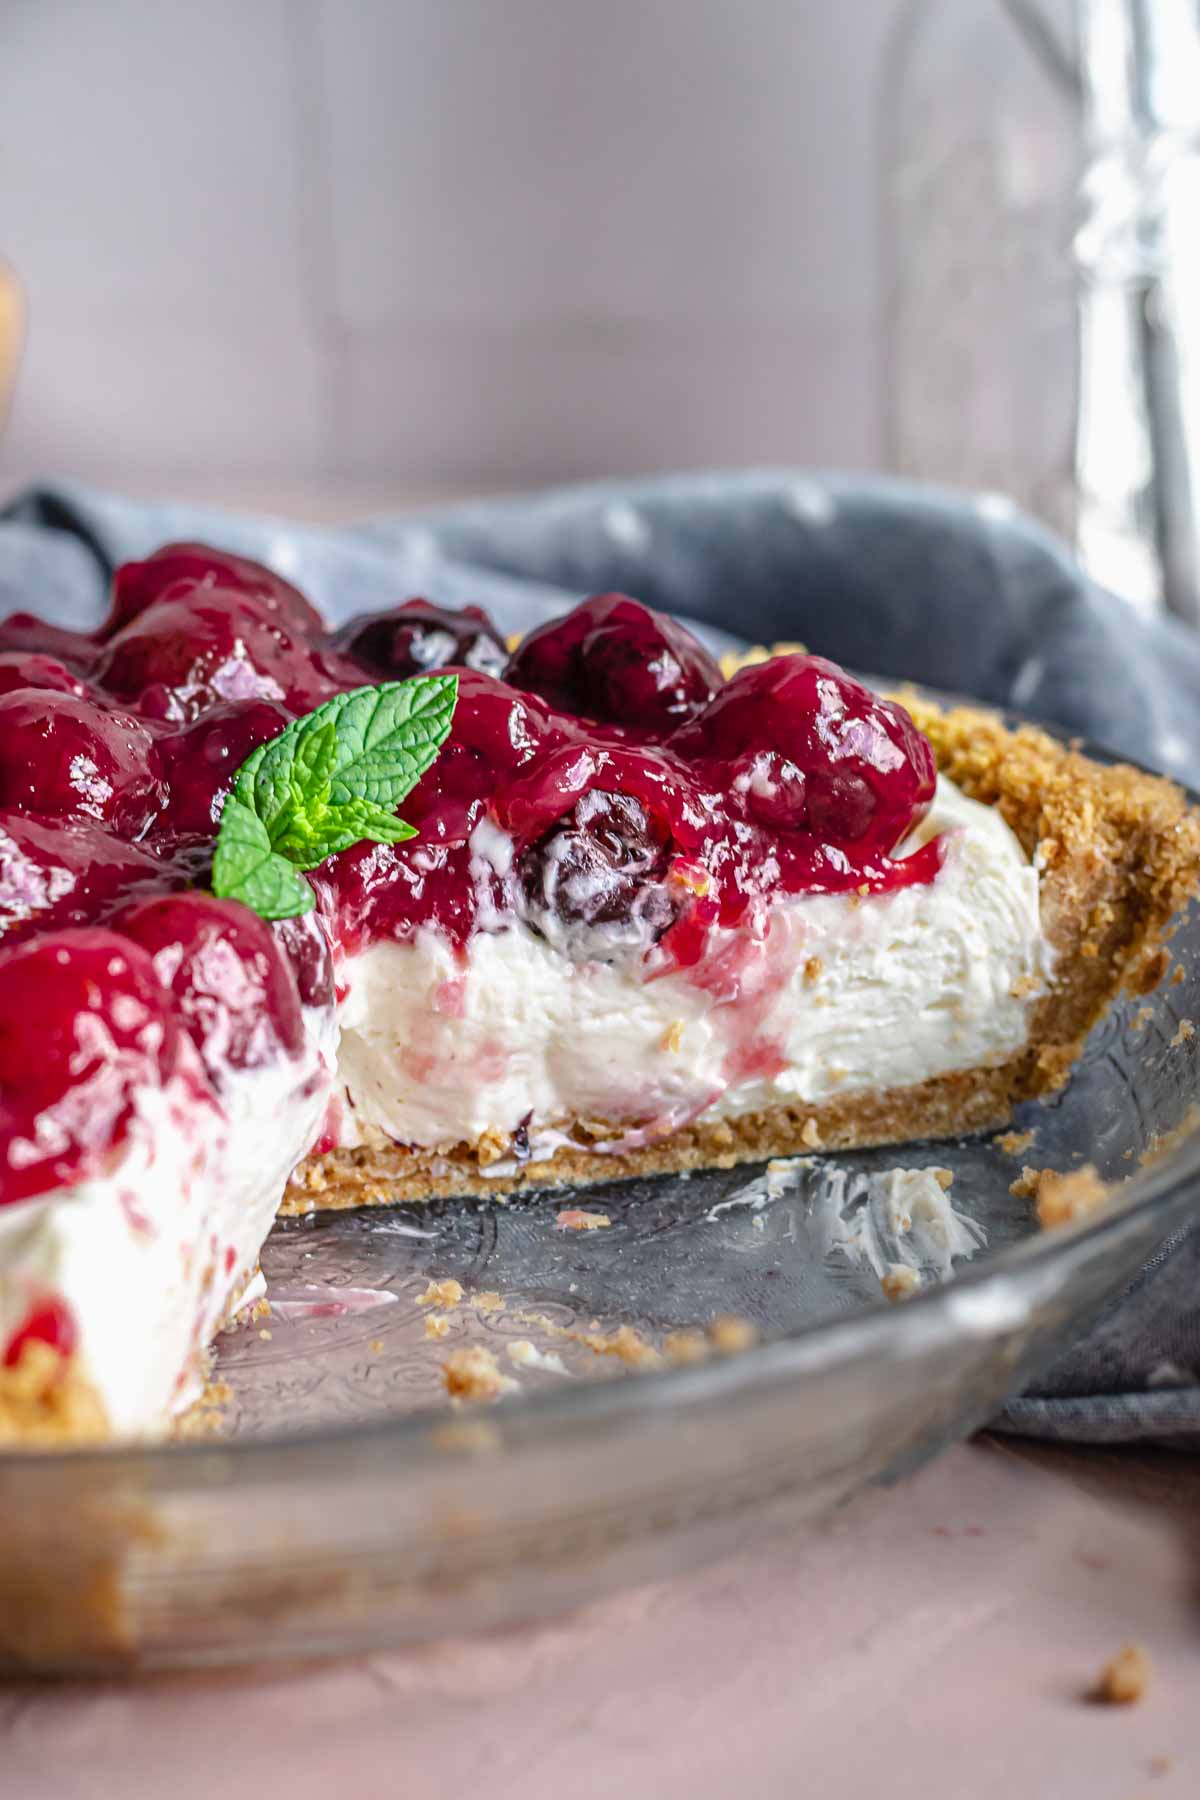
Texture - this creamy filling has the best texture! It's light and airy from the whipped cream, yet remains so creamy. Paired with the crispy yet slightly chewy graham cracker pie crust and topped with sour and sweet cherry filling, this no bake cherry cheesecake dessert recipe has it going on!
Flavor - this cherry cheesecake pie has the flavor and tanginess of a New York-style cheesecake, without the density (and oven). This recipe is made without cool whip and instead uses whipped cream so that classic tangy flavor is most prominent.
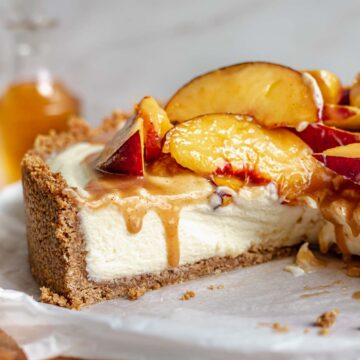
While this is a classic no bake cheesecake in both flavor and texture, you can also try my No-Bake Mascarpone Cheesecake, which is lighter, slightly less sweet, and topped with caramelized peaches! Or, try this No Bake Mango Cheesecake for a tropical version!
If you're looking for more no-bake recipes, try my Biscoff Truffles, Peanut Butter Cookie Dough Bites, Dark Chocolate Pots de Creme or Raspberry Brigadeiros!
Jump to:
Ingredients & Tools
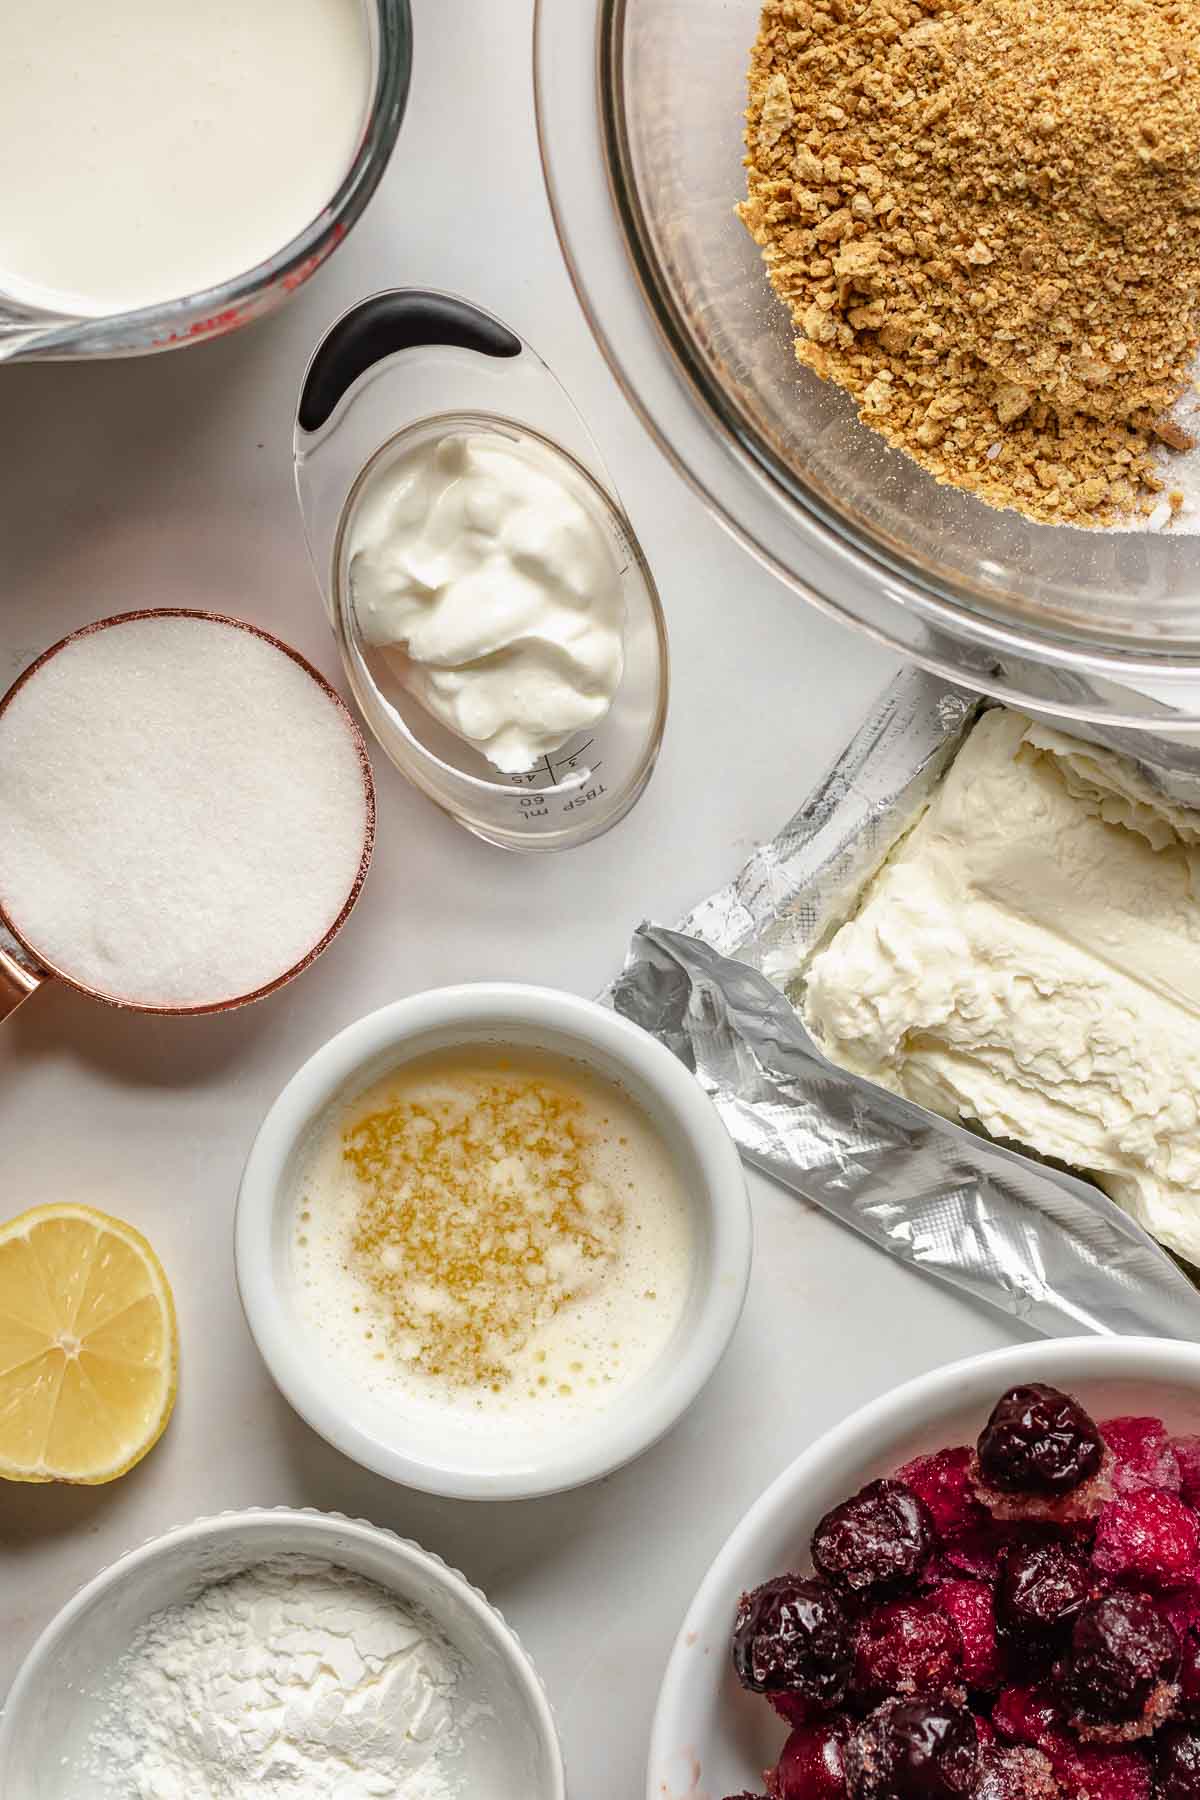
- Graham crackers. I am a firm believer in the Nabisco brand, as I find these hold up best and don't get as mushy as other brands. Be sure to break down into fine crumbs. While I prefer to make my own graham cracker crust, you could buy a store-bought graham crust if you are short on time.
- Cream cheese. Full-fat cream cheese should be used, and I strictly buy the Philadelphia brand. Fat molecules trap air, which aids in the cheesecake becoming the lightest, fluffiest version of itself. It's important for the cream cheese to be room temperature or slightly softened so no chunks remain.
- Heavy whipping cream. This should be very cold, straight from the fridge.
- Acid. Lemon juice and sour cream are both used in this recipe. The acid coagulates the proteins and aids in the stabilization of the cheesecake without having to add gelatin.
- Cherries. Fresh or frozen cherries can be used for homemade cherry pie filling. I like to use a mix of dark sweet cherries and tart cherries for the best flavor combination! I find it best to make your own so there are maximum amounts of cherries in the topping.
See recipe card for additional ingredients and quantities.
Tools needed for the recipe include a food processor or blender, rubber spatula, stand mixer (or electric mixer or handheld mixer), and a pie plate.
Variations
There are a few ways you can mix up this recipe to suit your taste.
- Use a can of cherry pie filling rather than homemade for a quicker version. Note that there will be fewer cherries if you go this route.
- Use any type of fresh berries. For example, use blueberries to make blueberry pie filling! You can also use any flavor can of pie filling if you are short on time.
- Make them into mini cheesecakes using a muffin pan and cupcake liners.
- Use a square baking dish or springform pan if you don't have a pie dish.
- Use ground vanilla wafers for the crust instead of graham crackers.
- Mix in 4 ounces of melted and slightly cooled chocolate to make it into a no bake chocolate cherry cheesecake pie!
How to Make This Recipe
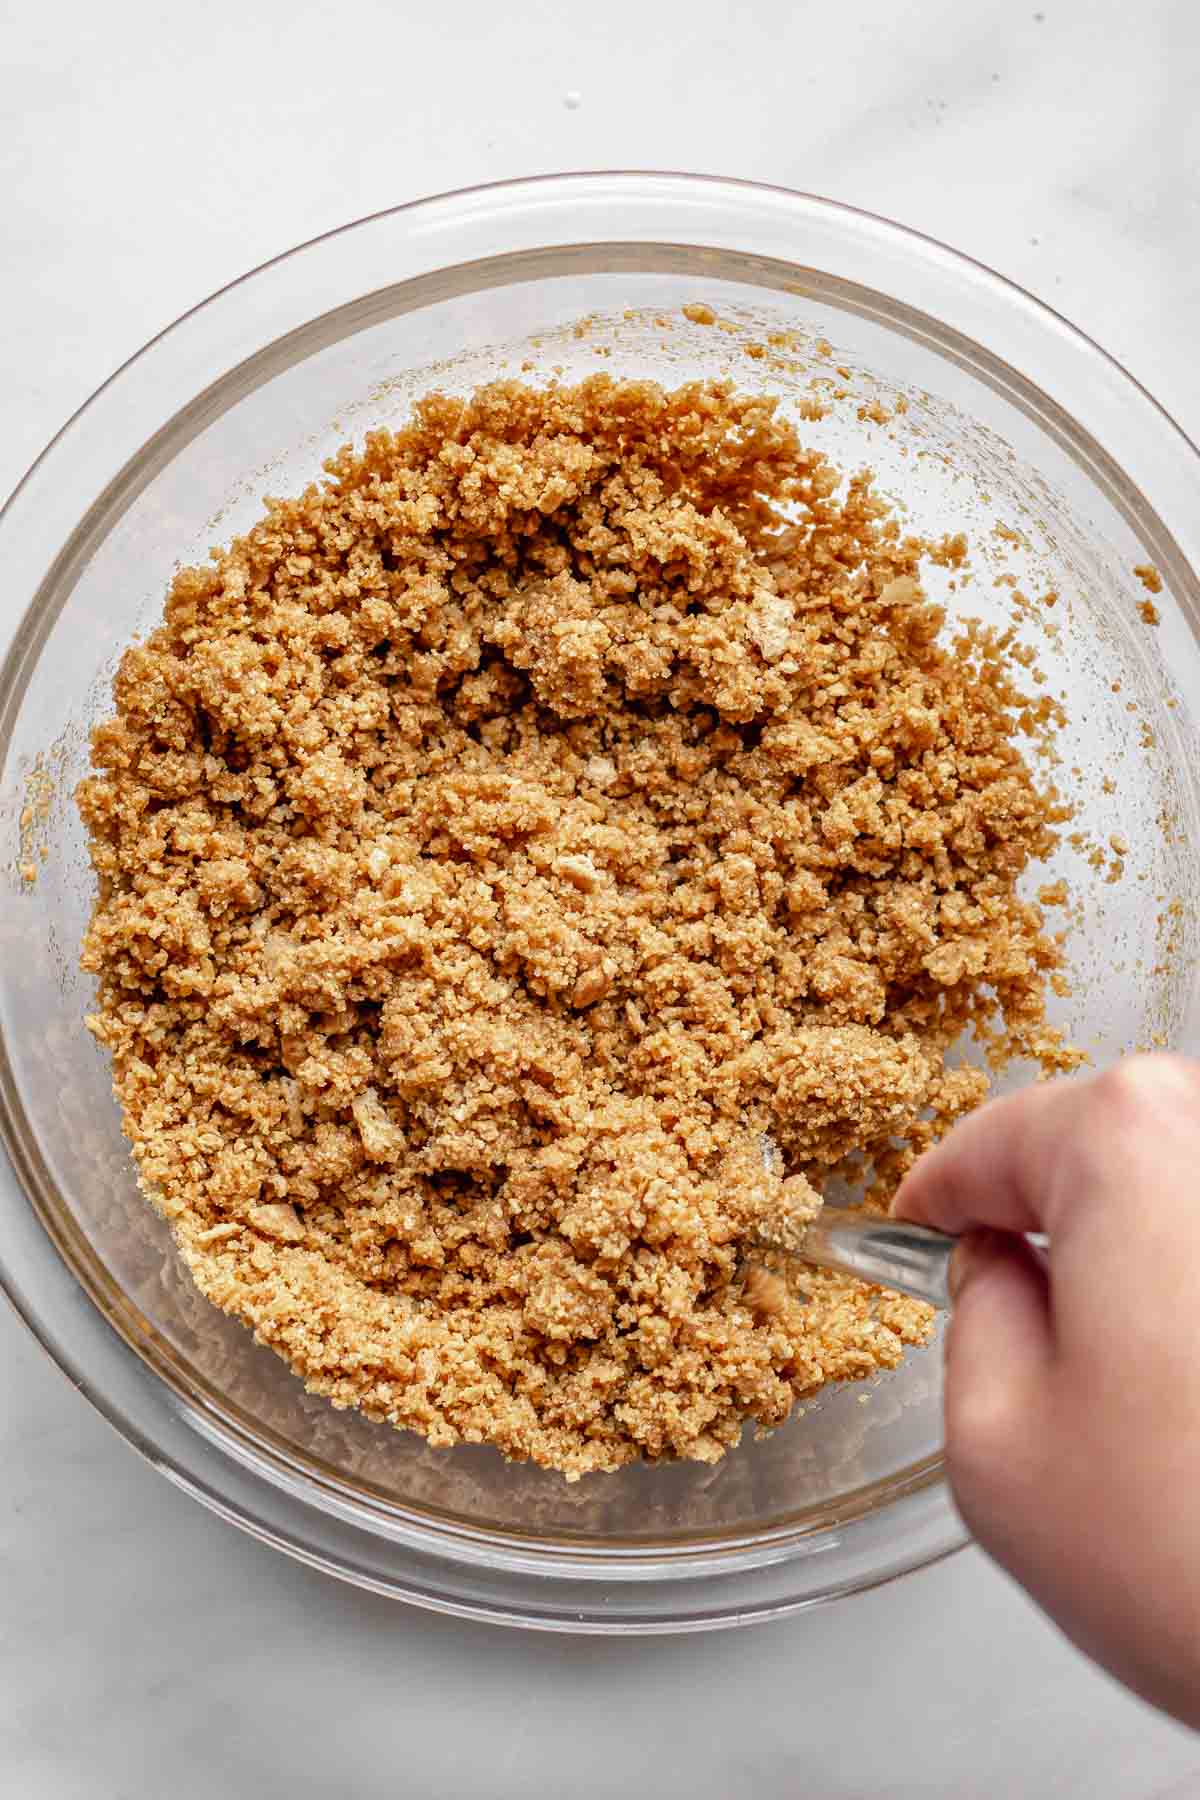
One: Mix together the graham cracker crumbs with melted butter and sugar with a fork until completely moistened.
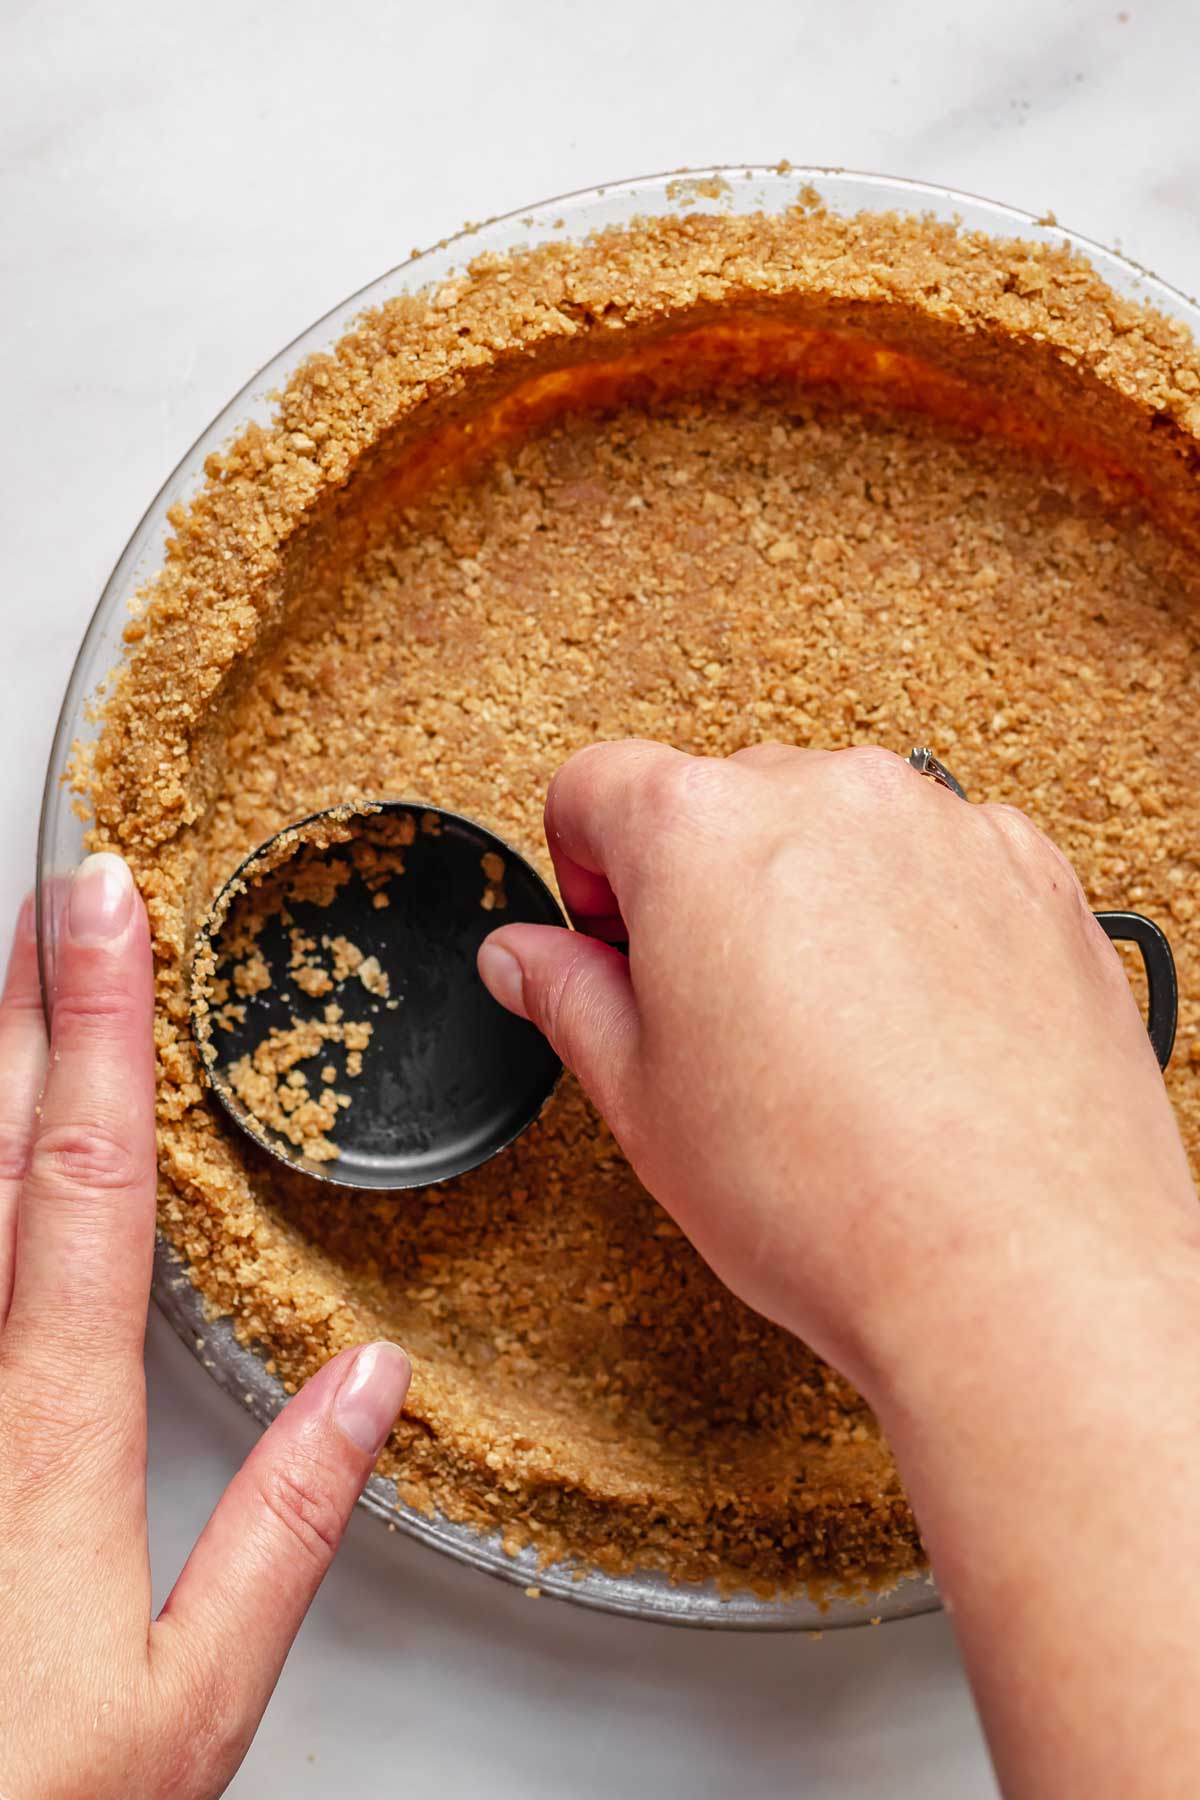
Two: Press the crumbs into a 9" pie dish, being sure they're packed firmly into the bottom and up the sides.
Pro tip! Use a ⅓ cup dry measuring cup to press the crumbs into the pie plate. It's the perfect shape and size!
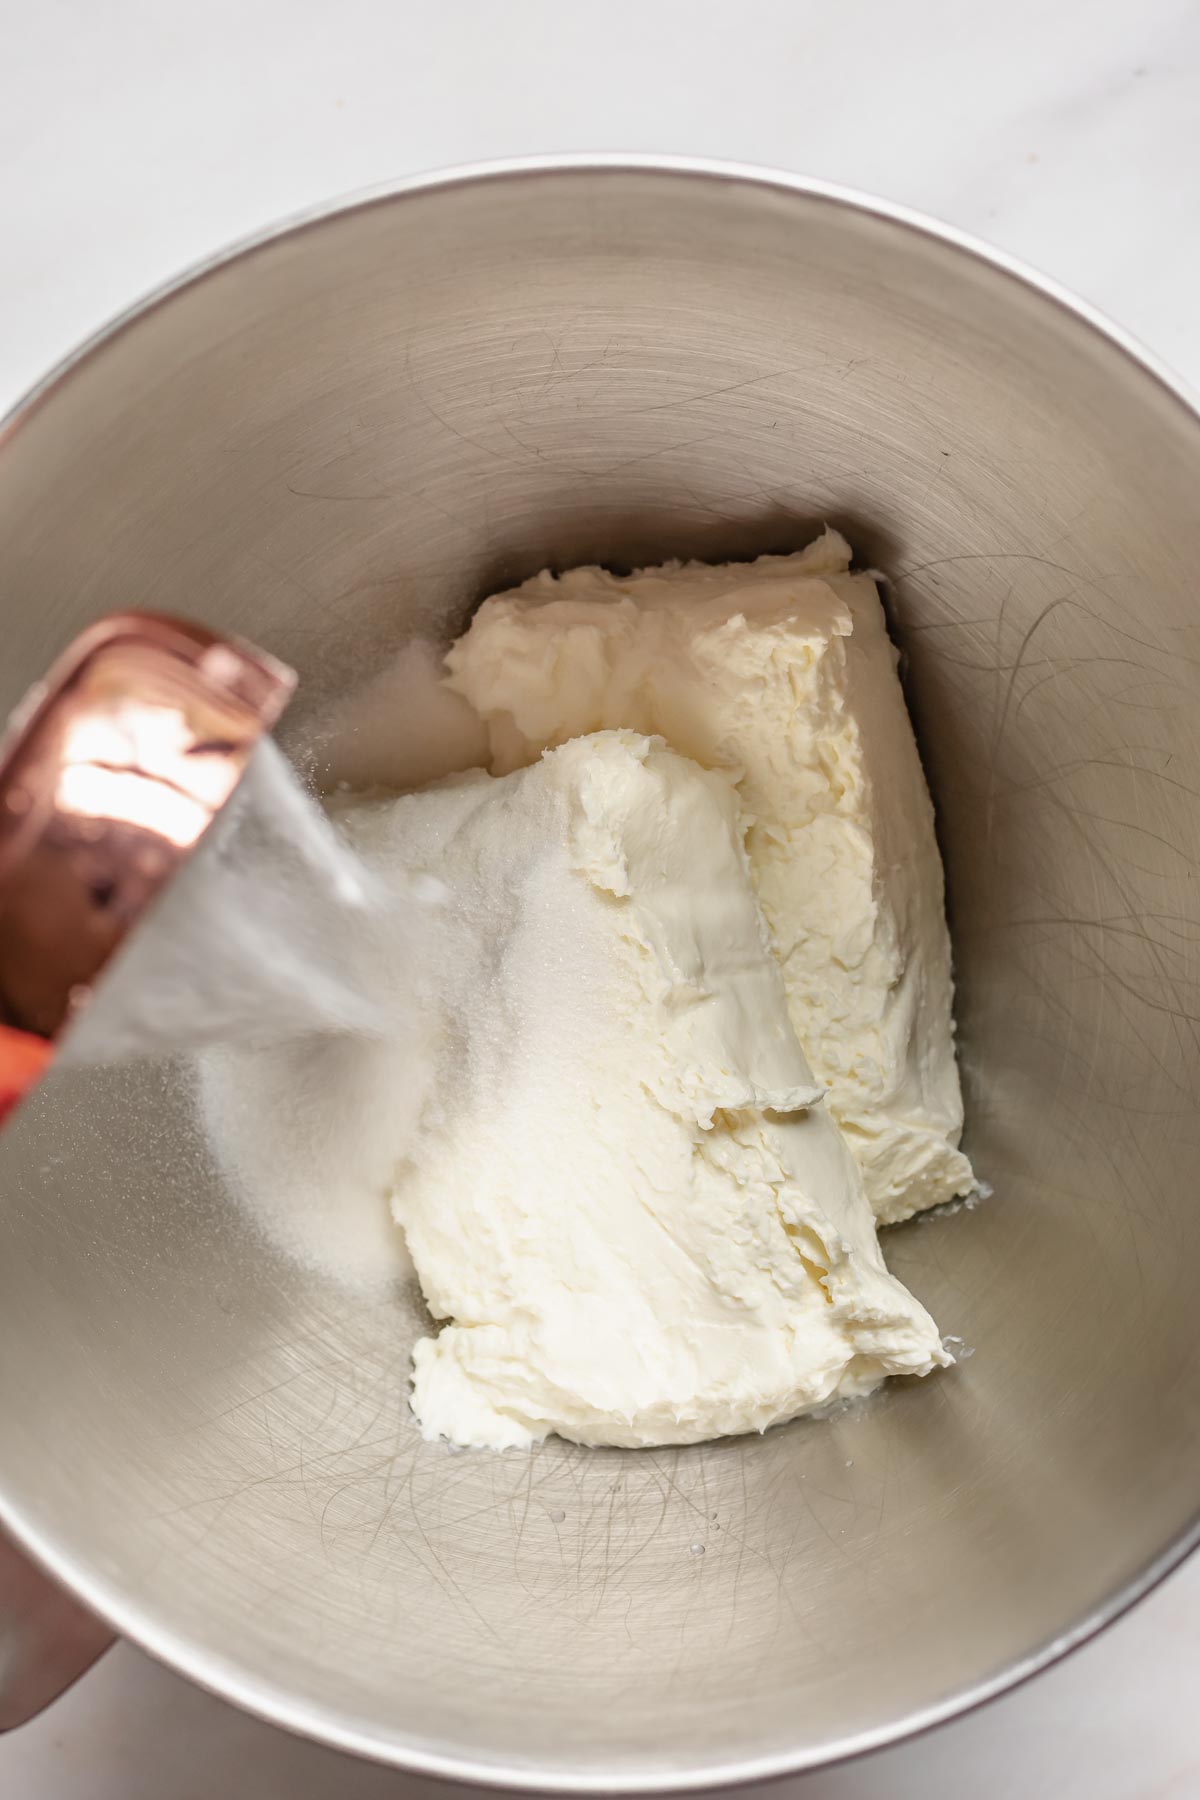
Three: Beat together the cream cheese and sugar until smooth and broken down.
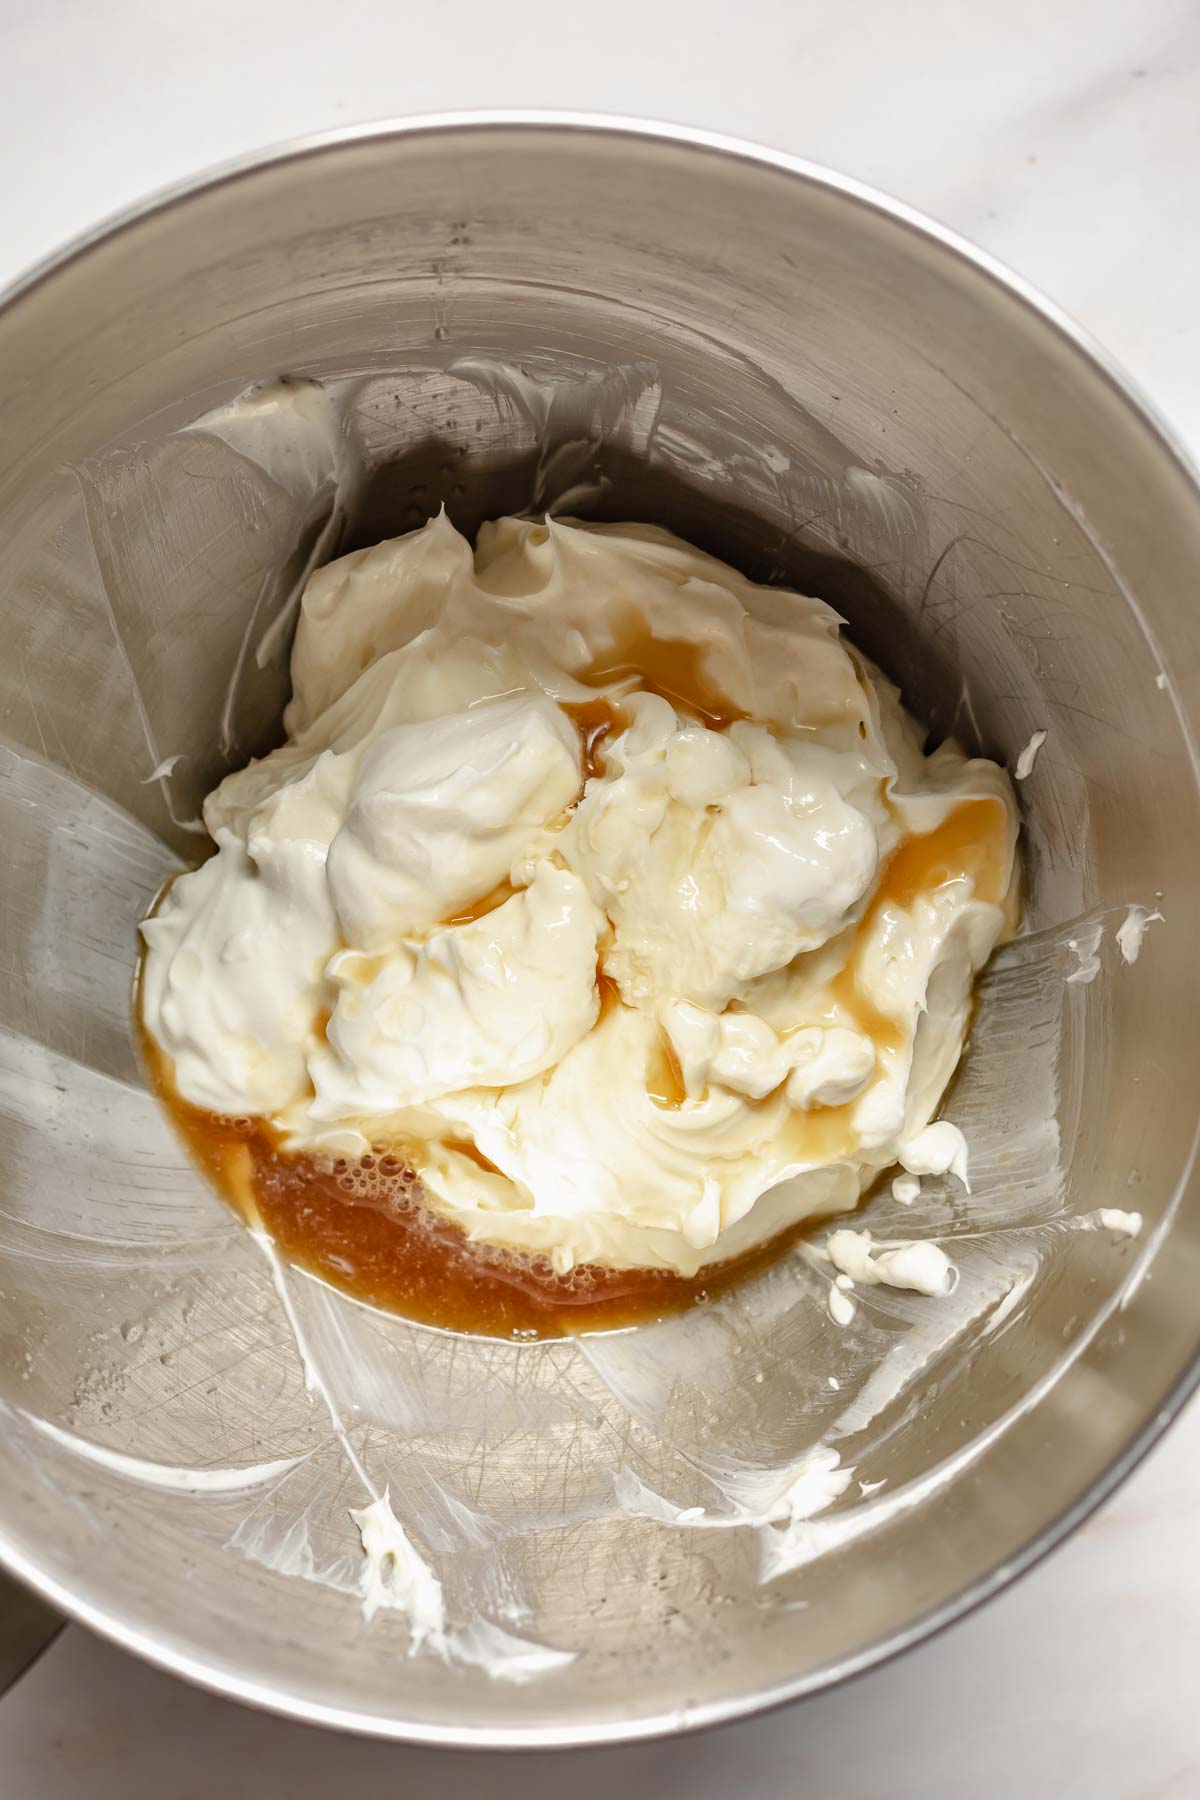
Four: Add the sour cream, lemon juice, and vanilla extract and mix until smooth.
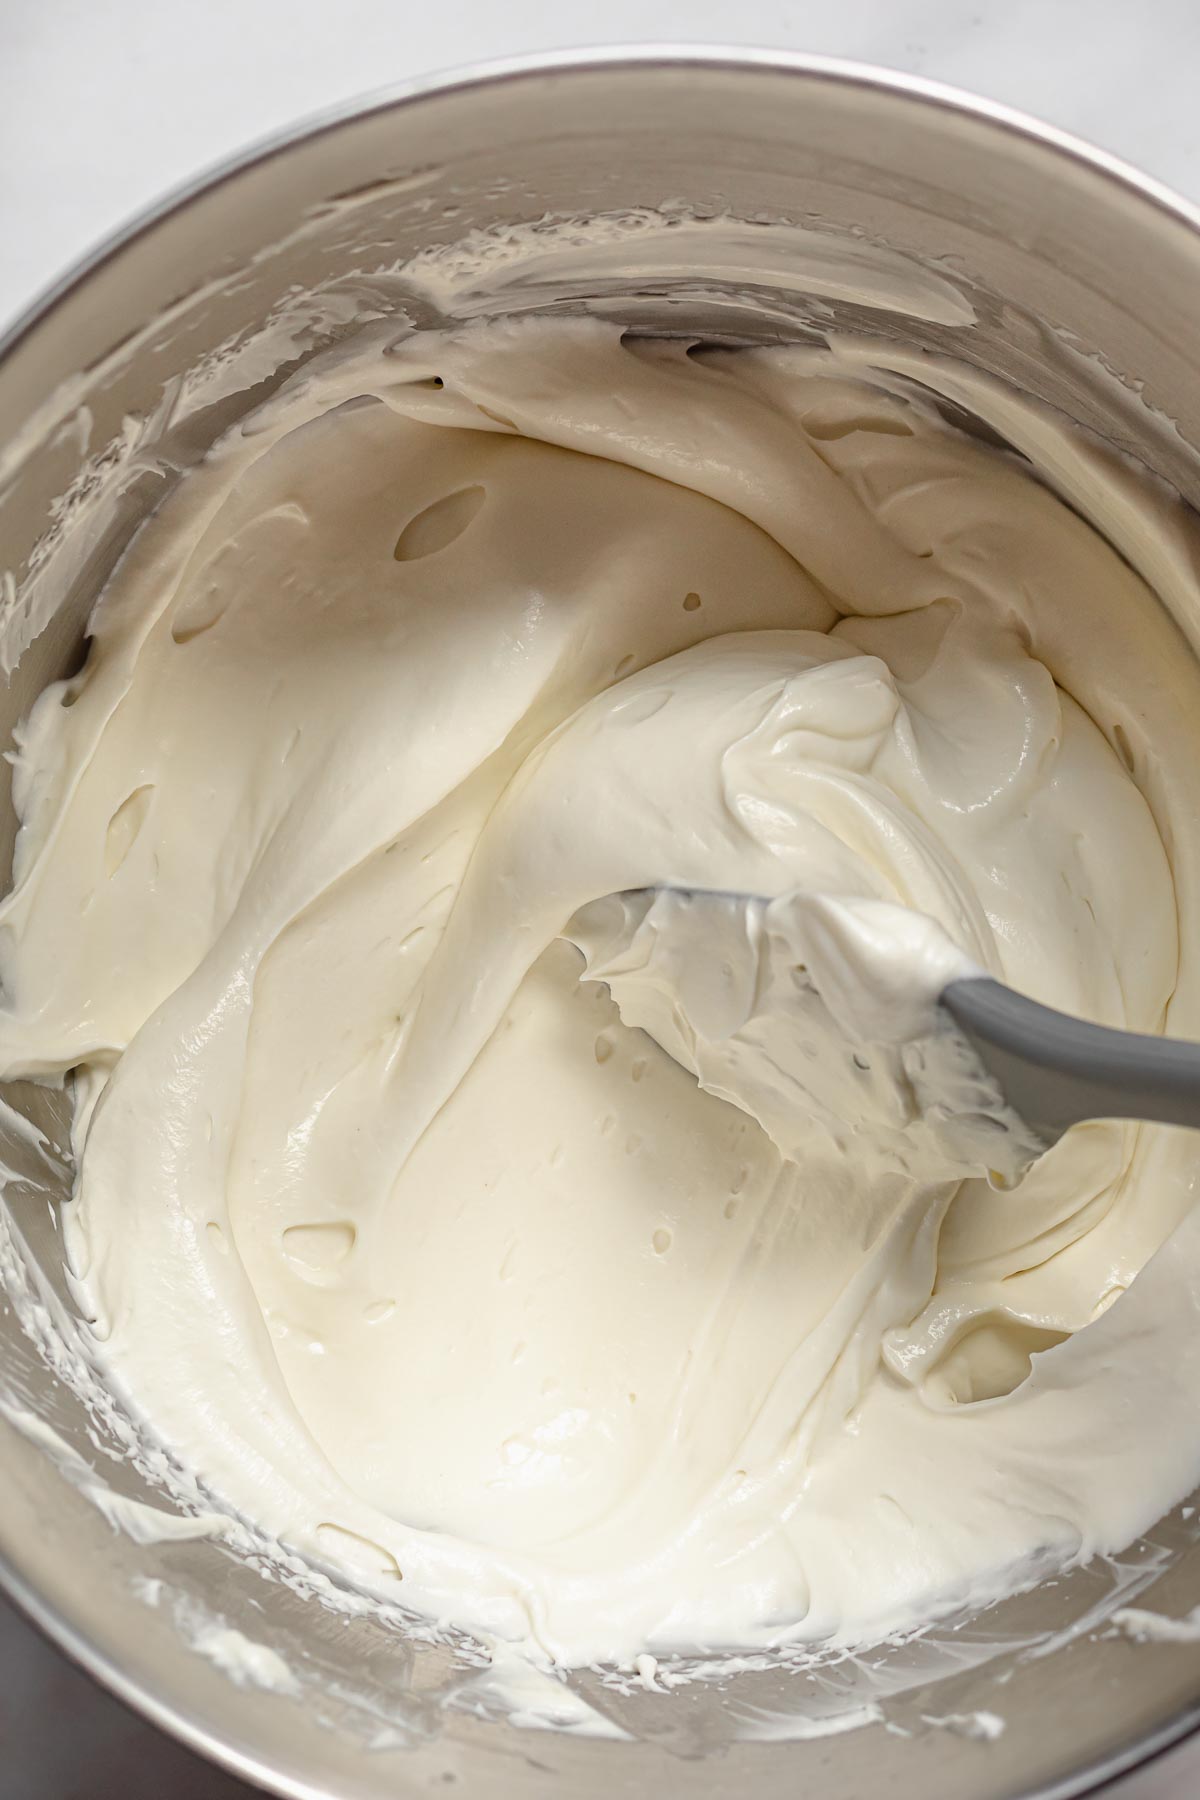
Five: Add in the whipped cream and mix until a light and fluffy texture forms.
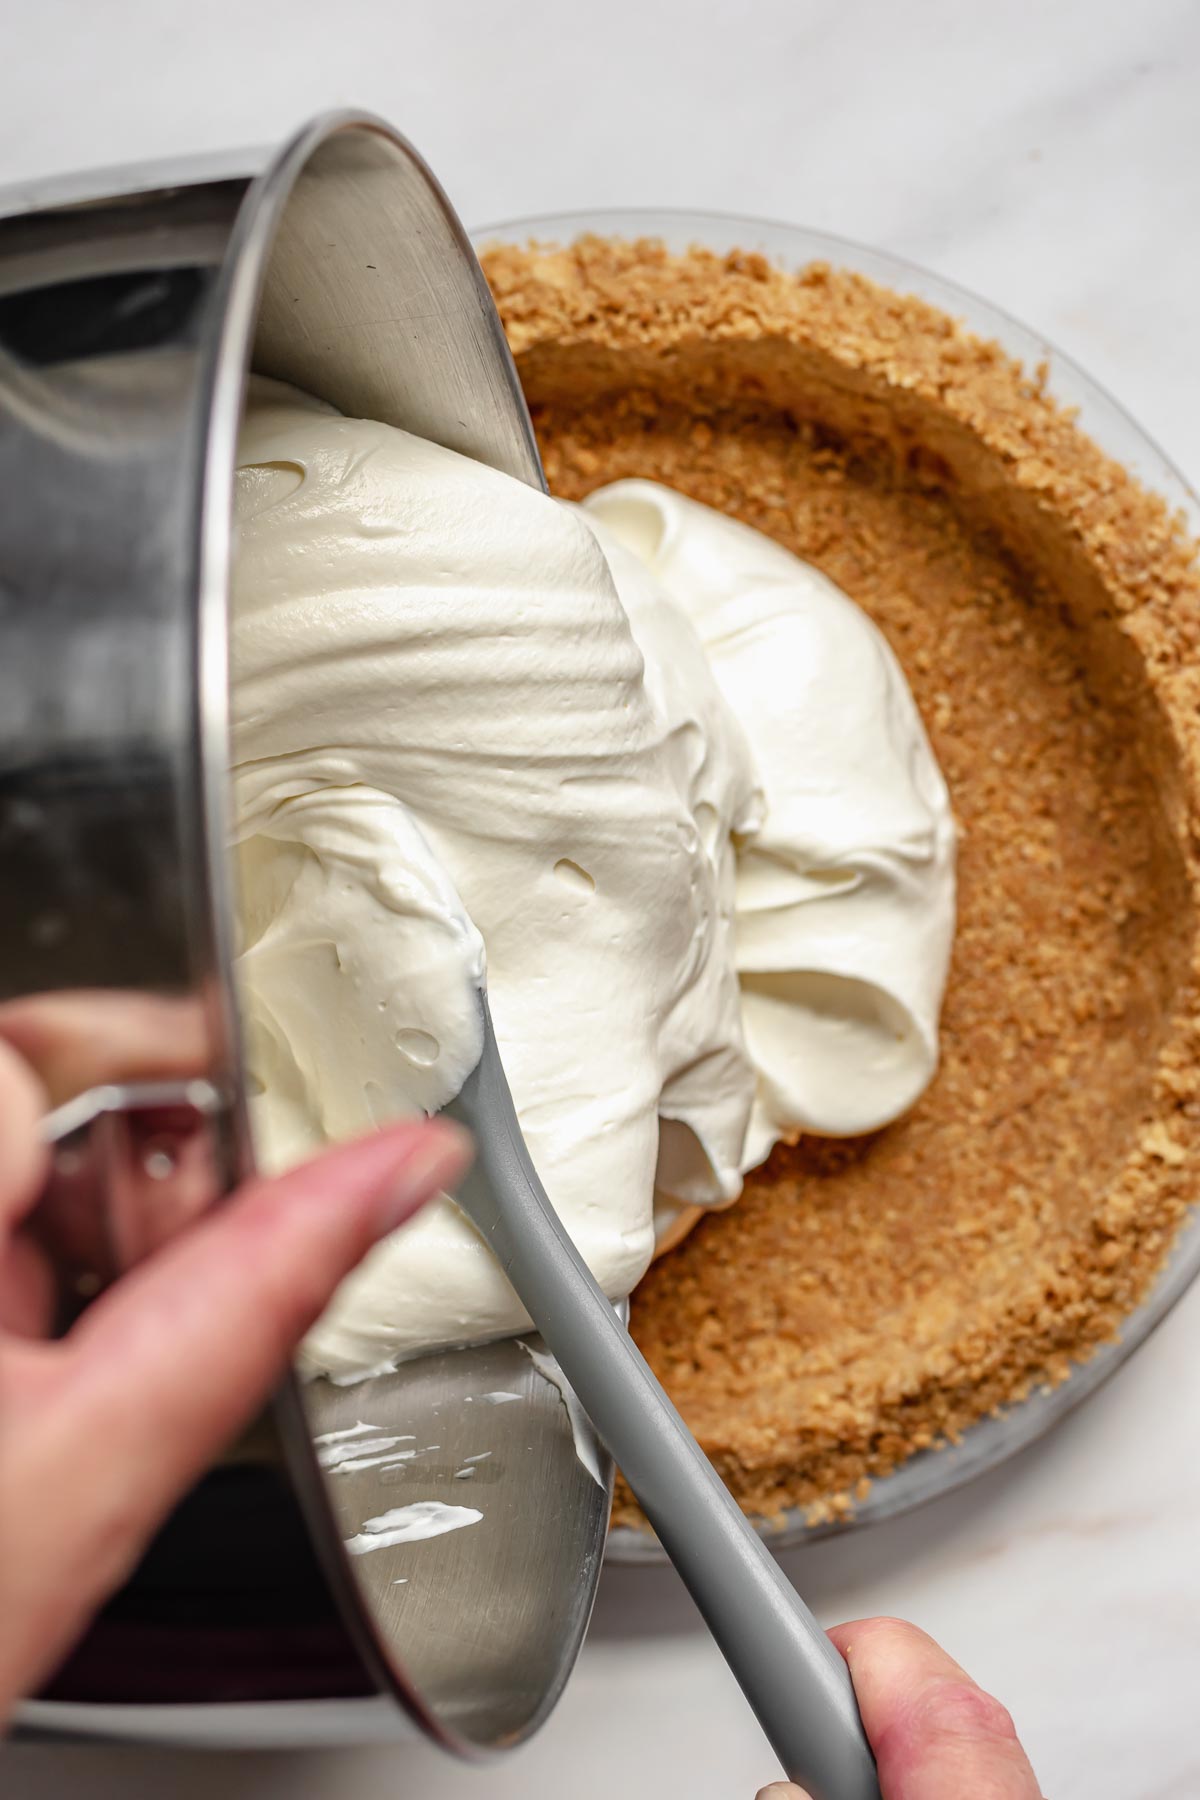
Six: Pour the cream cheese mixture into the pie dish spreading it into an even layer and cover lightly with plastic wrap, and refrigerate for three hours.
Easy No-Bake Cheesecake Cherry Pie Filling
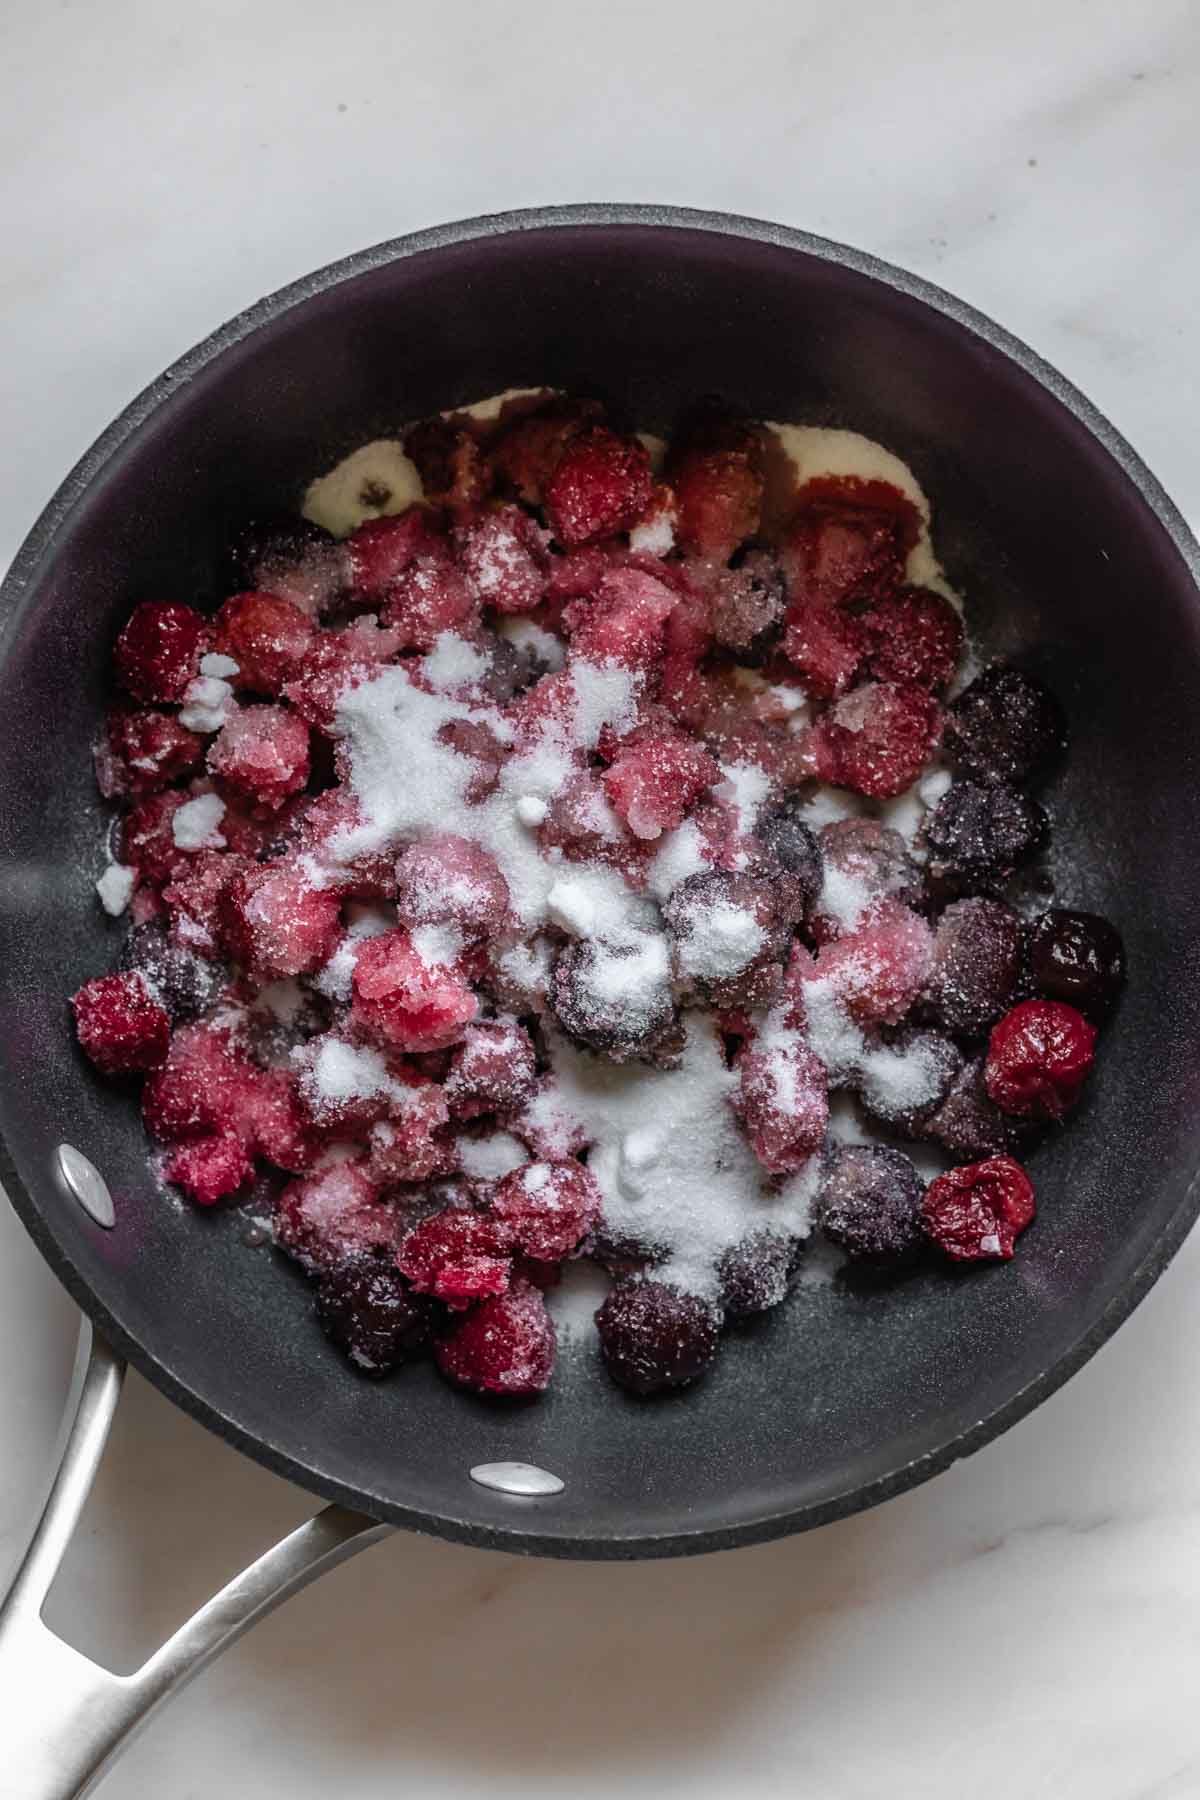
Seven: Pit the cherries (if needed) then add them to a large pan with sugar and water over medium heat and allow the juices to release.
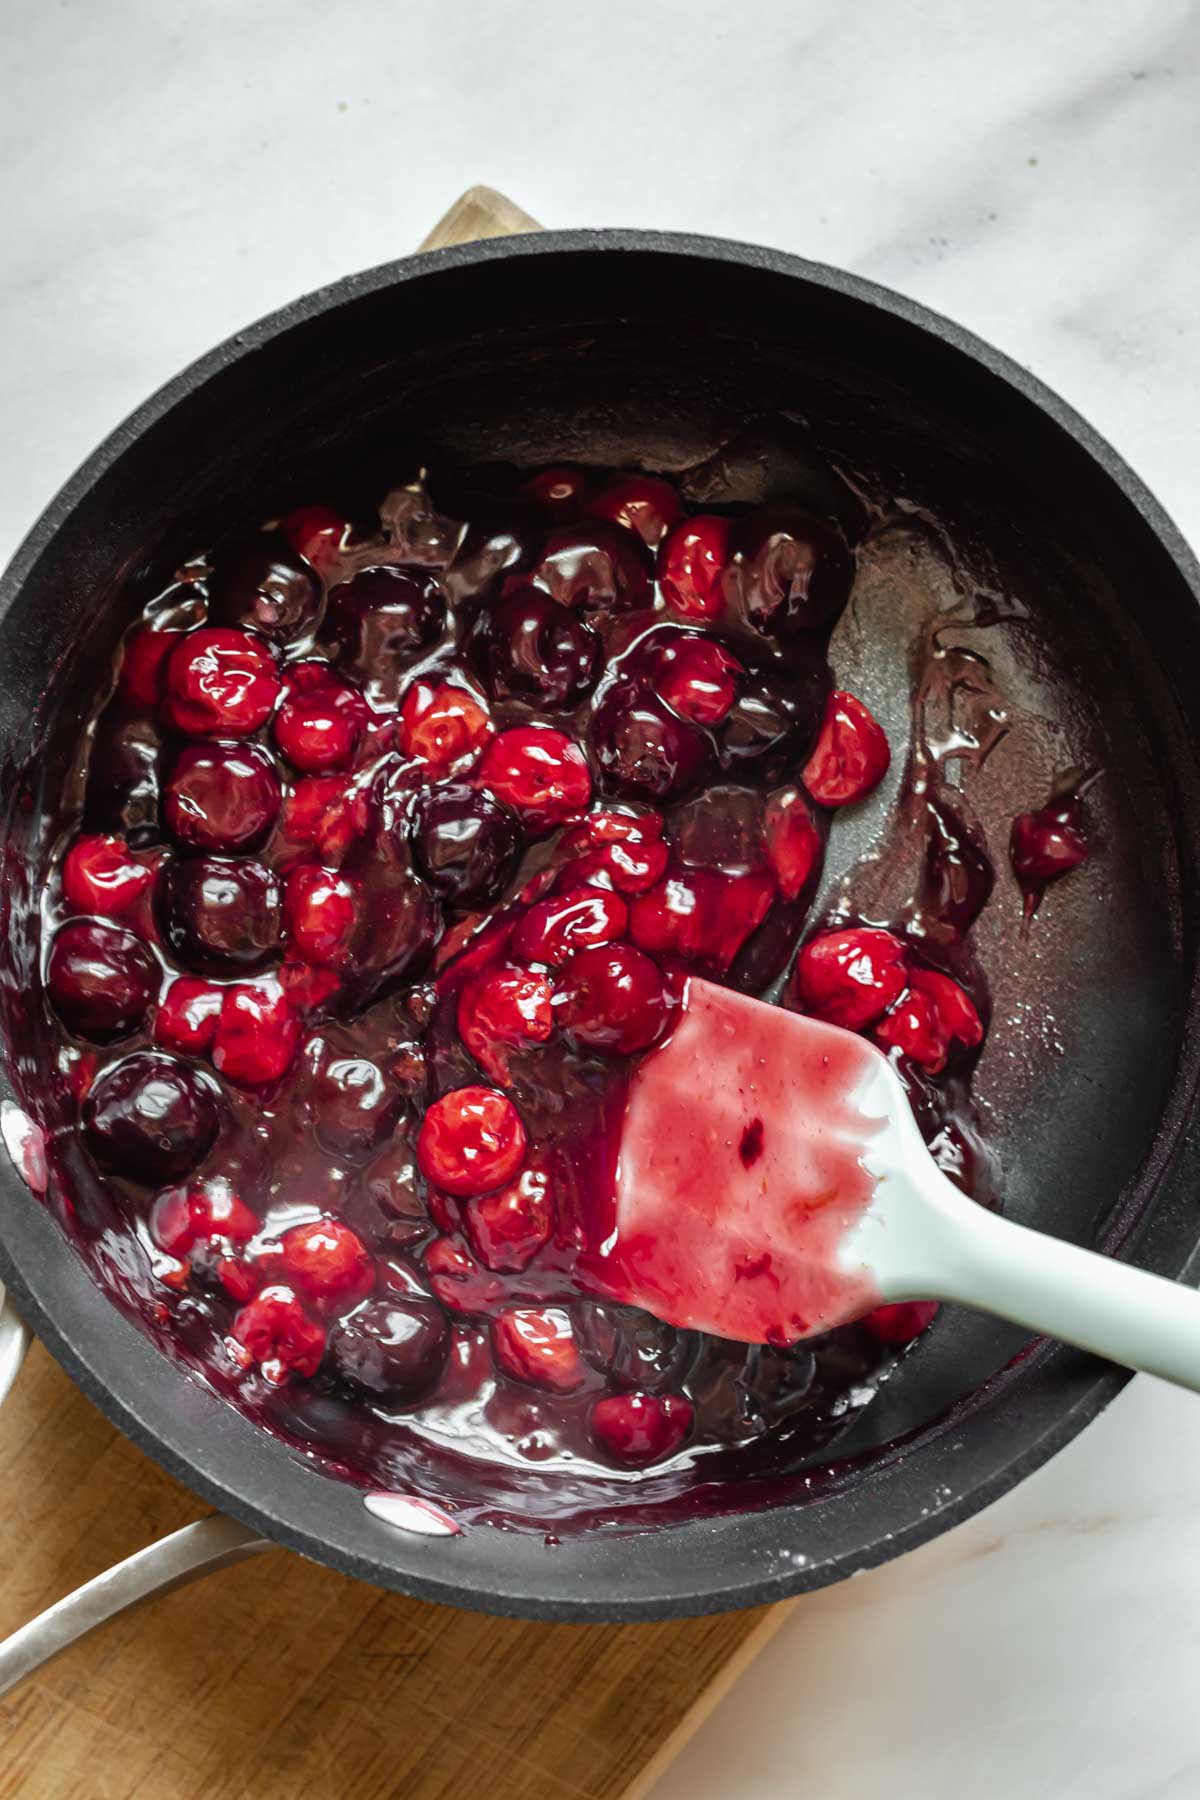
Eight: Combine the cornstarch and water and mix it into the cherries, stirring the whole time until it thickens. Stir in vanilla and allow the mixture to cool (but do not refrigerate).
Finally, spoon the slightly cooled cherry pie filling on top of the set cream cheese filling to finish off your no-bake cherry cheesecake pie!
Expert Tips
- Use a ⅓ cup dry measuring cup to press the graham cracker crumbs into the pie dish. This helps it get super compact.
- Place the bottom of the pie plate in a dish of hot water for 10 seconds prior to serving for easier removal of slices.
- Don't refrigerate the homemade cherry pie filling prior to use. It's best to make it fresh about an hour before serving, or at least keep it at room temperature.
Recipe FAQs
Yes. I recommend refrigerating the no bake cherry cheesecake recipe, then wrapping the entire pie plate in plastic wrap and freezing for up to two months. Unwrap completely and thaw in the fridge for about 3 hours, then make your favorite pie filling and add it to the top of your cheesecake.
There could be a few reasons for this. One, be sure the correct amount of whipped cream was added and there wasn't too much. Two, the whipped cream was not whipped long enough to achieve stiff peaks and a fluffy, airy texture. Three, the pie has not had enough time to set up in the fridge.
Also, be sure to use full fat cream cheese and not fat-free cream cheese for this recipe for best results.
Oh yes, it's so delicious! It's got the same great taste and tang as a baked cheesecake, without even having to turn the oven on! No-bake cheesecakes are also much lighter and fluffier and make the perfect dessert for summer to bring to any family gathering.
Storage
Store the cherry cream cheese pie lightly covered in the fridge for three days. After that, the cream cheese layer will begin to deflate.
More Cheesecake Recipes
Did you make this recipe? Share it with us! Tag @thecozyplum on Instagram & Facebook and leave a star rating ⭐️ below!
📖Recipe
No Bake Cherry Cheesecake Pie
Equipment
- 9" pie dish
Ingredients
Graham Cracker Crust
- 1½ cups graham cracker crumbs 150g
- 2 tablespoons granulated sugar 25g
- ½ cup unsalted butter melted (113g)
- ⅛ teaspoon kosher salt
No-Bake Cheesecake Filling
- 16 ounces full-fat cream cheese room temperature
- 1 cup heavy whipping cream 240ml
- ⅓ cup granulated sugar 67g
- 3 tablespoons sour cream room temperature
- 1 tablespoon lemon juice freshly squeezed
- ½ tablespoon vanilla paste or extract
Homemade Cherry Pie Filling
- 1 cup sour cherries 120g
- 1 cup dark sweet cherries 120g
- ¼ cup granulated sugar 50g
- ¼ cup water 60ml
- 1 tablespoon corn starch
- ¼ cup water 60ml
- 1 teaspoon water
Instructions
Graham Cracker Crust
- Break down the graham crackers in a food processor or blender until very fine and sandy.
- In a bowl, mix together the graham cracker crumbs, melted butter, sugar, and salt with a fork until completely moistened.
- Press the graham cracker crumbs into the bottom and sides of the pie dish until very compact. Place the dish in the freezer while you make the cheesecake filling.
No-Bake Cheesecake Filling
- In the bowl of a stand mixer with the paddle attachment, mix together the cream cheese and sugar until completely smooth.
- Add in the sour cream, lemon juice and vanilla and mix to combine, then scrape down the sides.
- Switch to the whisk attachment, turn the mixer to medium speed, then drizzle in the heavy whipping cream.
- Increase to high speed and whip until the mixture becomes very light, fluffy, and smooth.
- Pour the cheesecake filling into the crust and spread it evenly to meet the edges. Refrigerate for 3 hours. Begin making the cherry pie filling about one hour prior to serving.
Homemade Cherry Pie Filling
- Add the cherries, sugar, and ¼ cup water to a large pan over medium heat. Stir occasionally for about five minutes until the sugar dissolves and the cherries begin to soften. If using sour cherries, add them towards the end of the cooking process so they don't turn to mush.
- Mix together the cornstarch and water, then drizzle it into the cherries while stirring constantly. Continue stirring until the mixture begins to thicken.
- Stir in the vanilla, then transfer the cherry pie filling to a bowl and allow it to cool at room temperature.
- Once the mixture is at room temperature, add it to the top of the pie, then slice and serve.




Leave a Reply