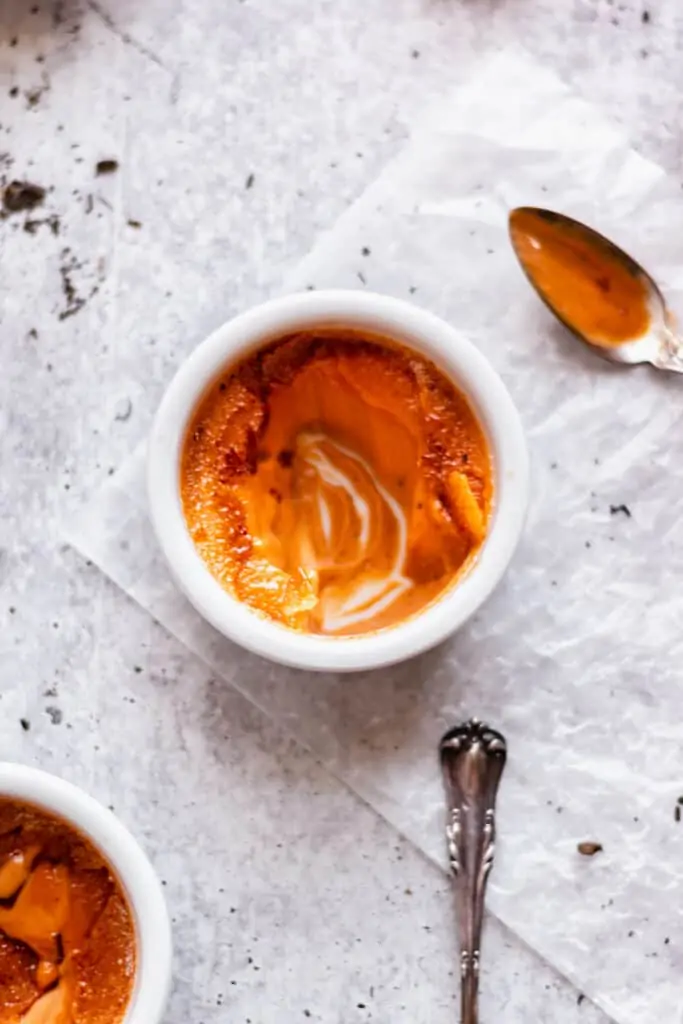
This creamy, floral, Thai Tea Crème Brûlée takes the texture of a classic crème brûlée and combines it with a traditional Thai tea flavor profile.
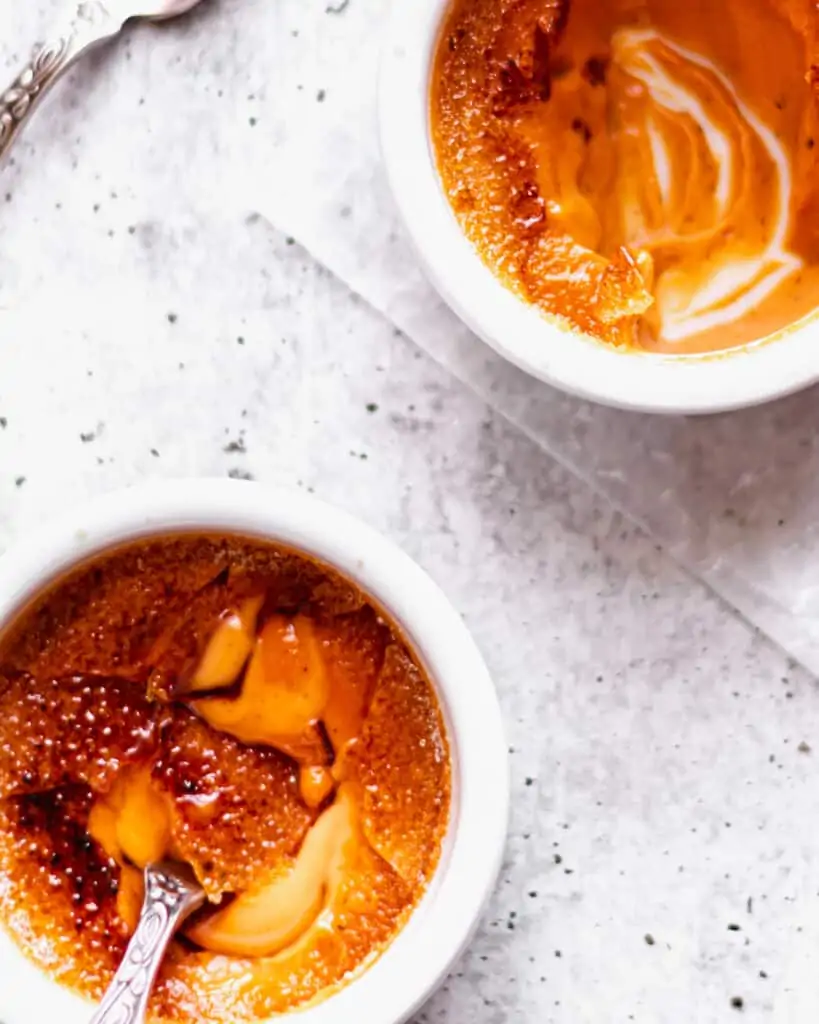
I love a crème brûlée. It's so simple, yet an absolute treat. I also love a Thai Iced Tea. It's floral, warm spiced and such a uniquely flavorful tea. Why not combine the two into something so perfect?
Thai Iced Tea is a chilled tea and can be mixed with a variety of milks/sweeteners (sweetened condensed milk, heavy cream, coconut milk, evaporated milk etc) depending on the region in Thailand, or preference in general! When I had the opportunity to visit Thailand a few years ago, everyone was drinking it out of plastic bags filled with ice and a straw sticking out. I obviously joined in on that.
Thai tea is a black tea called Ceylon and includes other flavors like tamarind, star anise, and red and yellow food coloring. The food coloring is what gives it the classic orange color, which was likely added to differentiate Thai Tea from Thai Coffee, as they were both very similar in color. This article from Lion Brand Rice dives even deeper into the origins of Thai Tea and was very insightful if you're interested in learning more!
Easy crème brûlée recipe
This recipe is actually a classic crème brûlée recipe, just with some tea steeped into the milk to add flavor (and color, in this case). Here are all of the ingredients required for this easy crème brûlée recipe:
- Egg yolks. 4 large egg yolks.
- Heavy whipping cream. And only heavy whipping cream!
- Granulated sugar.
- Kosher salt.
- Thai Tea Mix. I've linked the brand I use which has produced excellent results and flavor!
Making the Thai Tea custard
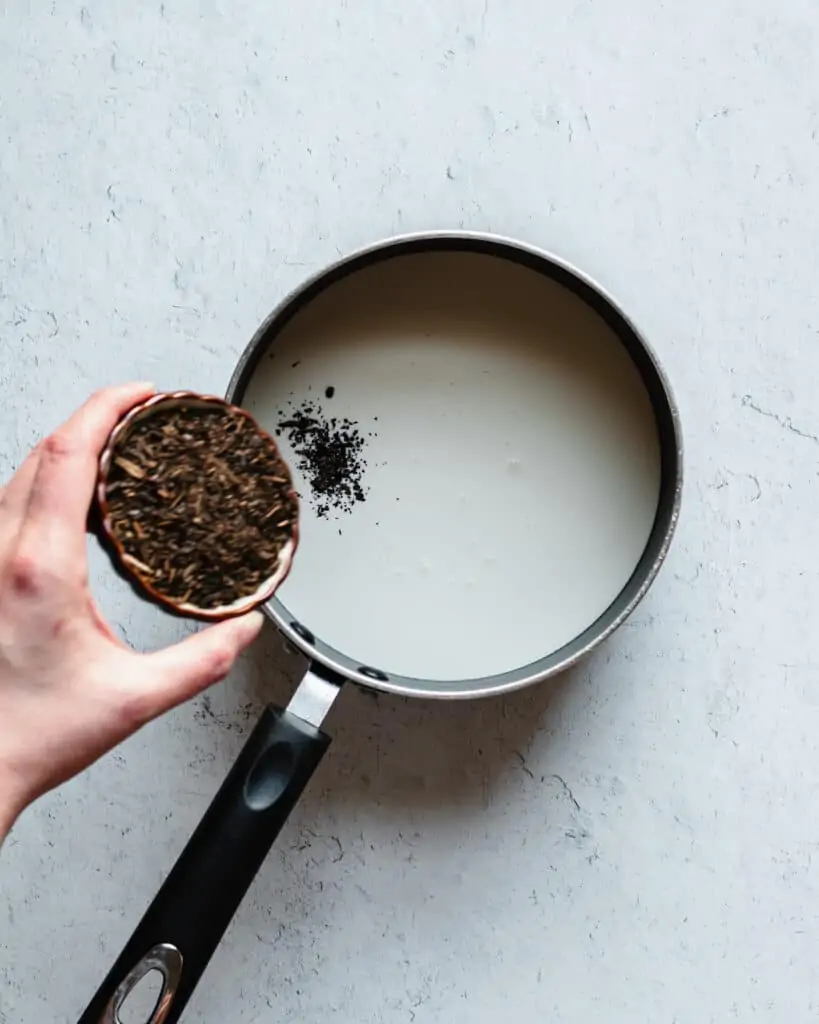
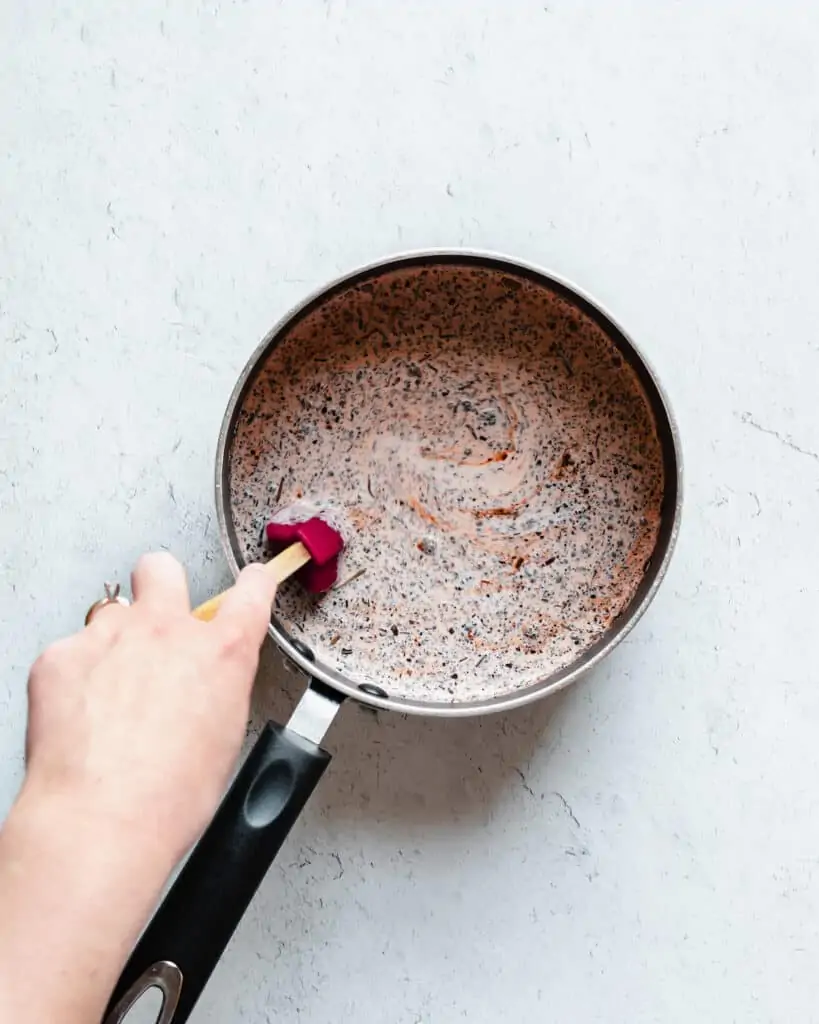
To make the Thai Tea custard, start by steeping the tea and heavy cream over low heat for about 10 minutes. While the tea steeps, separate four room temperature eggs, keeping the yolks and reserving the egg whites for another time.
During this time, preheat the oven to 325℉ and place the ramekins in a 9x13" casserole dish so they aren't touching and set aside.
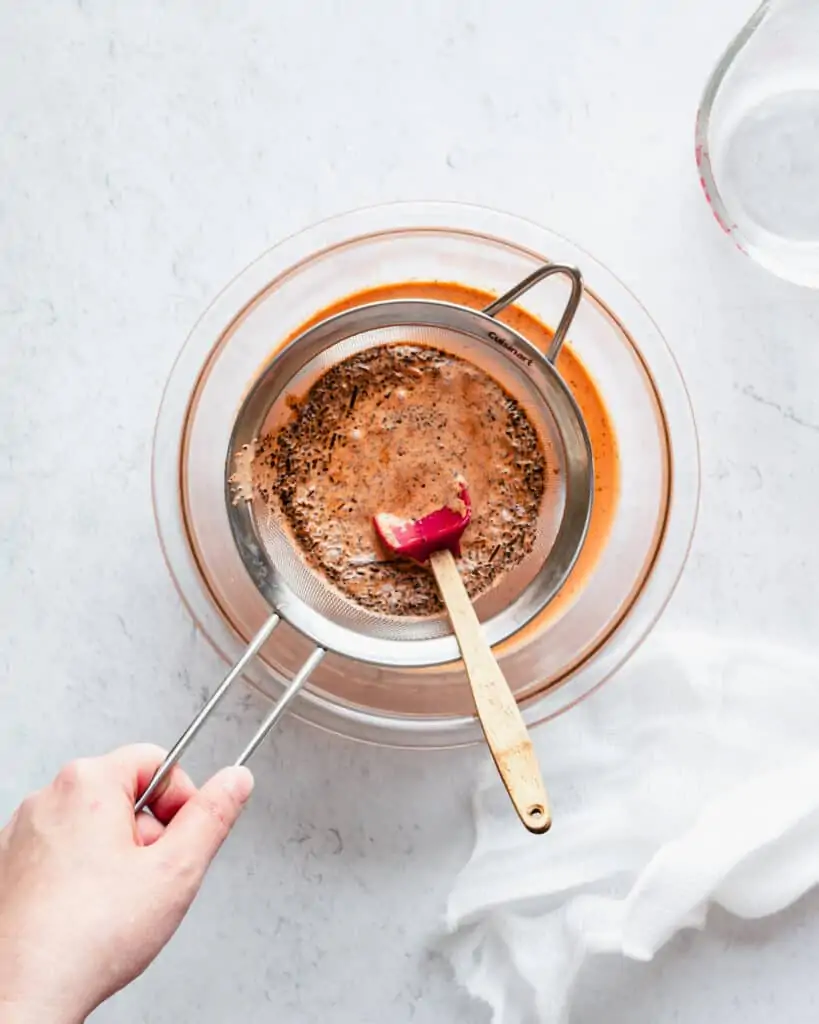
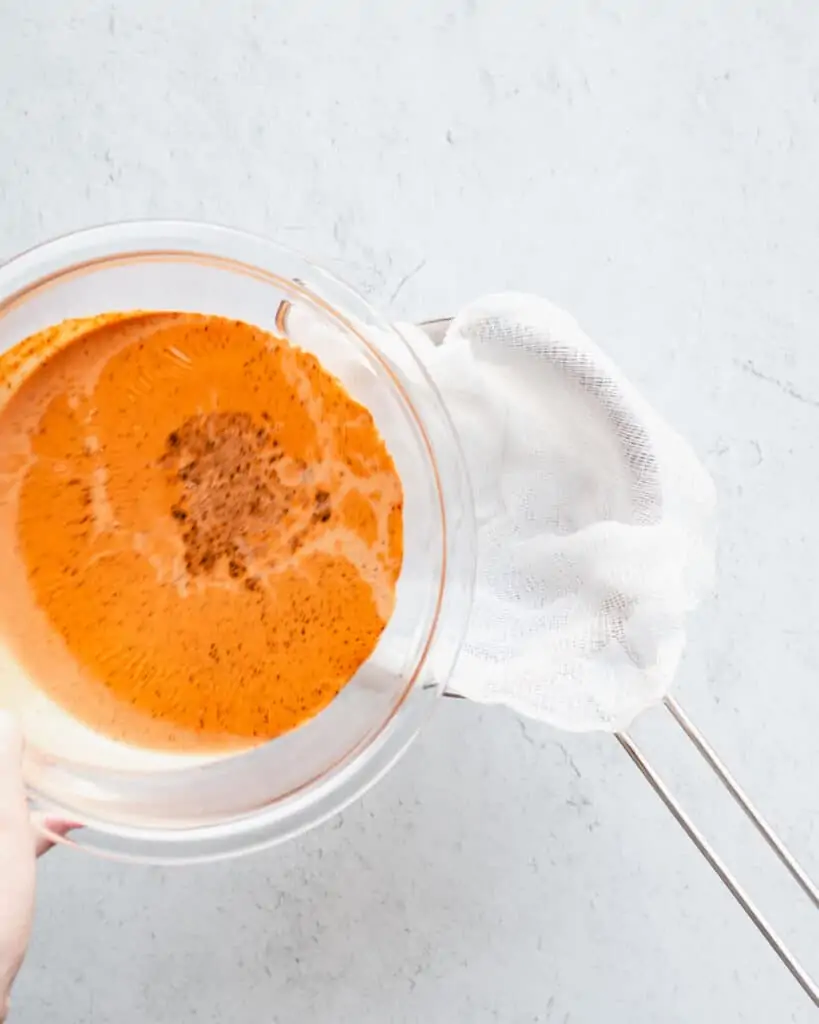
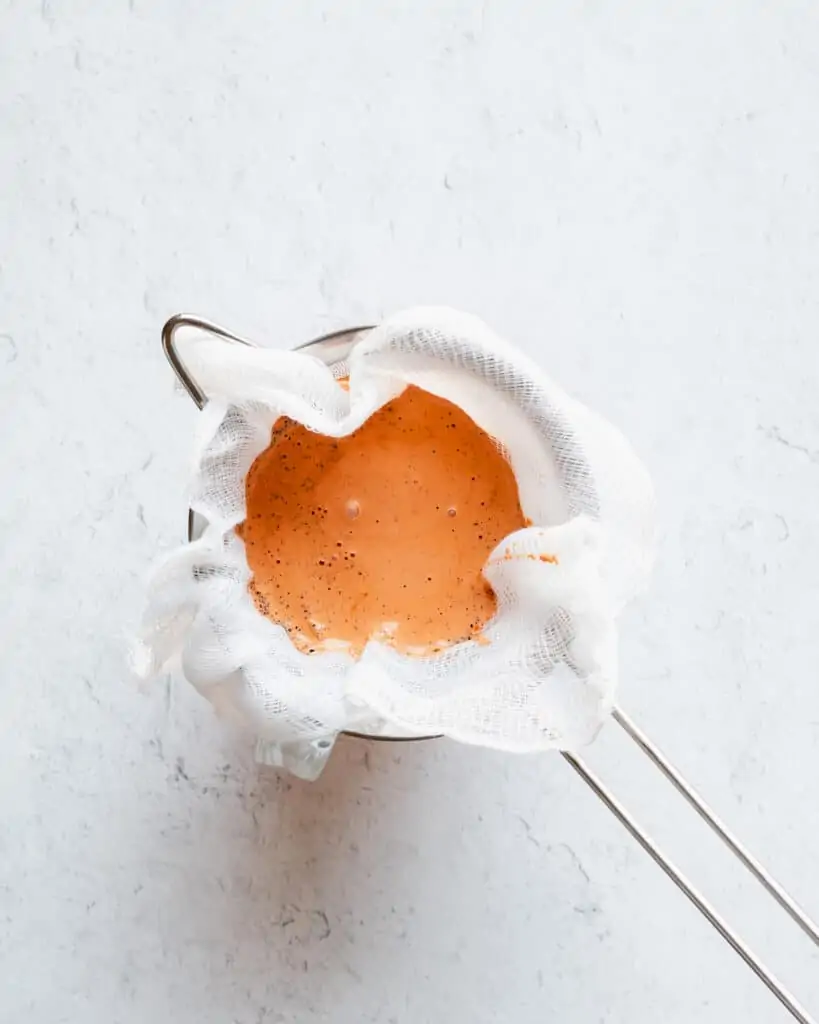
Strain the cream through a fine mesh strainer into a bowl to remove the large pieces of tea. Rinse or wipe out the pot to remove any leftover tea leaves. Then, strain again through the finest mesh strainer you have, this time using cheesecloth (if you have some). A few small specks of tea will remain.
I like to strain the second round directly into a 2-cup liquid measuring cup, as you will then need to use roughly ¼ more heavy cream to bring the mixture back to 2 full cups (476g) and this is an easy way to measure!
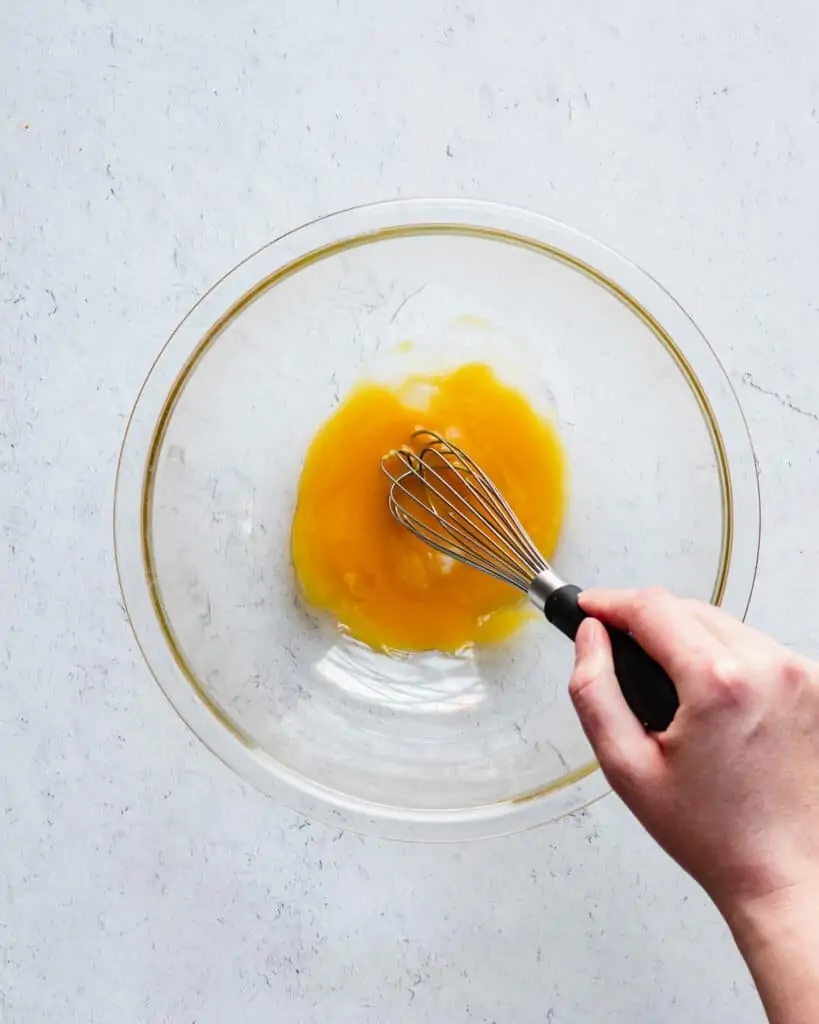
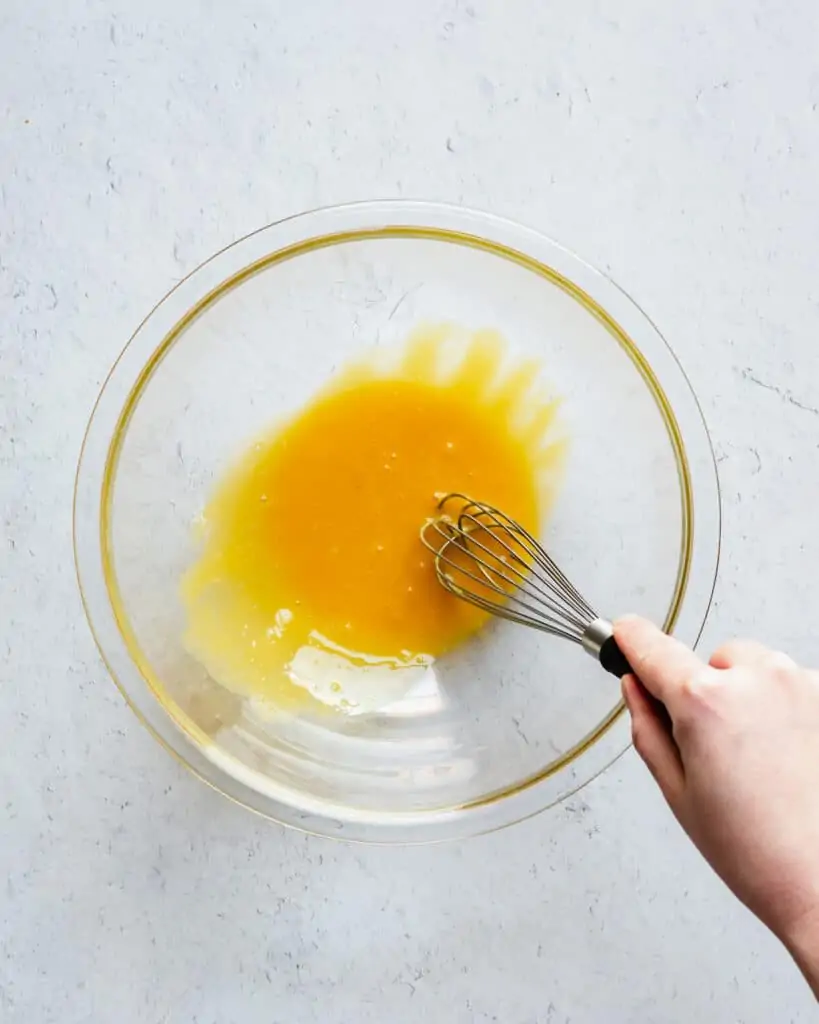
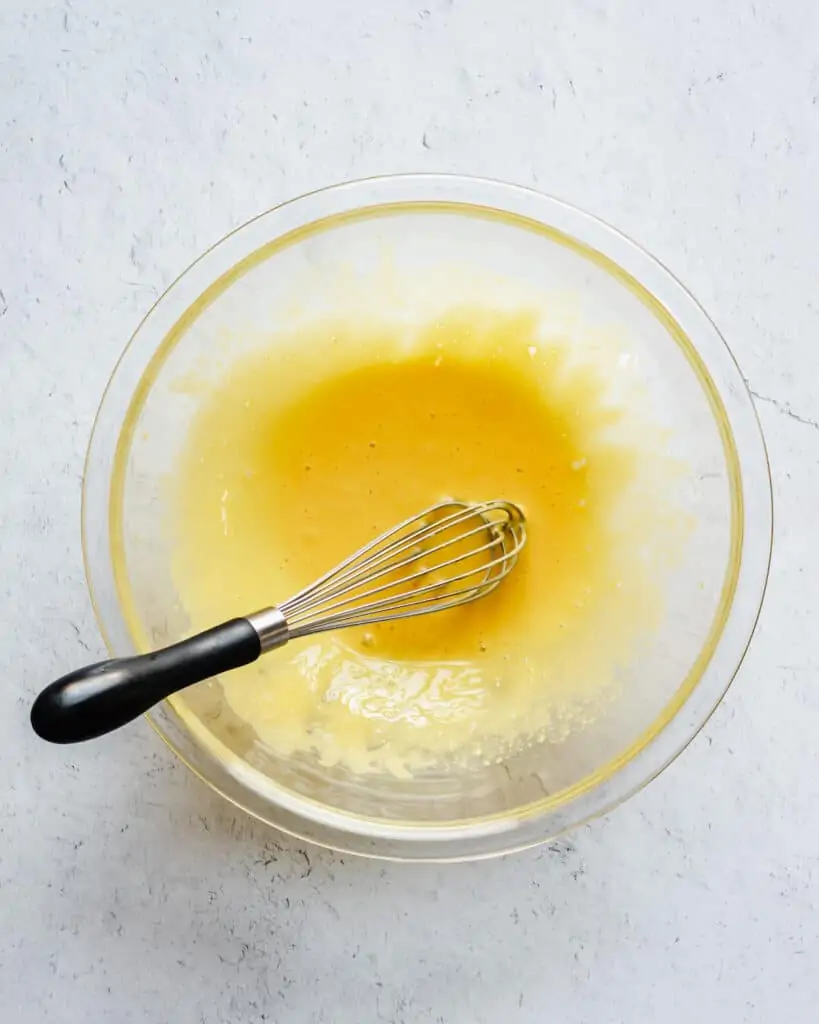
Add the mixture back to the pot then add the sugar and salt and bring it to a low simmer. At this point, whisk the yolks vigorously for about a minute until they become more pale in color and lightly aerated.
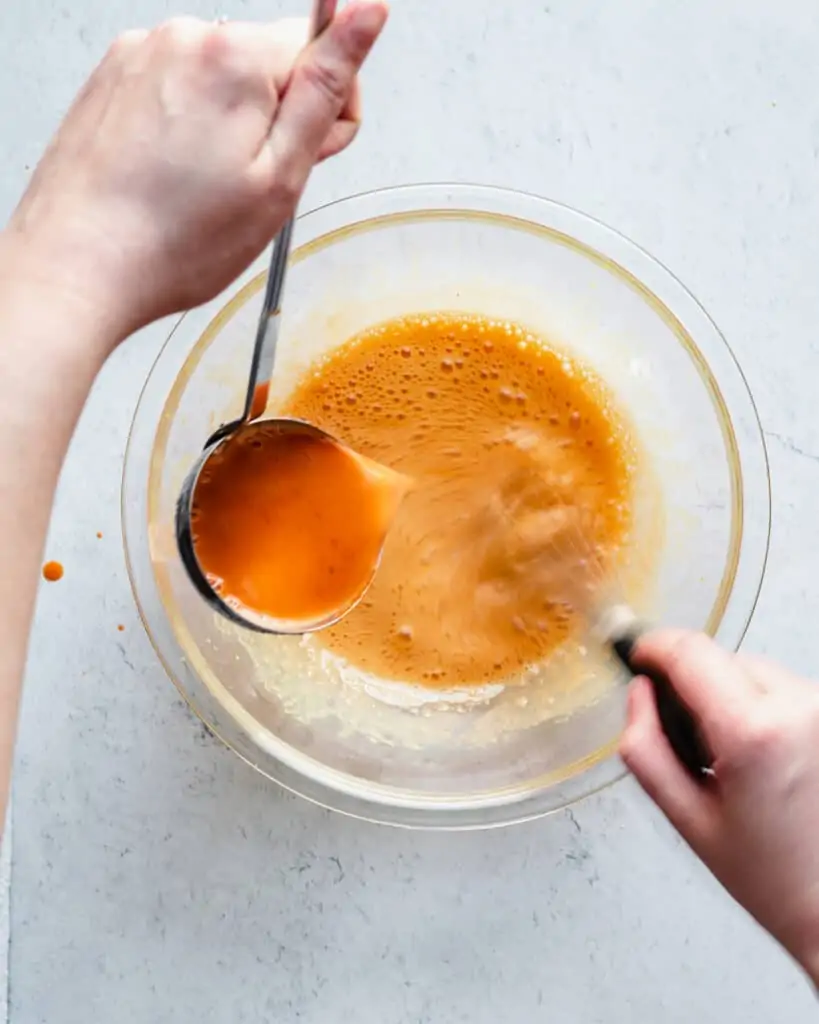
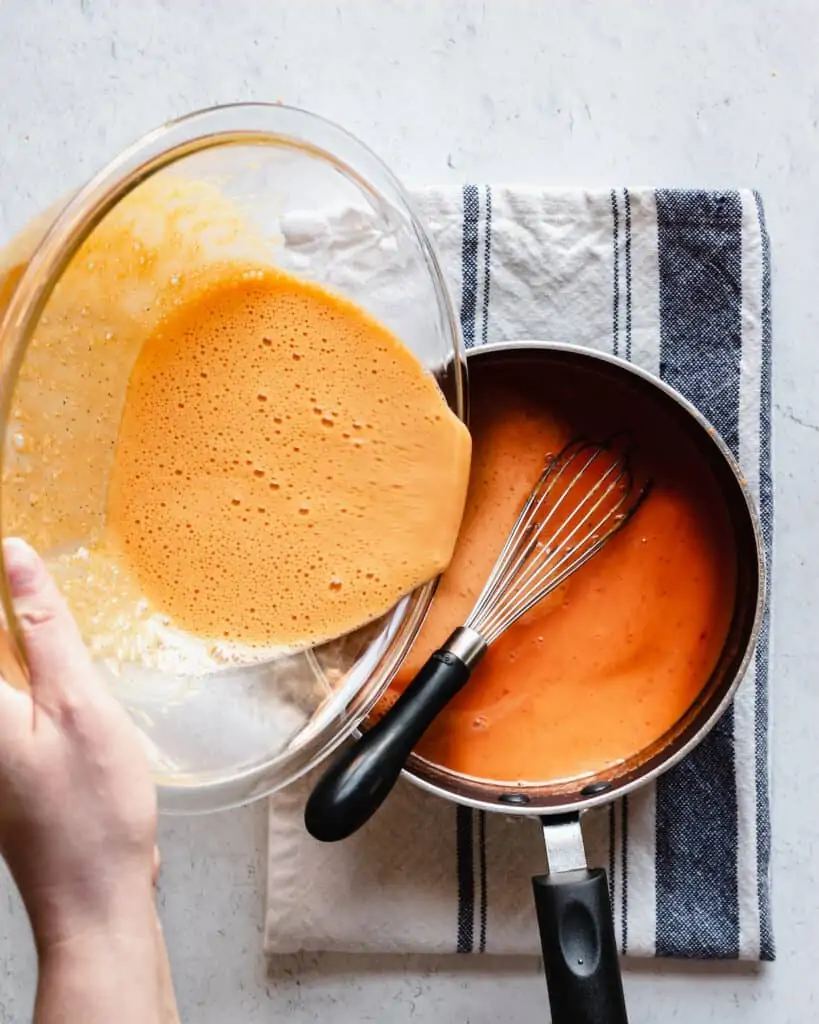
Once the Thai Tea cream is just simmering around the edges, stream one ladleful of cream into the egg yolks while whisking. Add one more ladleful in a stream while whisking, then transfer the yolk mixture into the pot with the cream and whisk to combine.
Ladle the Thai Tea custard evenly into the ramekins. Then, boil a pot of water and pour it carefully into the pan in between the filled ramekins.
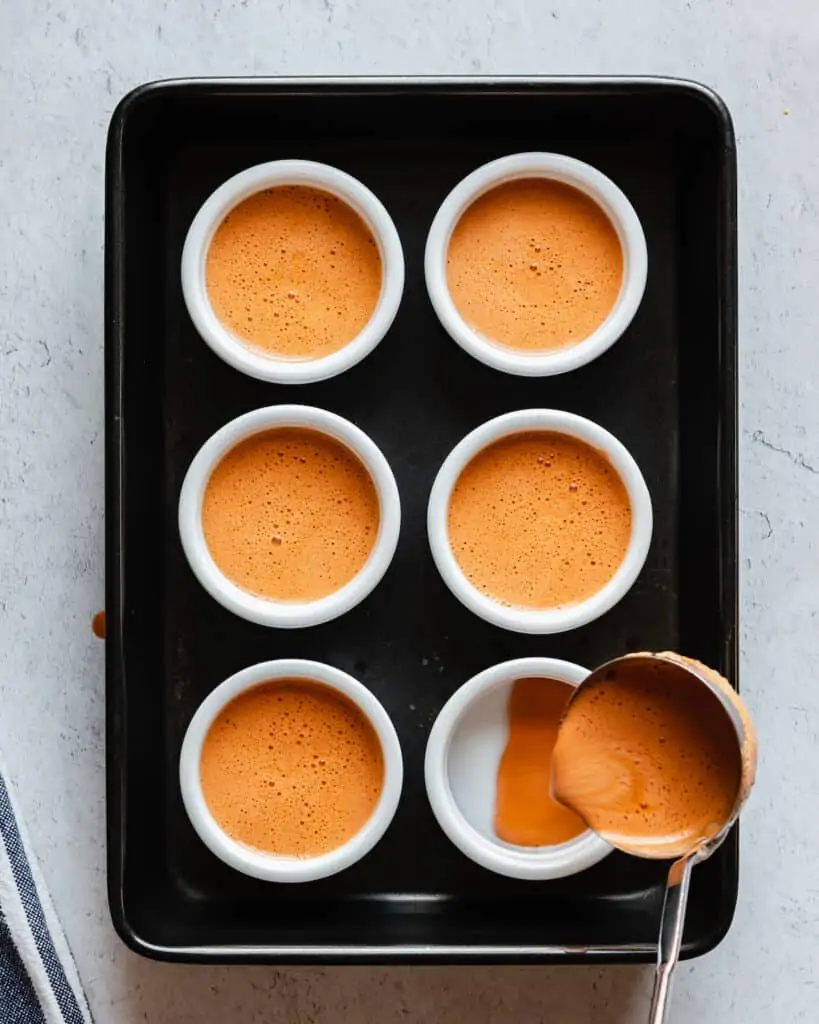
Bake the custard for 20-25 minutes until the edges are slightly set, but the center is still jiggly and almost sloshy. It will look and seem underdone, but will set once cooled. I over baked mine twice because I thought it didn't look done enough. I was wrong!
How to caramelize the top of crème brûlée
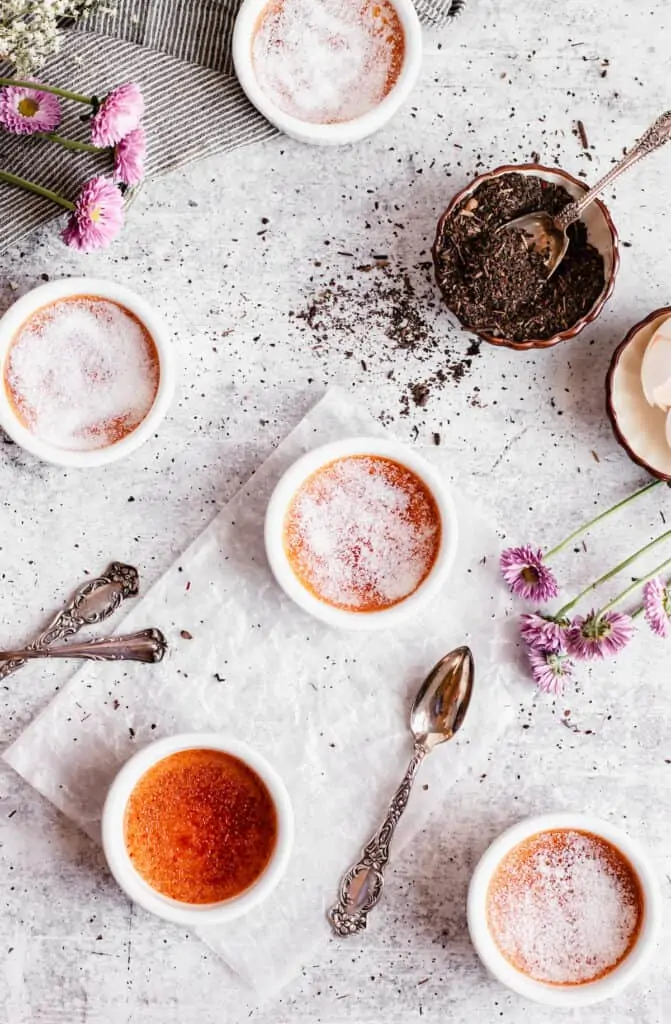
Add a spoonful of sugar to the top of one ramekin. Tap the sugar around to coat the top, then pour out the excess sugar onto another ramekin. Add more sugar, as needed, but it should be a thin layer. Use a kitchen torch on medium power to caramelize the first layer of sugar by moving the fire slowly across the sugar.
This post contains affiliate links. As an Amazon Associate, I earn from qualifying purchases.
Allow it to cool for a minute, then sprinkle on another even layer, this time with your fingers (don't dump excess). Torch again until caramelized. The double layer of sugar makes for the best crack-age!
Tips for making the Thai Tea Crème Brûlée
- Place the pan with the filled ramekins on a pulled out rack in the oven, then pour the boiling water into the pan. This eliminates transferring the pan to the oven while full and potentially sloshing water into the custard.
- If you do get water in the custard, use the corner of a paper towel to absorb the water out of the custard.
- When checking for doneness, gently push the pan to make it move. The custard should look slightly set on the edges, but will look almost wavy in the center. You will think it looks very underdone, but it sets up in the fridge.
- If you want to use a thermometer to check for doneness, the custard is food safe at 150℉. This is a very creamy, thin custard. I like to cook mine to about 157℉, which is slightly more set, but still incredibly creamy.
- If the custard becomes puffy during baking, it has been overcooked. Overcooking the custard will still taste absolutely delicious, but it will be much thicker and and less silky.
- Do not allow the ramekins to remain in the hot water. Use a pair of tongs and a dish towel or oven mitt to transfer them to a cooling rack as soon as they come out of the oven. This step is crucial.
- Do not cover the custard with cling wrap, as it can remove some of the custard.
- Use a kitchen torch to caramelize the sugar and create the cracked tops. This is the most reliable and even method.
Frequently Asked Questions
You don't have to use a kitchen torch, but you should. It's the easiest and most reliable way to control the caramelization of the sugar. Using the broil function in the oven can be uneven and can heat up the custard too much, potentially causing it to break or separate.
YES. This is best made ahead of time so it has ample time to chill. Only add the sugar and brûlée when you're ready to serve it, otherwise, the sugar will soften and hydrate in the fridge and will turn syrupy rather the coveted cracking texture.
Pretty much any sized ramekin can be used, but you can also use a baking dish, bread loaf pan, oven safe cups or mugs, etc. Anything that is oven safe! Keep in mind that the 4oz ramekins for this recipe hold ½ cup of liquid which fills to about 1.5" high. If you use a vessel that is deeper, the bake time will be longer. If using a vessel that is more shallow, bake time will be less.
Searching for similar recipes?
📖Recipe
Thai Tea Crème Brûlée
Equipment
- Six, 4oz ramekins
- 13x9” casserole dish
- Fine mesh strainer
- Cheesecloth (optional)
- Large measuring cup or bowl
Ingredients
- 4 large egg yolks room temperature
- ½ cup granulated sugar 100g
- 2 cups heavy whipping cream 540ml + ~ ¼ cup (60ml) extra
- Pinch kosher salt
- ¼ cup Thai tea mix 25g
- ⅓ cup granulated sugar for brûlée (67g)
Instructions
- Add the heavy cream and Thai tea mix to a saucepan, stir, and steep the tea on low for about 5-7 minutes until warm. Continue stirring occasionally.
- Separate 4 eggs, reserving the whites for another time.
- Preheat the oven to 325℉ and add the empty ramekins to a 13x9” casserole dish.
- Strain the cream through a fine mesh strainer into a bowl to remove the large pieces of tea, then rinse out the pot to remove all pieces.
- Strain the cream again through the smallest mesh strainer you have (I recommend using cheese cloth, as well) into a 2 cup liquid measuring cup. Some very tiny specks will remain.
- Use the additional cream to bring the amount of cream back to 2 cups (475g). Transfer the cream to the rinsed pot and add the sugar and salt. Heat over medium heat, stirring occasionally, until the sugar dissolves and it comes to a simmer.
- During this time, vigorously whisk the egg yolks in a medium sized bowl for about 1 minute. The mixture will become a bit lighter in color and slightly airy.
- Once the cream comes to a simmer, drizzle in one ladle full of cream to the egg mixture while whisking. Do the same with a second ladle, then transfer the egg mixture into the pot with the cream. Whisk immediately until combined. Ladle the mixture evenly between the ramekins.
- Boil a small pot of water and pour it into the pan in between the ramekins. Fill the pan halfway with water.
- Transfer the pan to the preheated oven and bake for 20-25 minutes. The custard will still feel rather sloshy and jiggly, but will be slightly set on the edges.
- Remove from the oven, and very carefully transfer the ramekins to a wire rack to cool using tongs and a dish towel. Keeping them in the water will cause the custard to overcook. Cool for 30 minutes, then transfer to the fridge for at least 4 hours, or overnight (uncovered).
- When ready to serve, add a spoonful of sugar to the top of one ramekin, rotate the ramekin to spread evenly, then dump the excess sugar to the next ramekin and repeat. Use a kitchen torch to brûlée the sugar until caramelized. Then, sprinkle on a thin layer of sugar with your fingers and brûlée again. This double method creates the best crust and crack.
- Serve immediately.


Leave a Reply