

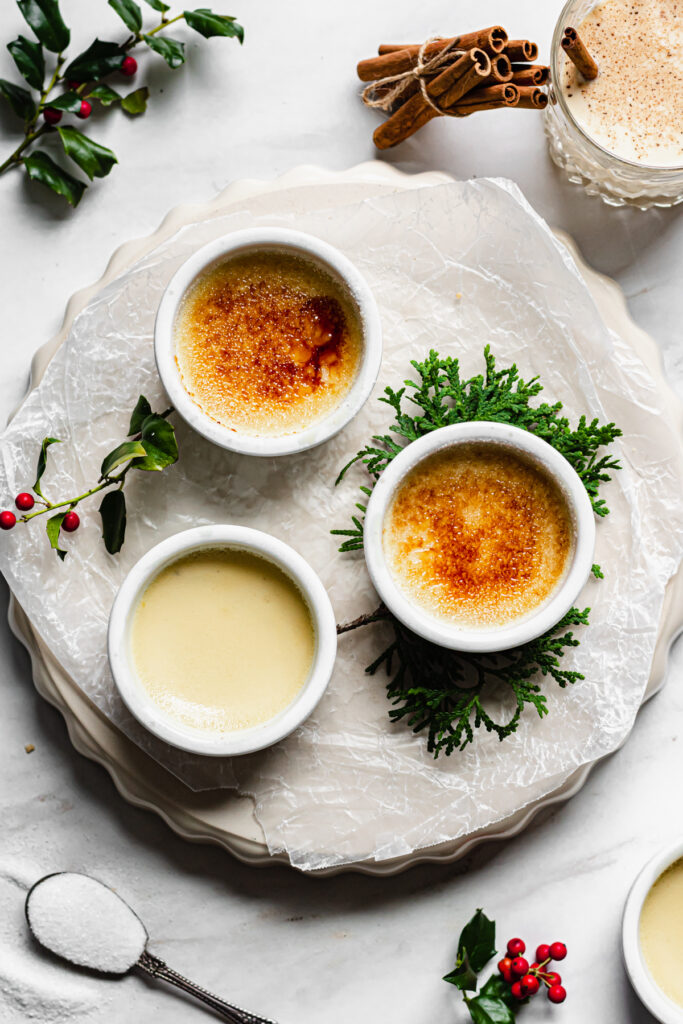
Creamy, luscious Crème Brûlée takes on a classic holiday flavor in an Eggnog Crème Brûlée version. Finish this easy recipe off with a brûlée of the sugar for the perfect caramelized crack.
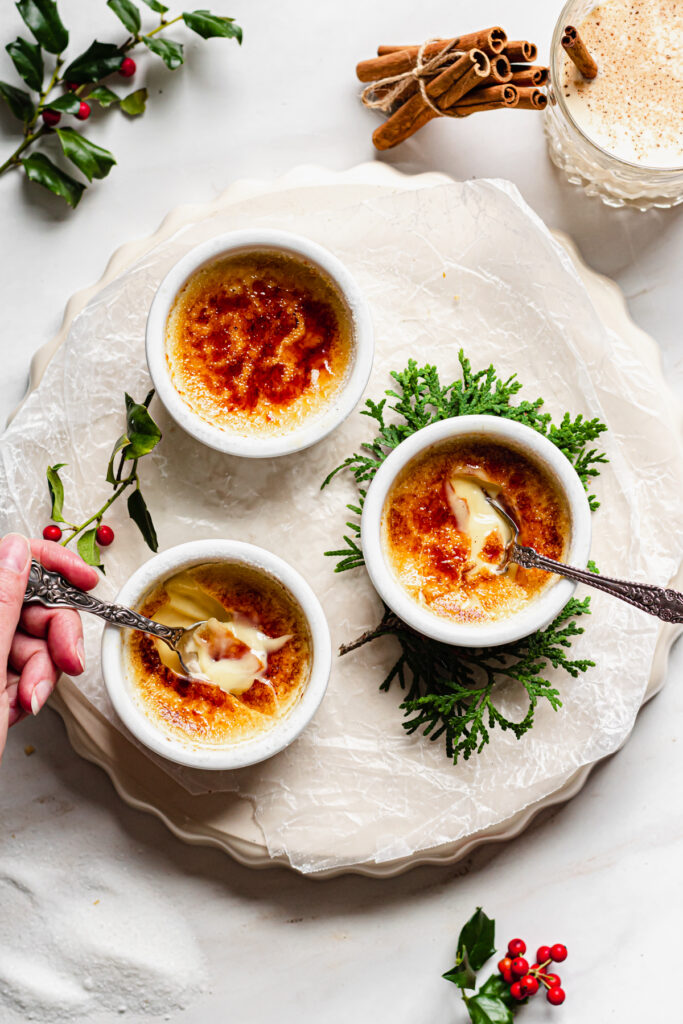
If you are a crème brûlée fan, and also love eggnog, this recipe is about to blow your mind! This thick, creamy, luscious custard is made with half eggnog, half heavy cream, and is packed with warm holiday spices and flavors. The flavor of the caramelized sugar on top makes for such a nice compliment to the eggnog.
If you're really on an eggnog kick, you can use any leftover 'nog to make my Eggnog Oatmeal Creme Pies, eggnog bundt cake, or eggnog french toast casserole.
Ingredient & Tools Notes
- Large egg yolks. Four of them, at room temperature.
- Granulated sugar. For both the custard and to add to the tops to brûlée.
- Eggnog. The star ingredient! Use an eggnog that is as thick and as flavorful as you can find. My favorite is Turkey Hill brand, but that is local to my area.
- Heavy whipping cream. Used to supplement the eggnog so the flavor isn't too overpowering.
- Nutmeg. Pre-ground or freshly grated. We are capitalizing on the eggnog flavor.
- Vanilla paste or extract.
Key Tools
- Ramekins or baking vessel. I used six, 4oz ramekins for this recipe. You can make crème brûlée without ramekins and use any oven-safe vessel you'd like. Just be sure to only fill it about 1.5 inches. However, you may need to adjust the timing depending on how long (or short) it's taking to bake.
- Kitchen torch. This is the best and easiest way to brûlée the sugar on the tops of your custards. Because you are able to target the flame, you're able to get a nice, even sugar crust. To make the crème brûlée without a torch, see the FAQ section.
How to make Eggnog Crème Brûlée
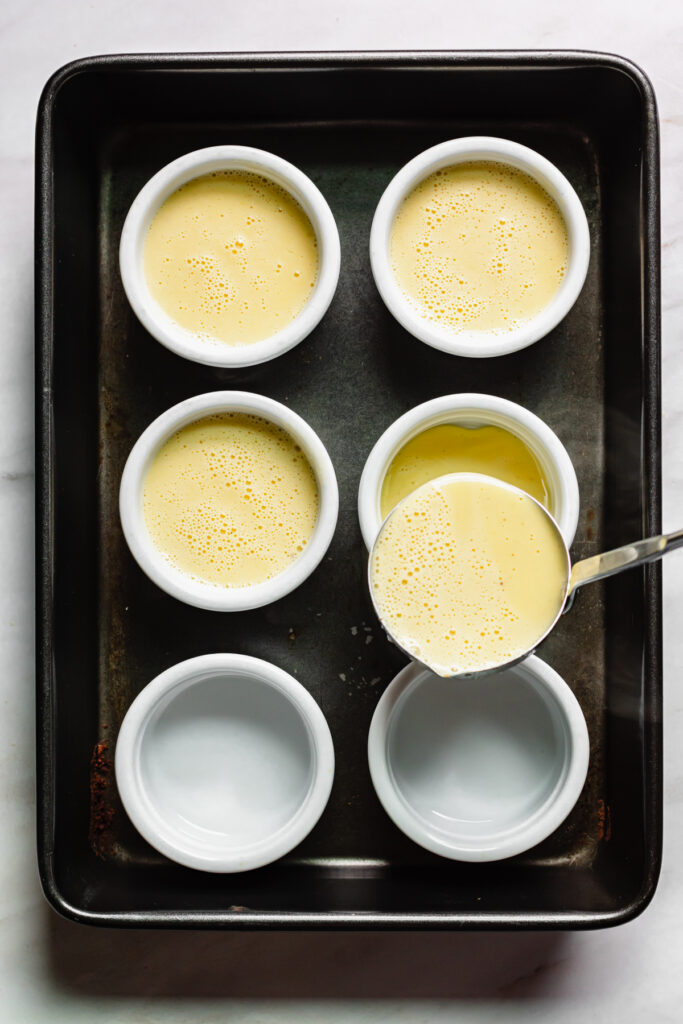
Preheat the oven to 325℉/163℃ and add the empty ramekins to a 13×9” casserole dish. This is a crème brûlée for 6, but you could adjust the recipe to make four or two, if you'd like.
STEP 1: Add the eggnog, heavy cream, sugar, salt and nutmeg to a medium saucepan over medium heat, stirring occasionally, until the mixture just starts to simmer on the edges.
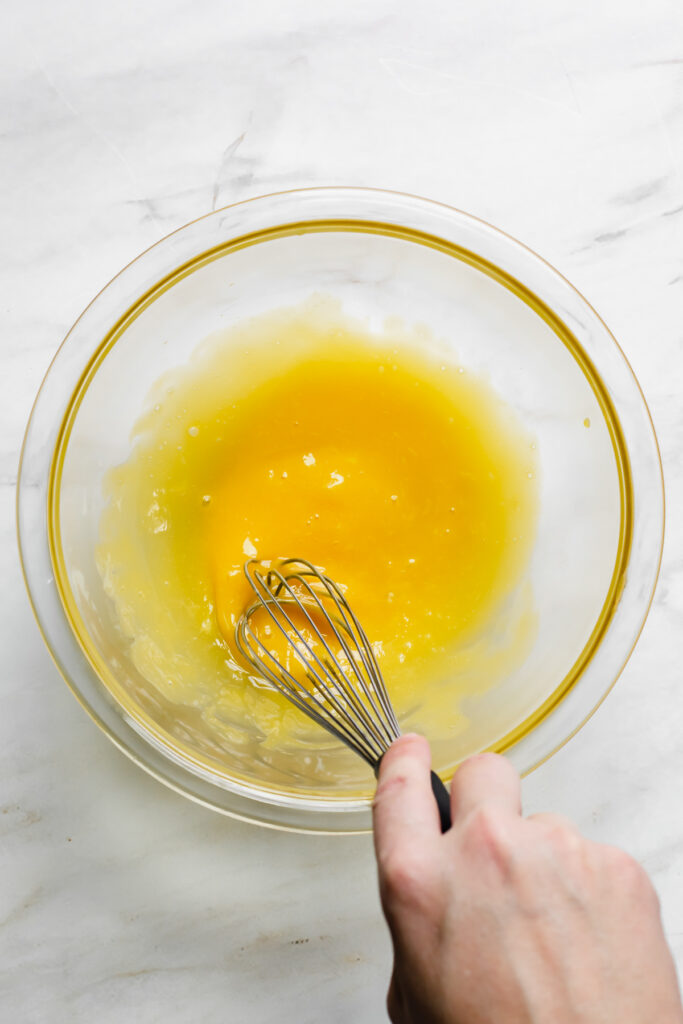
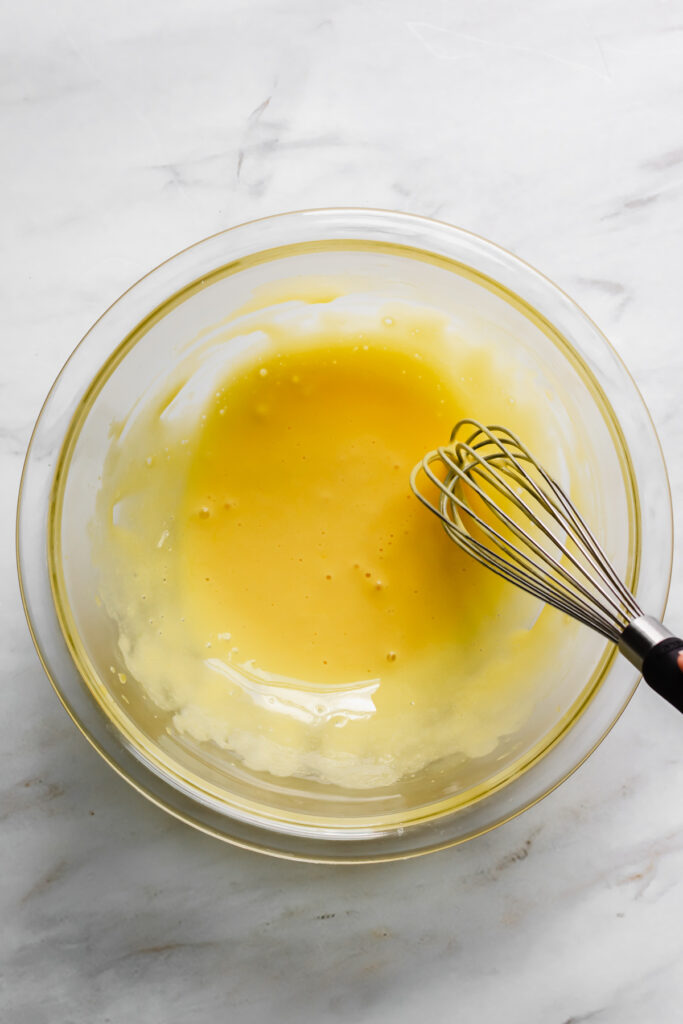
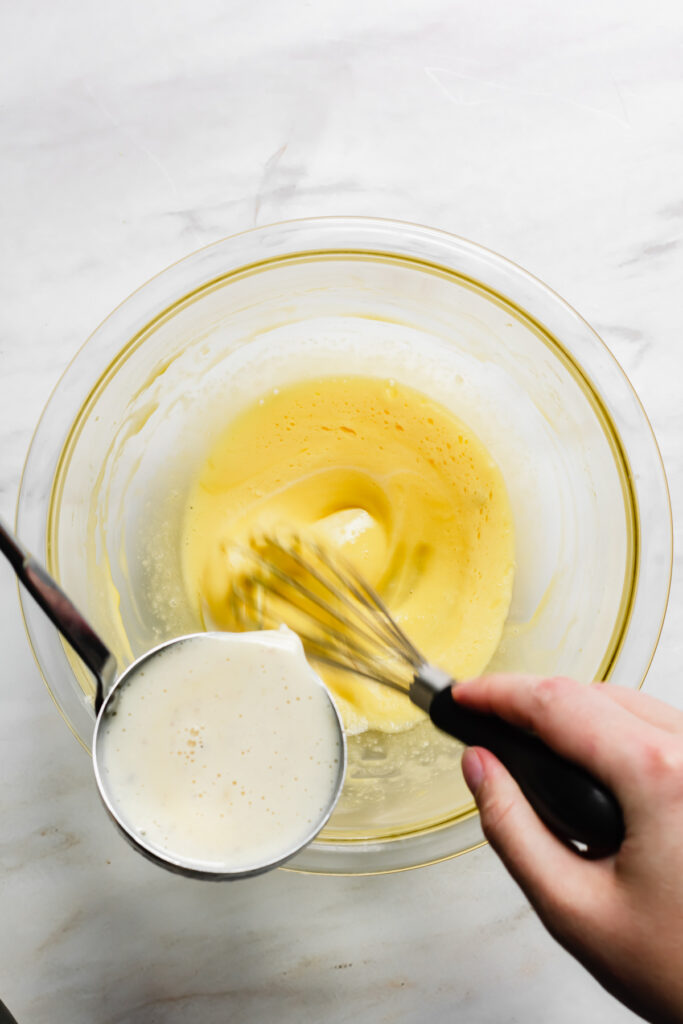
STEP 2: Separate 4 eggs, reserving the whites for another time. Vigorously whisk the egg yolks in a medium sized bowl for about 1 minute. The mixture will become a bit lighter in color and slightly airy.
Tempering the Eggs & Water Bath
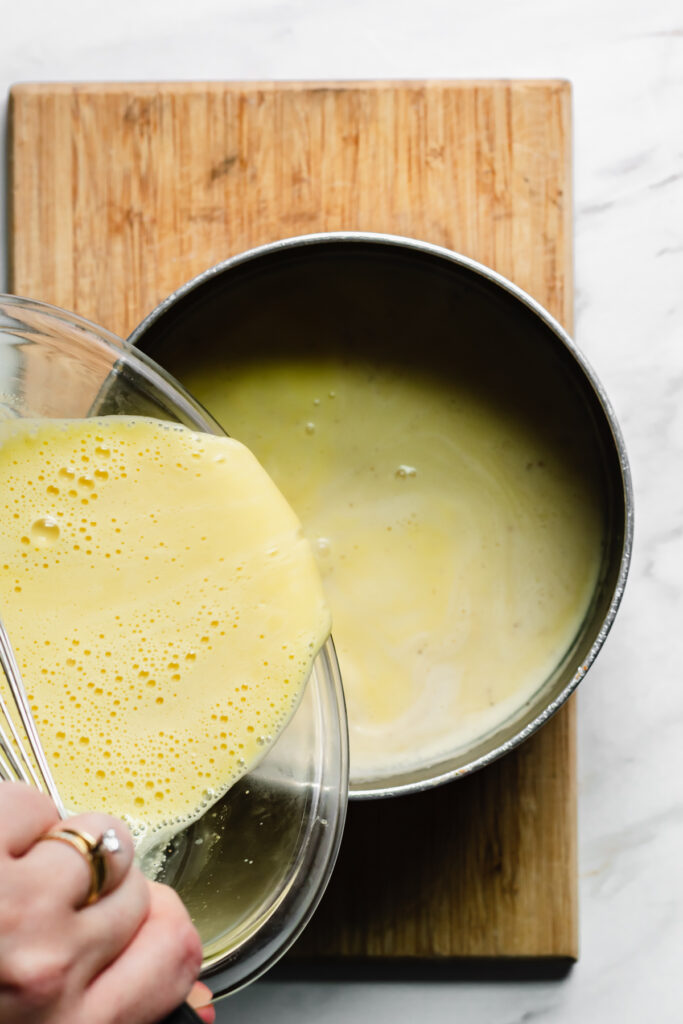
STEP 3: Once the cream comes to a simmer, drizzle in one ladle full of cream to the egg mixture while whisking. Do the same with a second ladle, then transfer the egg mixture into the pot with the remaining cream. Whisk immediately until combined. Ladle the mixture evenly between the ramekins.
STEP 4: Boil a pot of water and pour it very carefully into the pan in between the ramekins. Fill the pan halfway with water (the water bath allows the custard to bake evenly) and bake for 20-30 minutes.
Add the pan with the filled ramekins to the oven rack (pulled out), then pour in the boiling water. This eliminates a risky transfer and the potential of water sloshing into your custard!
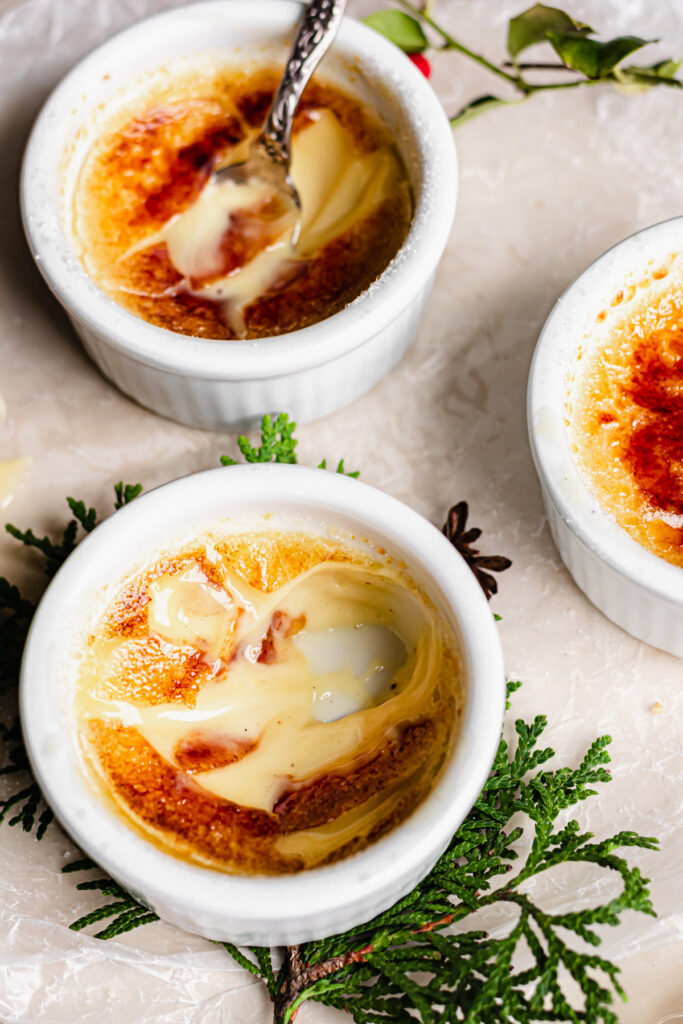
STEP 5: To test if the creme brûlée is done, give the pan a gentle tap with the oven mitt. The edges will appear set, but the middle will ripple and still look relatively sloshy. This is what you want!
If you'd like to use a kitchen thermometer, you're looking for a temperature between 160-170℉. If the custard is puffy at all, it's been overcooked and should be removed immediately.
Remove from the oven, and very carefully transfer the ramekins to a wire rack to cool using tongs and a dish towel. Cool for 30 minutes, then transfer to the fridge for at least 4 hours, preferably overnight, uncovered.
How to Torch Creme Brûlée
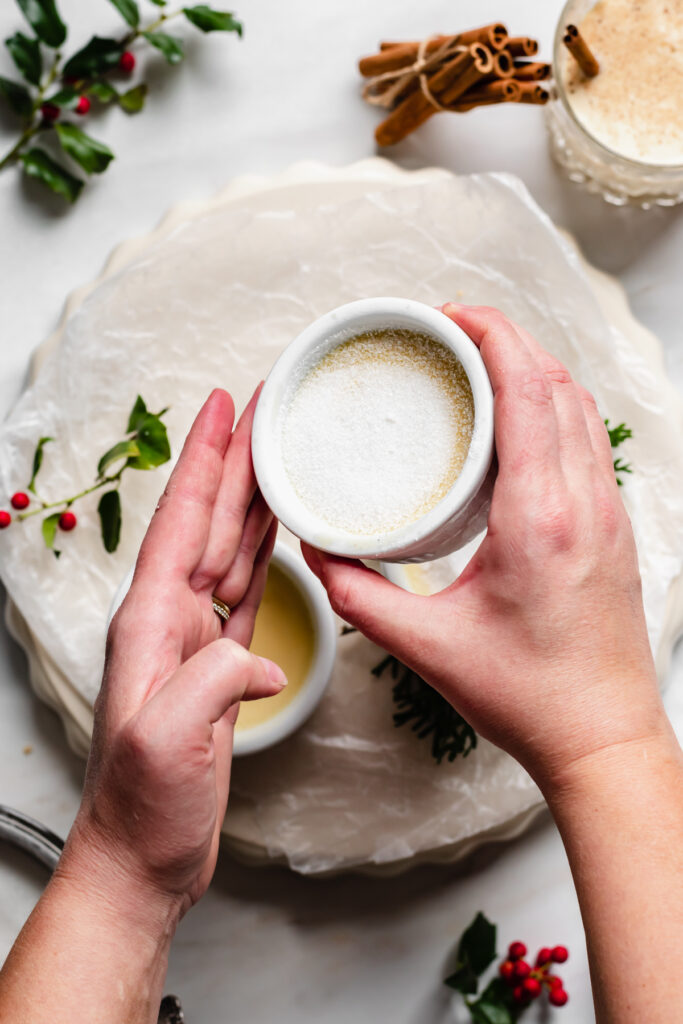
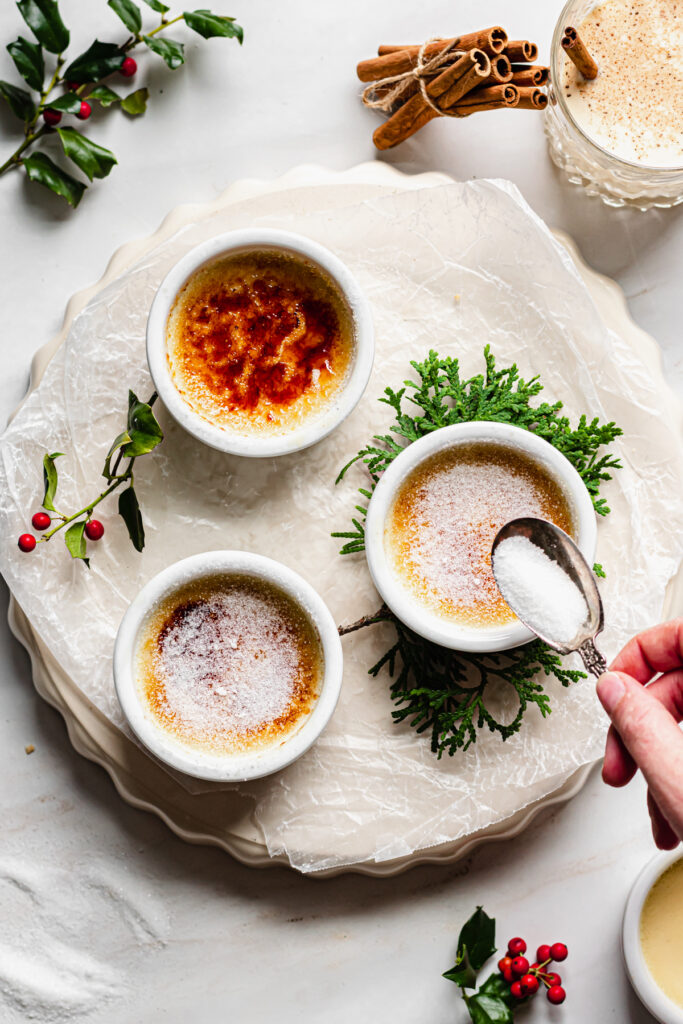
STEP 6: When ready to serve, add a spoonful of sugar to the top of one ramekin, rotate the ramekin to spread evenly (it will be a very thin layer), then dump the excess sugar to the next ramekin and repeat.
Use a kitchen torch to brûlée the sugar until caramelized. See the FAQ section at the end of the post for instructions on how to do this with an oven broiler.
Pro tip: Be rather quick on the torch. I use my torch on high and move it around the whole time to evenly caramelize the sugar.
Add the ramekins to the freezer for about 5 minutes. The heat of the flame tends to soften the top layer of custard, making it rather melty (this is why you want to be quick). The freezer time aids in setting it back up before the next torch.
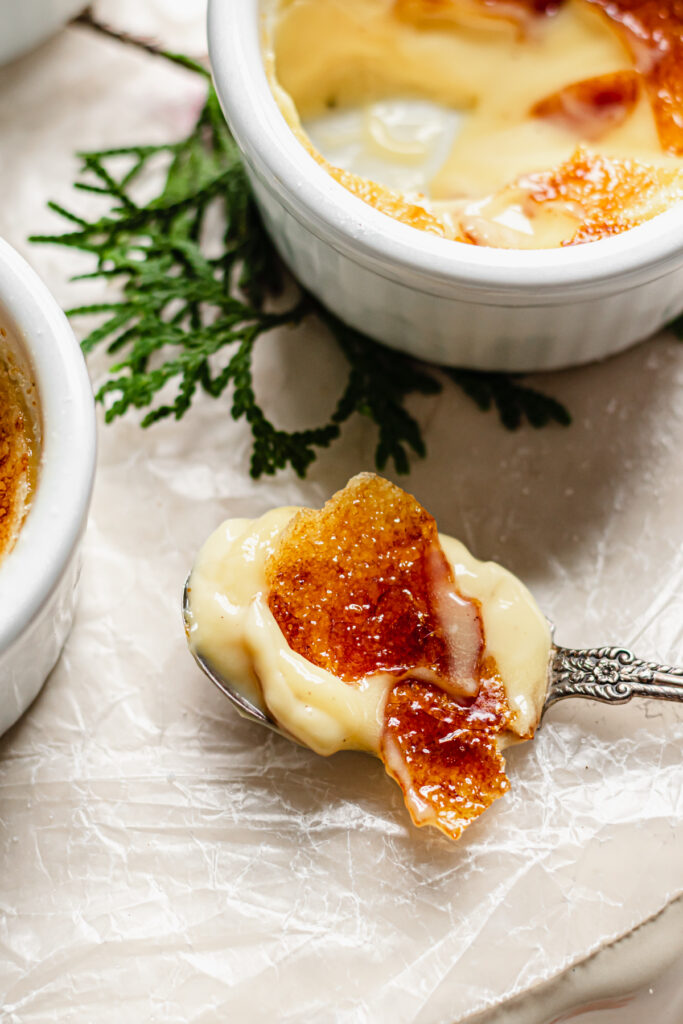
Sprinkle on another thin layer of sugar and brûlée again. This double method creates the best crust and crack! Don't skip!

Creme Brûlée Flavors and Variations
Crème brûlée is super versatile and can be made into many different flavors. You can steep tea into the cream, add chocolate, or any spices you'd like! For example, my Thai Tea Creme Brûlée - so delicious and unique!
Storing
Only sugar and torch the amount you plan to serve. Unsugared custards will store in the fridge for 3 days uncovered. Sugar and torch prior to serving.
If storing brûlée'd ramekins, the sugar layer will become soft and syrupy. Add more sugar and brûlée again, though it may taste slightly burnt/acrid.
💌 Save This Recipe
FAQs & Tips
If going by sight, a ring around the edges will be set and the center will still be slightly sloshy.
To be very precise, aim for 160-170°F internal temperature (under 160°F it will stay too runny, over 170°F it will become grainy) on a digital thermometer. I like to go to the 160°F route, as the custard does continue to cook slightly as it's coming out of the oven and cooling down.
No, although a torch is the best way to caramelize the sugar. To broil the creme brûlées in the oven, set the broiler to high and allow it to get very hot. Move an oven rack as close to the broiler as possible.
Place the sugared ramekins on a cookie sheet, then broil until the sugar becomes caramelized. Watch the entire process and don’t walk away. Move and rotate ramekins, as needed, to catch the hot spots.
Add the ramekins to the fridge for 5-10 minutes to help re-set the custard; the excess heat will have them getting soft and melty.
The custard was either undercooked, or the caramelization process took too long and started melting and liquifying the custard.
The custard was overcooked (meaning the egg yolks started coagulating). While it will still taste delicious, it won't have that familiar soft and creamy texture you want in a creme brûlée.
More Holiday Inspired Recipes
- Eggnog Oatmeal Creme Pie Recipe
- Ginger Molasses Lace Cookies
- Christmas Shortbread Cookies
- Cookie Butter Cookies
- Eggnog Bundt Cake
Be sure to tag me on Instagram @thecozyplum and use #TheCozyPlum! I can't wait to see your creations. For more ideas, follow me on Pinterest.
📖Recipe
Eggnog Creme Brûlée
Equipment
- Six, 4oz ramekins
- 13x9” casserole dish
- Large measuring cup or bowl
- Ladle
- Whisk
- Kitchen torch (broiler can also be used)
Ingredients
- 1 cup eggnog 240ml
- 1 cup heavy whipping cream 240ml
- ½ cup granulated sugar 100g
- ⅛ teaspoon kosher salt
- ¼ teaspoon ground nutmeg
- 4 large egg yolks room temperature
- 2 teaspoons vanilla paste or extract
- ⅓ cup granulated sugar 67g, for brûlée
Instructions
- Add the egg nog, heavy cream, sugar, salt and nutmeg to a medium saucepan over medium heat, stirring occasionally, until the mixture just starts to simmer on the edges.½ cup granulated sugar , 1 cup eggnog, 1 cup heavy whipping cream , ⅛ teaspoon kosher salt, ¼ teaspoon ground nutmeg
- Preheat the oven to 325℉/163℃ and add the empty ramekins to a 13×9” casserole dish.
- Separate 4 eggs, reserving the whites for another time.
- Vigorously whisk the egg yolks in a medium sized bowl for about 1 minute. The mixture will become a bit lighter in color and slightly airy.4 large egg yolks
- Once the cream comes to a simmer, drizzle in one ladle full of cream to the egg mixture while whisking. Do the same with a second ladle, then transfer the egg mixture into the pot with the cream. Whisk immediately until combined then add the vanilla and whisk again. Ladle the mixture evenly between the ramekins.2 teaspoons vanilla paste or extract
- Bake for 20-30 minutes. The custard will still feel rather sloshy and jiggly, but will be slightly set on the edges. If using, a digital thermometer should read between 160-170℉.
- Remove from the oven, and very carefully transfer the ramekins to a wire rack to cool using tongs and a dish towel. Keeping them in the water will cause the custard to overcook. Cool for 30 minutes, then transfer to the fridge for at least 4 hours, or overnight (uncovered).
- When ready to serve, add a spoonful of sugar to the top of one ramekin, rotate the ramekin to spread evenly, then dump the excess sugar to the next ramekin and repeat. Use a kitchen torch to brûlée the sugar until caramelized. Then, sprinkle on a thin layer of sugar with your fingers and brûlée again. This double method creates the best crust and crack.⅓ cup granulated sugar
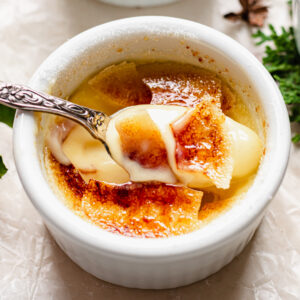
- Serve immediately.
Kat says
Loved these for the holidays and super easy to make! I've never made creme brulee before and they turned out great.
Barbara says
Eggnog creme brulee french toast for new Year breakfast.
Sara says
Soupy mess even after increasing the cooking time. These were also sickly sweet. I wasted so many ingredients making a 4x batch for family christmas. So disappointed.
Callan Wenner says
Hi Sara, I'm so sorry to hear this didn't turn out and I certainly never ever want anyone to waste ingredients (let alone ruin a Christmas dessert)! I've never had a problem with the custard not setting and haven't heard this from anyone else yet. I'd love to try to troubleshoot this. Were 4oz ramekins used? Did you check the final temp of the custard with a thermometer or eyeball it? How many ramekins were nestled into the pan with water (you mentioned 4x the recipe)? There needs to be ample room surrounding each ramekin to ensure an even bake. Regarding the sweetness - I agree they are sweet (I know this is subjective, though), which is why it's a 3-4 bite dessert based on ramekin size. I will revisit the amount of sugar since I have lots of eggnog handy and re-test to see how much I'm able to decrease the sugar without affecting the structural integrity of the custard. Hope to hear back!
Christine Mazur says
Very good use of eggnog and makes a good creme brulee, but as written, way too sweet. I cut the sugar to a scant 1/3 cup, and a scant 1/4 would have been more appropriate for this small amount of cream and egg nog, which is already sweetened. Would love to see a version which uses the spirits in holiday egg nog, like spiced rum and bourbon, though wouldof course have to cook out of custard before torching.......
Pam says
So, so good - I love crème brûlée and this is best holiday version. Sweet, creamy., and delicious
Elizabeth says
Can you use homemade Eggnog?
Callan Wenner says
Hey there! I've never tried this with homemade eggnog so I can't speak on how it would turn out. Let me know if you try it, though!